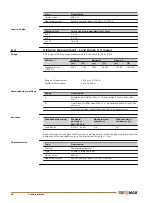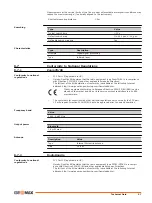
Before starting to work, the instrument has to become acclimatised to the ambient temperature.
Approximately two minutes per °C of temperature difference from storage to working environ-
ment, but at least 15 min, should be taken into account.
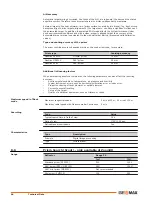
Even after adjustment of the AiM, the crosshairs may not be positioned exactly on the centre of
the prism after an AiM measurement has been completed. This outcome is a normal effect. To
speed up the AiM measurement, the telescope is normally not positioned exactly on the centre of
the prism. These small deviations/AiM offsets, are calculated individually for each measurement
and corrected electronically. This means that the horizontal and vertical angles are corrected
twice: first by the determined AiM errors for Hz and V, and then by the individual small devia-
tions of the current aiming.
6.2.3
Calibrate (a, l, t, i, c and AiM)
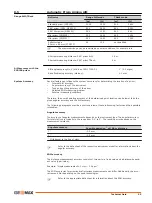
The calibration procedure determines the following instrument errors in one process:
a
Tilting axis error.
l, t
Compensator longitudinal and transversal index errors.
i
Vertical index error, related to the standing axis.
c
Horizontal collimation error, also called line of sight error.
AiM Hz
AiM zero point error for horizontal angle.
AiM V
AiM zero point error for vertical angle.
☞
AiM Hz and AiM V are excluded from calibration if you choose the “Calibrate without
AiM” procedure. AiM Hz and AiM V are included if you choose the “Calibrate All” pro-
cedure.
The following table explains the most common settings.
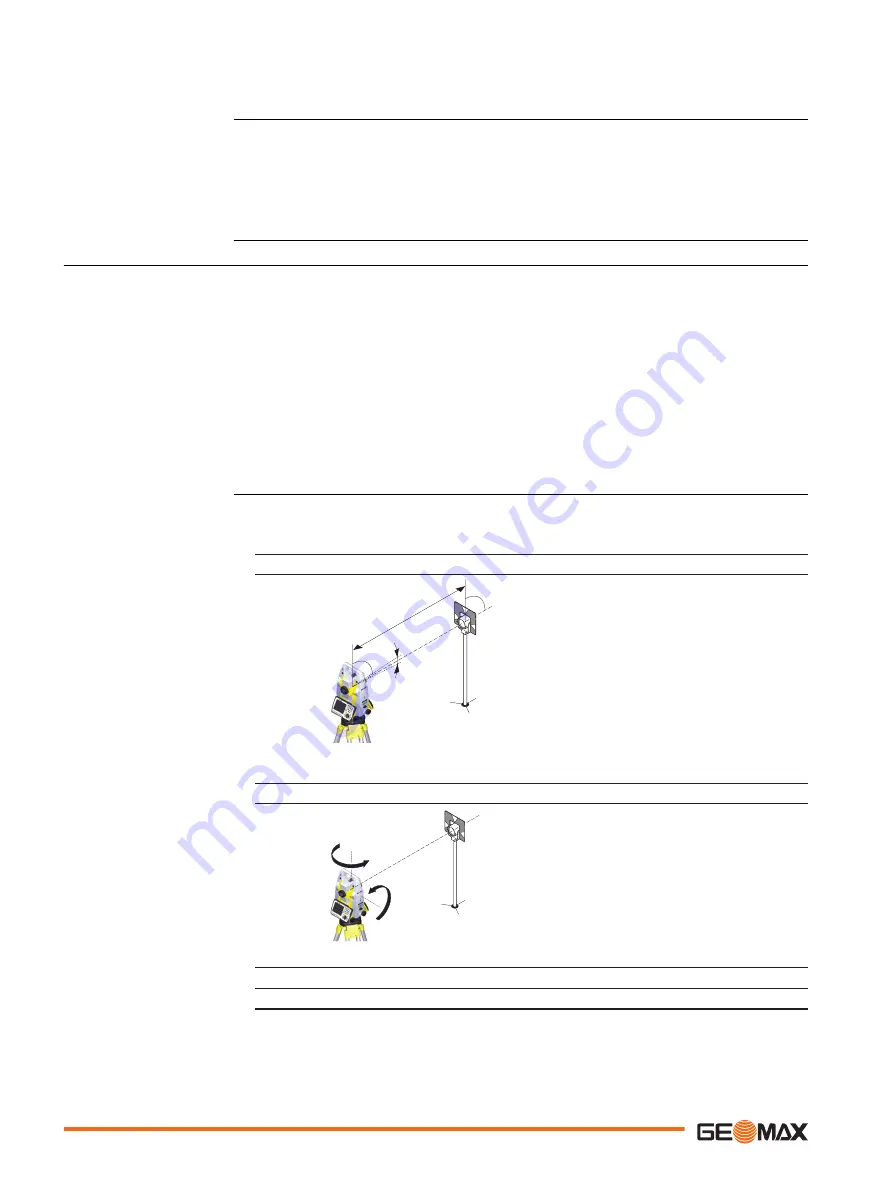
1.
MAIN MENU: Apps\Calib\Calibrate All or Calibrate without AiM.
2.
Level the instrument and press OK.
3.
± 9°
~ 100 m
009863_001
Aim the telescope accurately at a target at about
100 m distance. The target must be positioned within ±9 °/±10 gon of the horizon-
tal plane.
4.
Press OK to measure and continue to the next step.
5.
180°
180°
009864_001
Motorised instruments change automatically to the
other face. It is recommended carefully fine-point to the target manually.
6.
Press OK to measure and continue to the next step.
7.
Repeat steps 3,4,5 and 6 for the second set. Continue with step 8.
☞
☞
Description
Calibrate step-by-step
46
Apps


