Chapter 4. Basic Programming
44
TMO2D Digital Display User’s Manual
4.8.5b Set Time Interval?
The
Set Time Interval?
option enables you to set the time interval at which an Auto Cal or Verification will occur.
Set Time Interval?
enables you to set an interval of either hours or days. You can enter hours as fractions
(i.e., 90 minutes = 1.5 hours), up to a maximum of 24 hours.
Days can range from 0 to 99; however, the display does not accept fractional days. An interval of zero days prevents
Auto Cal from occurring. (You can still perform a manual field calibration through the Perform AutoCal option.) If you
enter a number of days (other than zero), the display will prompt for the time of day when the Auto Cal should occur.
For example, to set the time interval for 12 hours:
To set the time interval for a given number of days:
To enter a time of day at which the display performs Auto Cal:
Note:
The number of days entered at this prompt can be no higher than the number of days entered at the “Days”
prompt above.
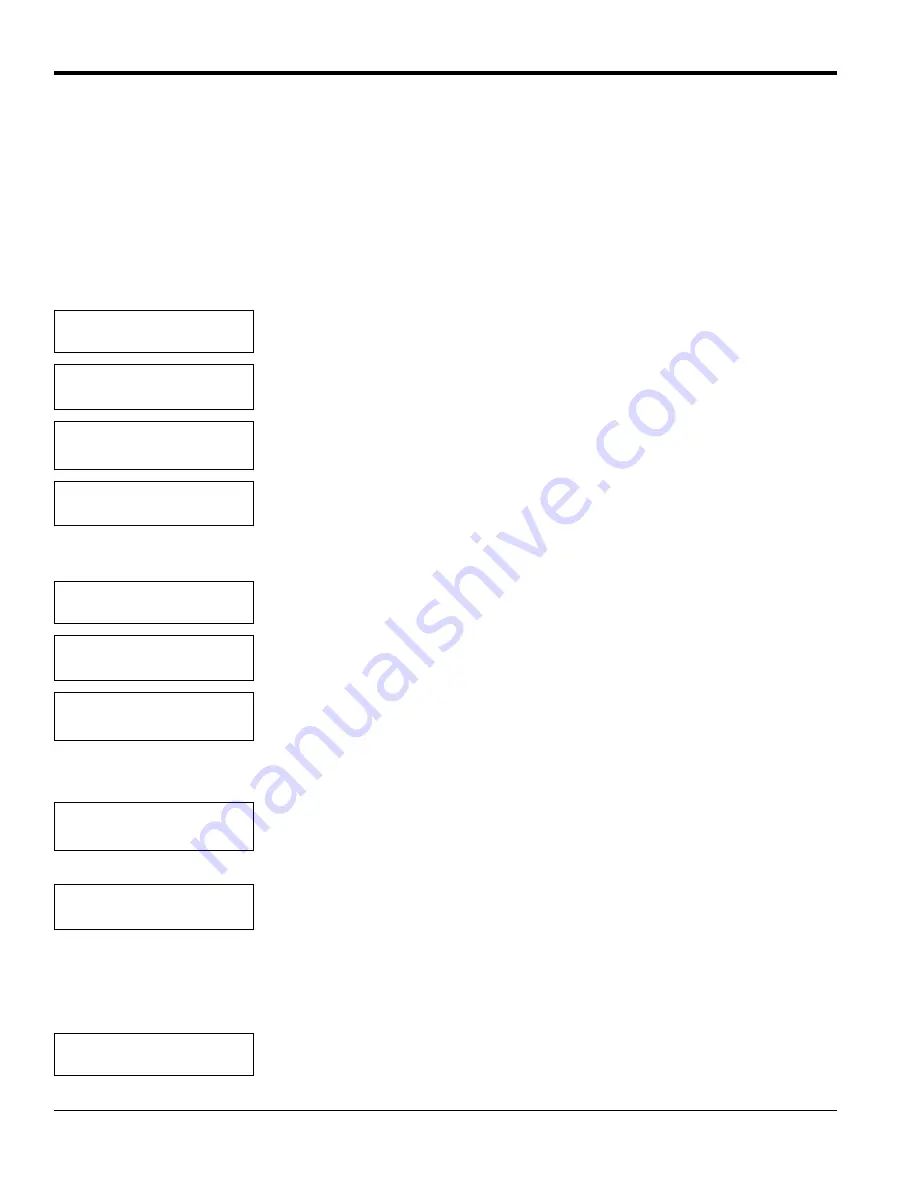
AUTO CALIBRATION MENU
Set Time Interval?
Scroll through the submenu, and press [YES] to enter the time interval option.
Select AutoCal Interval:
[HOURS] days
Use the [NO] or arrow keys to select
HOURS
. Press [YES] to confirm the selection.
Auto-Cal Interval:
Hours [XX.XX]:
Use the numeric keys to enter the number of hours. Press [YES] twice to confirm the
entry. Press [NO] to proceed. (The X’s represent the previously entered hours.)
AUTO CALIBRATION MENU
Set Time Interval
?
The display returns to the Time Interval option.
AUTO CALIBRATION MENU
Set Time Interval?
Press [YES] to enter the Time Interval option.
Select AutoCal Interval:
hours [DAYS]
Use the [NO] or arrow keys to select “DAYS” and press [YES].
Auto-Cal Interval:
Days [XX.XX]:
Use the numeric keys to enter the number of days, and press [YES] twice to confirm
the entry. Press [NO] to proceed. (The X’s represent the previously entered days.)
AutoCal at Time:
HH.MM [XX.XX]:
Use numeric keys to enter the time (in 24-hour format). Press [YES] twice to
confirm the entry. Press [NO] to proceed. (X’s represent previously entered hours.)
Auto-Cal Interval:
Days to Next Cal:[XX.XX]
Use the numeric keys to enter the number of days until the next auto cal , and press
[YES] twice to confirm the entry. Press [NO] to proceed. (The X’s represent the
previously entered days.)
AUTO CALIBRATION MENU
Set Time Interval?
Press [NO] to proceed to the “Set AutoCal Mode?” option.
Summary of Contents for TMO2D
Page 1: ...GE Measurement Control Solutions Gas Moisture TMO2D Digital Display User s Manual ...
Page 4: ...ii ...
Page 10: ...Chapter 1 Features and Capabilities 2 TMO2D Digital Display User s Manual ...
Page 24: ...Chapter 2 Installation 16 TMO2D Digital Display User s Manual ...
Page 26: ...Chapter 2 Installation TMO2D Digital Display User s Manual 18 ...
Page 72: ...Chapter 6 Specifications 64 TMO2D Digital Display User s Manual ...
Page 74: ...Appendix A Outline and Installation Drawings 66 TMO2D Digital Display User s Manual ...
Page 86: ...Appendix B Menu Maps 78 TMO2D Digital Display User s Manual ...
Page 92: ...Appendix B Menu Maps TMO2D Digital Display User s Manual 84 ...
Page 96: ...Index 88 TMO2D Digital Display User s Manual ...
Page 98: ...Warranty 90 TMO2D Digital Display User s Manual ...
Page 100: ......
Page 101: ......


