


13 Click the OK button in the Install From Disk dialog.
14 Click the Next button in the Add Hardware Wizard.
15 Click the Next button once again in the Add Hardware Wizard.
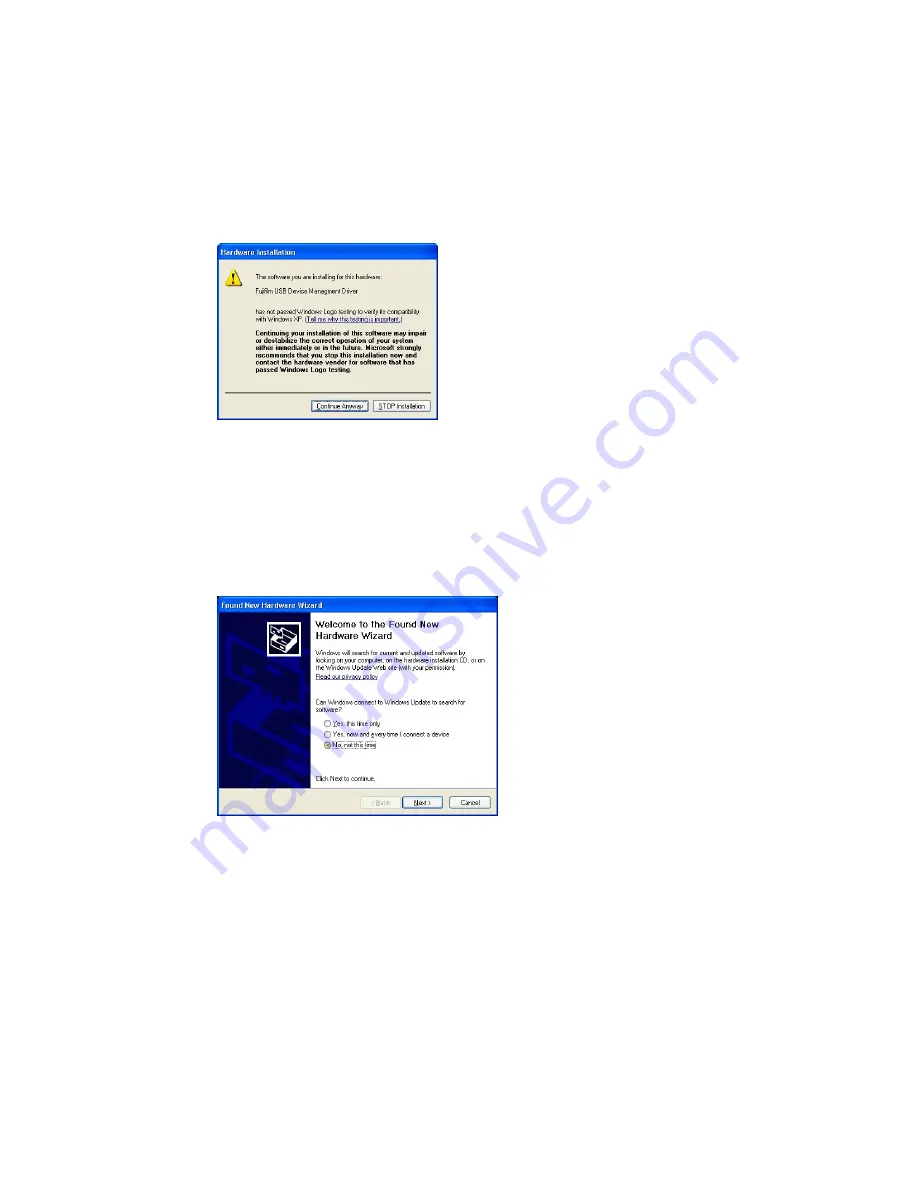
16 Click the Continue Anyway button.
17 Click the Finish button to complete the driver installation.
3.4.1.2 Installation of the USB Function driver (Windows XP)
1 Connect the computer and the ImageQuant LAS 4000 with a USB cable and turn ON the power
switch of ImageQuant LAS 4000.
Result:The ImageQuant LAS 4000 will automatically be detected by the computer.
2 In the Found New Hardware Wizard dialog, choose No, not this time and click the Next button.
3 Insert the ImageQuant LAS 4000 CD, then select Install the software automatically (Recommended)
and click the Next button.
4 Click the Finish button to complete the installation.
3.4.1.3 Installation of ImageQuant LAS 4000 Control Software (Windows XP)
1 Insert the ImageQuant LAS 4000 Control Software CD.
2 Locate and double-click the file ImageQuant LAS 4000.msi.
3 In the ImageQuant LAS 4000 - InstallShield Wizard, click the Next button.
4 Read the license text. If the license agreement is not acceptable please contact a GE Healthcare
representative, see the back cover of this manual for contact information.
Select I accept the terms in the license agreement and click the Next button.
Getting Started with ImageQuant LAS 4000 28-9607-59 AB
29
3 Installation
3.4 Installation of the software
3.4.1 Installation (Windows XP)
Summary of Contents for ImageQuant LAS 4000
Page 1: ...GE Healthcare Getting Started with ImageQuant LAS 4000 Original instructions...
Page 2: ......
Page 85: ......


