82
232001840G(08)
Below is a chart for your convenience detailing the Set DPI (your input setting) vs. Actual
DPI (your output results).
Set
DPI
125
250
300*
380
500
600*
760
1000
Actual
DPI
127
254
381
381
508
762
762
1016
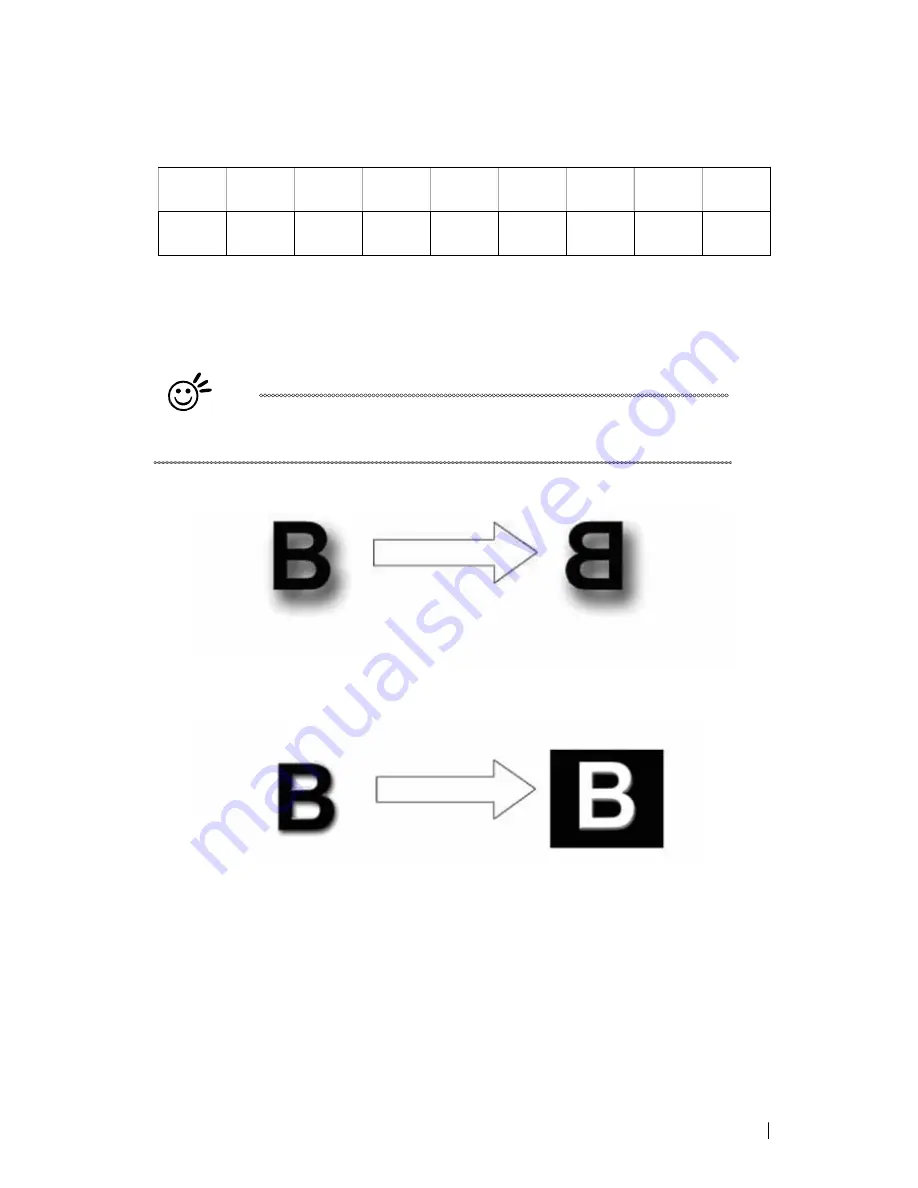
Mirror
(Option Page) [DEFAULT SETTING: Unselected]
Checking this box will automatically engrave your image with a mirrored effect. This setting will flip the
image along the Y-axis from left to right and vice-versa.
Tip
When engraving a stamp, via the stamp mode, the stamp image needs to be
engraved in reverse (mirrored) for the final stamp to be correctly laid out.
Invert (Option
Page) [DEFAULT SETTING: Unselected]
Checking this box automatically inverts / reverses the color of your image (the white areas become
black and vice versa). The Invert option is not available in disabled with Manual Color File mode
selected.
Print Immediately (Option Page) [DEFAULT SETTING: Unselected]
Checking this will instruct the LaserPro C180II to immediately begin the laser engraving process, when
you select Print from your graphic software program. If Print Immediately is not checked, then selecting
Print will transfer the job file to the LaserPro C180II system and will need to be initialized from the
LaserPro C180II control panel.
SmartACT (Options Page) [DEFAULT SETTING: Unselected]
SmartACT reduces the amount of time it takes to process a job, by eliminating unnecessary travel
of the lens carriage at the expense of some quality. Usually the quality loss is minimal, but will
depend on the image or design you are working with; please take some time to experiment with
your particular design to determine whether the tradeoff is acceptable. When selected, the working
Summary of Contents for LaserPro C180II
Page 1: ...232001840G 08 ...
Page 20: ...20 4 Place the machine into the package box 5 Cover the lid and tighten by rope ...
Page 29: ...232001840G 08 ...
Page 34: ...232001840G 06 ...
Page 35: ...232001840G 08 ...
Page 107: ...107 232001840G 08 ...
Page 109: ...109 232001840G 08 ...
Page 114: ...114 232001840G 08 8 Now you are ready to output the modified image by clicking File Print ...
Page 137: ...137 232001840G 08 Chapter 9 Basic Troubleshooting ...
Page 139: ...139 232001840G 08 Chapter 10 Appendix Glossary LaserPro C180II Series Specification Sheet ...


