232001840G(06)
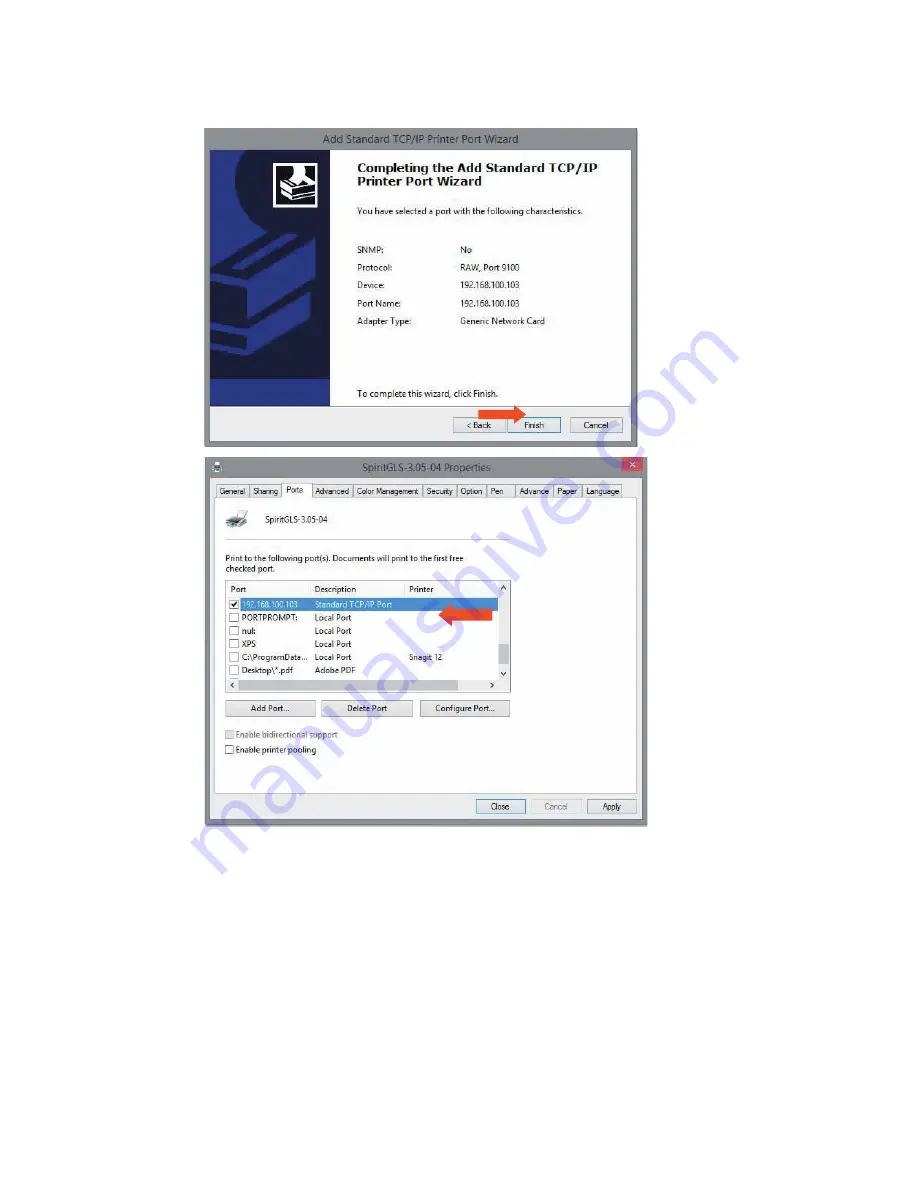
4.1.2.1 Ethernet Connectivity Setup
GCC laser engraver is built-in with LAN port to transmit data from PC to laser engraver with ease and
higher speed instead of USB port option.
Step 1. Connect LAN cable to the LAN port of GCC laser engravers and turn on machine
Step 2. Navigate the control panel through <F4> Function
Æ
<Machine Setting>
Æ
<LAN Setup Wizard>
Æ
DHCP: OFF.
Step 3. Navigate the control panel through <F4> Function
Æ
<Machine Setting>
Æ
<LAN Setup Wizard>
Æ
IP Address.
Step 4. Enter 192,168,3.X (X refers to 1~255 value which can’t be the same value with IP address setting
in PC or Notebook) for IP, and 255.255.255.0 for MASK with UP/ DOWN keys.
Summary of Contents for LaserPro C180II
Page 1: ...232001840G 08 ...
Page 20: ...20 4 Place the machine into the package box 5 Cover the lid and tighten by rope ...
Page 29: ...232001840G 08 ...
Page 34: ...232001840G 06 ...
Page 35: ...232001840G 08 ...
Page 107: ...107 232001840G 08 ...
Page 109: ...109 232001840G 08 ...
Page 114: ...114 232001840G 08 8 Now you are ready to output the modified image by clicking File Print ...
Page 137: ...137 232001840G 08 Chapter 9 Basic Troubleshooting ...
Page 139: ...139 232001840G 08 Chapter 10 Appendix Glossary LaserPro C180II Series Specification Sheet ...


