20
•
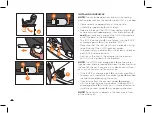
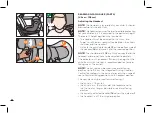
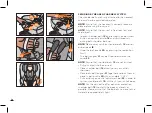
Please select an appropriate seat in the vehicle.
•
If the ISOFIX anchorage points
6
in your car are difficult
to access, you should use the connect guides
8
provided
in order to avoid damaging the cover.
•
If necessary attach the connect guides
8
provided
with the longer lug pointing upwards into both ISOFIX
anchorage points
6
. In many cars it is more effective to
install the connect guides
8
in an opposing direction.
•
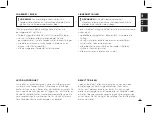
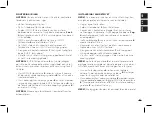
Unfold the support leg
2
until it locks.
•
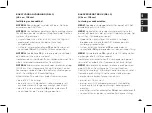
Release the lock of the ISOFIX connectors. Both locks
can be adjusted independently. Push both buttons
3
and 4
simultaneously and pull the ISOFIX connectors
out of the base to the endstopper.
•
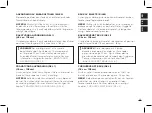
The ISOFIX connectors
5
have to lock into the ISOFIX
anchorage points
6
with an audible "CLICK".
•
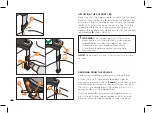
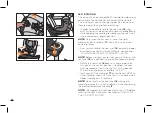
Make sure that the seat stays firmly in place by trying
to pull it out of the ISOFIX connect guides.
•
The green safety indicator
7
must be clearly visible on
both ISOFIX release buttons.
•
Next, push the seat in the direction to the backrest
until it is fully aligned with the backrest.
3
4
6
5
3
4
7
2
8
6
CLICK!
INSTALLING IN VEHICLE
NOTE!
If your vehicle does not have an i-Size seating
position, please check the vehicle typelist that is included.
NOTE!
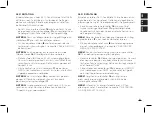
The ISOFIX anchorage points
6
are two metal
lugs per seat and are located between the backrest and
the seat of the car. If you are in any doubt, consult your
car‘s instruction manual for assistance.
NOTE!
Do not put any objects in the foot area in front
of the child seat.

