32 Using Your Gateway Solo 3100 Notebook
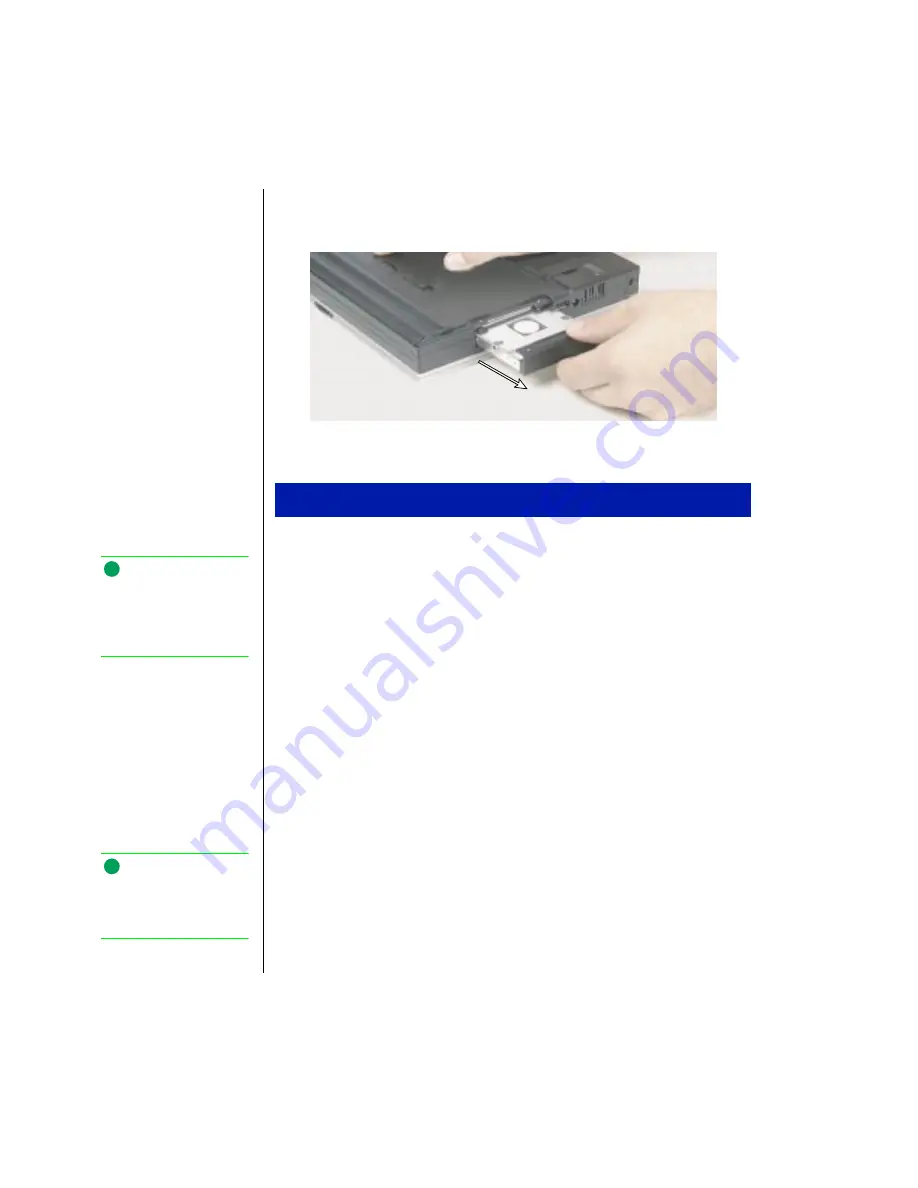
6.
Pull the drive straight out.
1.
Make sure the power is turned off, the AC power is disconnected, and
the battery is removed.
2.
Slide the new drive firmly into the bay.
3.
Secure the drive with the two screws.
4.
Turn the notebook over and reconnect the AC adapter and replace the
battery pack.
5.
Start up the system when you are ready to use it.
6.
If this is a first-time installation, follow the information that
accompanied the drive to prepare it for use.
Using PC Cards
Your notebook’s PC Card slot (also known as a PCMCIA card slot) is
located on the right side of your notebook. This slot accepts PC Card 16,
PC Card 32 (CardBus), or Zoomed Video cards. Your notebook is
configured to automatically accept most PC Cards.
To replace the hard disk drive
Note:
For more information on
connecting AC power, see
“Connecting the AC power”
on page 11.
Note:
For a picture of where the
PC Card slot is located, see
“PC Card slot” on page 5.
Summary of Contents for Solo 3100
Page 4: ...iv Using Your Gateway Solo 3100 Notebook ...
Page 12: ...8 Using Your Gateway Solo 3100 Notebook ...
Page 18: ...14 Using Your Gateway Solo 3100 Notebook ...
Page 64: ...60 Using Your Gateway Solo 3100 Notebook ...
Page 72: ...68 Using Your Gateway Solo 3100 Notebook ...
Page 73: ...Appendix A Accessories Solo Notebook Accessories 70 ...
Page 78: ...74 Using Your Gateway Solo 3100 Notebook ...
Page 79: ...Appendix C Contacting Gateway Contacting Gateway 76 ...
Page 81: ...Appendix C Contacting Gateway 77 ...


