Chapter 3: Using Your Notebook 23
1.
Place your hands in the typing position and press the EZ Point (A) in
the direction you want to move the cursor.
2.
Press the EZ Point select buttons (B and C) located below the spacebar
to select as you would with a mouse. You can also press the EZ Point
directly downward to perform a mouse click.
Changing EZ Point properties
You can change EZ Point properties such as button assignments, cursor
speed, and acceleration. You can also enable scrolling, press to select,
release to select, and magnifying glass.
1.
Click
Start
,
Settings,
then
Control Panel
. The Control Panel appears.
2.
Double-click the
EZ Point
icon. The
EZ Point Properties
dialog box
appears.
3.
Click the tab of your choice to customize functions of the EZ Point.
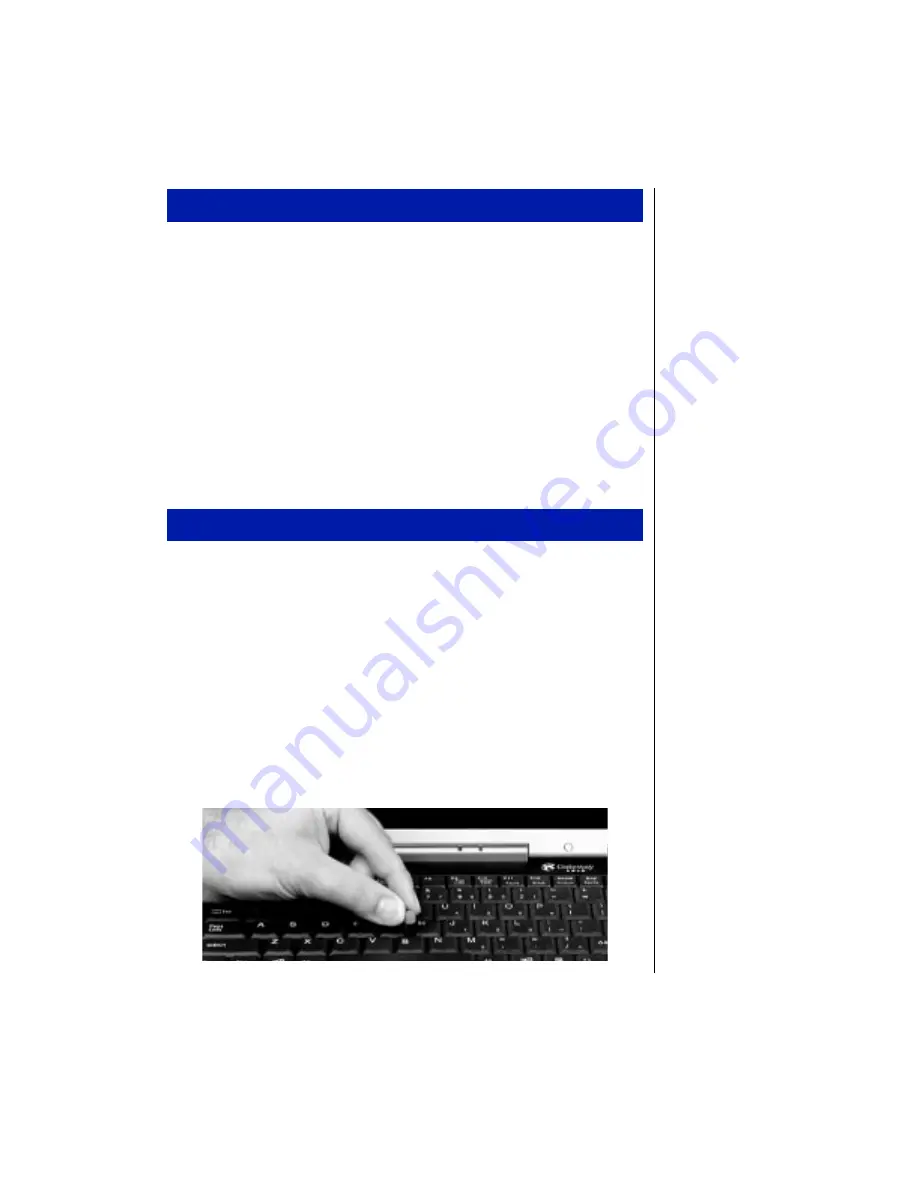
Replacing the EZ Point cap
The cap on the EZ Point is removable. If the cap becomes worn or damaged,
remove the cap from the stick and replace it with one of the spares included
with your notebook.
To use the EZ Point
To customize the EZ Point
Summary of Contents for Solo 3100
Page 4: ...iv Using Your Gateway Solo 3100 Notebook ...
Page 12: ...8 Using Your Gateway Solo 3100 Notebook ...
Page 18: ...14 Using Your Gateway Solo 3100 Notebook ...
Page 64: ...60 Using Your Gateway Solo 3100 Notebook ...
Page 72: ...68 Using Your Gateway Solo 3100 Notebook ...
Page 73: ...Appendix A Accessories Solo Notebook Accessories 70 ...
Page 78: ...74 Using Your Gateway Solo 3100 Notebook ...
Page 79: ...Appendix C Contacting Gateway Contacting Gateway 76 ...
Page 81: ...Appendix C Contacting Gateway 77 ...


