


CHAPTER 3: Using Windows Vista
28
To empty the Recycle Bin:
1
Double-click the
Recycle Bin
icon on the desktop. The
Recycle Bin
window opens.
2
Click
Empty the Recycle Bin
. Windows asks you if you are sure that you want to empty
the bin.
3
Click
Yes
. Windows permanently deletes all files in the Recycle Bin.
Searching for files
If you are looking for a particular file or folder or a set of files or folders that have characteristics
in common, but you do not remember where they are stored on your hard drive, you can use
the Search utility. to search by:
Files and folders found using this utility can be opened, copied, cut, renamed, or deleted directly
from the list in the results window.
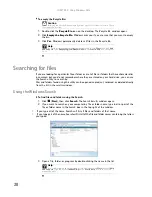
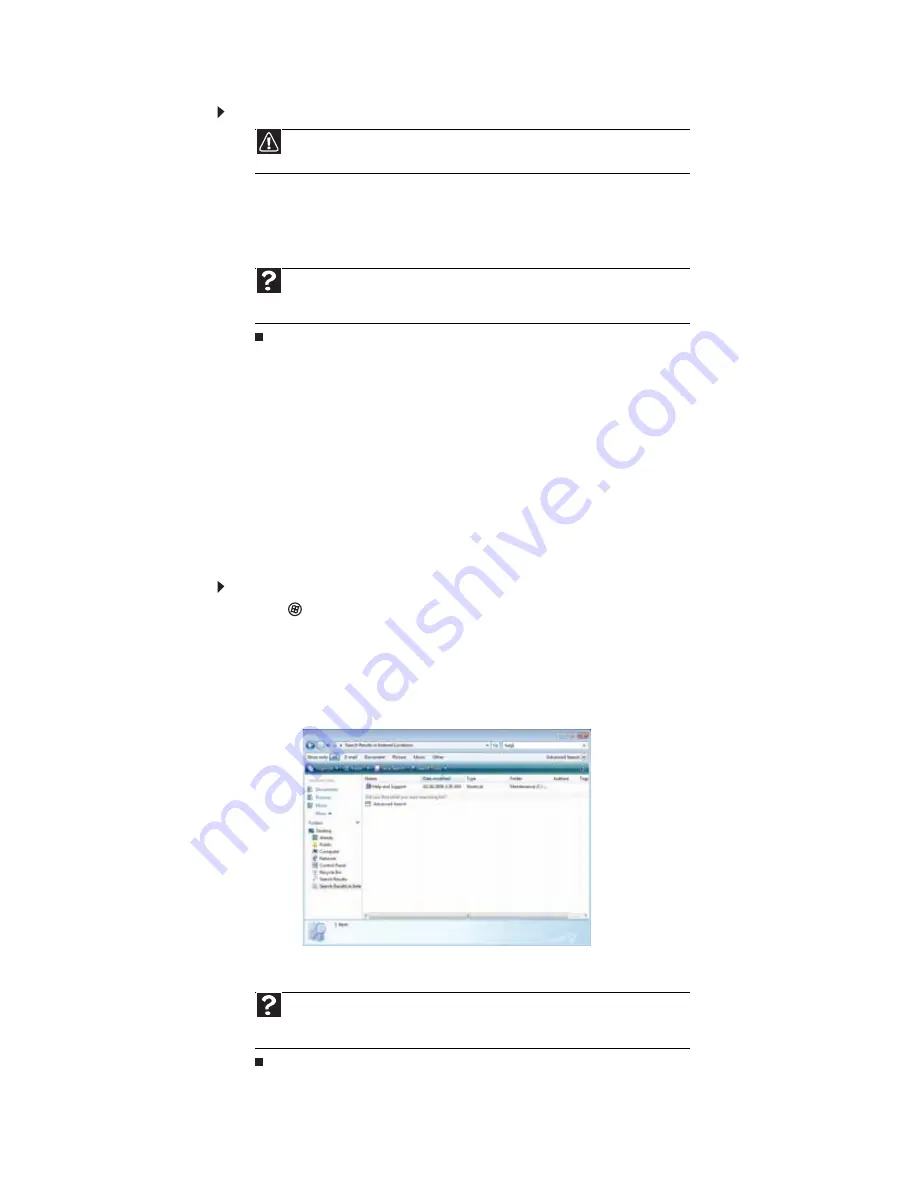
Using the Windows Search
To find files and folders using the Search:
1
Click
(
Start
), then click
Search
. The
Search Results
window opens.
2
If you want to search on your computer by file or folder name, type in all or part of the
file or folder name in the
Search
box in the top right of the window.
•
If you type all of the name, Search will list all files and folders of that name.
•
If you type part of the name, Search will list all of the file and folder names containing the letters
you typed.
3
Open a file, folder, or program by double-clicking the name in the list.
Caution
Emptying the Recycle Bin permanently erases any files or folders in the bin. These
files cannot be restored.
Help
For more information about emptying the Recycle Bin, click
Start
, then click
Help
and Support
. Type
emptying the Recycle Bin
in the
Search Help
box, then press
E
NTER
.
Help
For more information about searching for files and folders, click
Start
, then click
Help
and Support
. Type the keyword
searching
in the
Search Help
box, then click the
magnifying glass.
Summary of Contents for 6-Bay mBTX PRO
Page 1: ... 6 Bay mBTX Pro USERGUIDE ...
Page 2: ......
Page 28: ...CHAPTER 2 Setting Up and Getting Started 20 ...
Page 60: ...CHAPTER 6 Using Your Hardware 52 ...
Page 102: ...CHAPTER 9 Networking Your Computer 94 ...
Page 103: ...CHAPTER10 95 Protecting your computer Hardware security Data security Security updates ...
Page 126: ...CHAPTER 11 Maintaining Your Computer 118 ...
Page 150: ...CHAPTER 13 Adding and Replacing Components 142 ...
Page 151: ...CHAPTER13 143 Troubleshooting Safety guidelines First steps Troubleshooting Telephone support ...
Page 180: ...Contents 172 ...
Page 181: ......


