
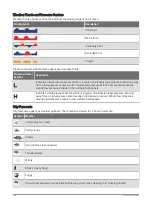
Video Camera Movement Control
NOTICE
Do not aim the camera at the sun or extremely bright objects. Damage to the lens may occur.
Always use the chartplotter controls or buttons to pan and tilt the camera. Do not manually move the camera
unit. Manually moving the camera may damage the camera.
NOTE: This feature is available only when a compatible camera is connected. You may need to update the
camera software to use this feature.
You can control the movements of the connected video cameras that support panning, tilting, and zooming.
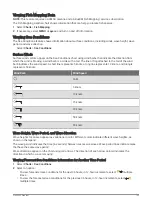
Controlling Video Cameras Using On-Screen Controls
On-screen controls allow you to control pan-tilt-zoom (PTZ) cameras. Refer to the camera manual for a list of
available features.
From a video screen, select an option:
• To zoom in and out, turn the knob.
• To pan or tilt the camera, use the arrow keys.
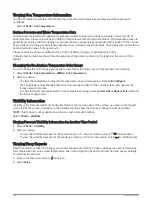
Configuring the Video Appearance
NOTE: Not all options are available on all camera models and chartplotter models.
1 From the video screen, select MENU > Video Setup.
2 Select an option:
• To show the video using a stretched aspect ratio, select Aspect > Stretch. The video cannot be stretched
beyond the dimensions provided by the connected video device, and it may not fill the entire screen.
• To show the video using a standard aspect ratio, select Aspect > Standard.
• To adjust the brightness, select Brightness, and select Up, Down, or Auto.
• To adjust the color saturation, select Saturation, and select Up, Down, or Auto.
• To adjust the contrast, select Contrast, and select Up, Down, or Auto.
• To allow the chartplotter to automatically select the source format, select Standard > Auto.
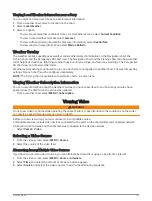
Camera Tracking
When connected to a compatible camera, you can use advanced camera-tracking features.
• Hold the camera on a fixed compass direction (Compass Lock)
• Lock the camera at a fixed angle relative to the vessel (Vessel Lock)
• Track AIS, MARPA, or waypoint targets (also known as slew-to-cue)
To use any of the camera tracking features, you must connect compatible sensors and cameras to the
chartplotter using the Garmin Marine Network or the NMEA 2000 network.
To support Compass Lock and Vessel Lock functionality, you must connect these sensors and cameras:
• A tracking-capable marine camera, such as a newer model FLIR IP video camera
• A GPS antenna
• A heading sensor
NOTE: For the best camera tracking performance, the heading sensor should provide 9-axis data including
yaw, pitch, and roll.
In addition to the sensors and cameras needed to support Compass Lock and Vessel Lock, you must connect
these additional devices to the Garmin Marine Network to support AIS and MARPA tracking:
• To track targets using AIS, you must connect a compatible AIS receiver.
• To track targets using MARPA, you must connect a compatible radar device.
164
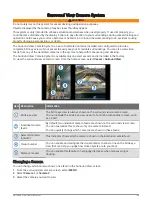
Viewing Video
Summary of Contents for GPSMAP1222
Page 1: ...GPSMAP 10X2 12X2SERIES Owner sManual...
Page 14: ......
Page 213: ......
Page 214: ...support garmin com GUID C3CEA164 A1CB 4B15 92F2 5C04944CC6F3 v21 January 2024...