
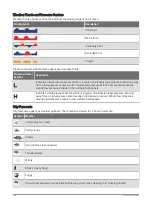
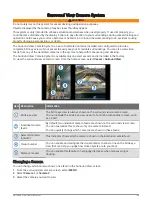
Controlling the VIRB Action Camera with the Chartplotter
Before you can control a VIRB action camera with the chartplotter, you must connect the devices using a
wireless connection.
You can connect up to five VIRB action cameras to the chartplotter.
After you connect the VIRB action camera with the chartplotter, a new option is added to Vessel. You can start
and stop recording on the VIRB action camera using the chartplotter.
NOTE: The VIRB image shown on the chartplotter is a in a lower resolution than the VIRB action camera records.
To view the high-resolution video, view the video on a computer or television.
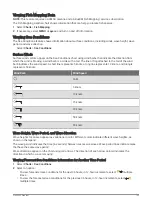
1 Select Vessel > VIRB®.
2 Select an option:
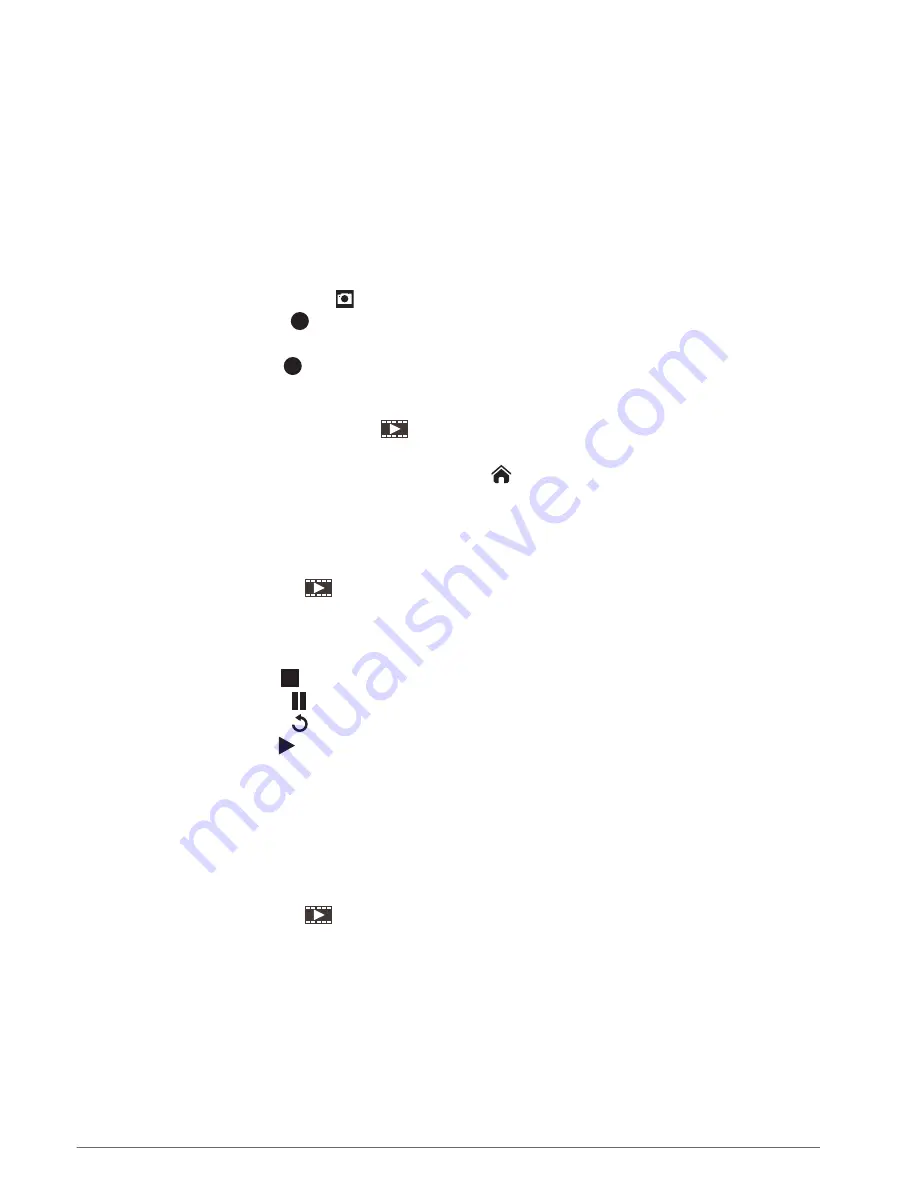
• To take a still photograph, select .
• To begin recording, select .
When recording, the remaining recording memory is shown.
• To stop recording, select again.
• If you have more than one VIRB action camera connected, use the arrows to select a different action
camera to control.
• To view stored videos or images, select
.
• To pan and tilt the VIRB 360, use the arrow keys.
• To return the VIRB 360 view to the home position, select
.
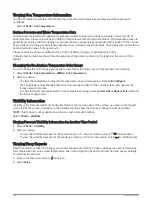
Controlling the VIRB Action Camera Video Playback
You can view VIRB action camera video and images using the chartplotter.
NOTE: The VIRB playback on the chartplotter is shown in the same quality as the live view on the chartplotter.
To view the high-resolution video, view the video on a computer or television.
1 From the VIRB® screen, select
.
2 Wait a few seconds for the thumbnail images to load.
3 Select a video or image.
4 Control the playback using the on-screen buttons or menu options:
• To stop the video, select .
• To pause the video, select .
• To replay the video, select .
• To play the video, select .
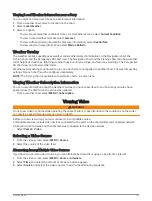
Deleting a VIRB Video
You can delete a video or image from the VIRB action camera.
1 Open the VIRB video or image to delete.
2 Select MENU > Delete File.
Starting a VIRB Video Slideshow
You can view a slideshow of the videos and images on the VIRB action camera.
1 From the VIRB® screen, select
.
2 Wait a few seconds for the thumbnail images to load.
3 Select a video or image.
4 Select MENU > Start Slideshow.
To stop the slideshow, selcet MENU > Stop Slideshow.
Viewing Video
167
Summary of Contents for GPSMAP1222
Page 1: ...GPSMAP 10X2 12X2SERIES Owner sManual...
Page 14: ......
Page 213: ......
Page 214: ...support garmin com GUID C3CEA164 A1CB 4B15 92F2 5C04944CC6F3 v21 January 2024...