16
17
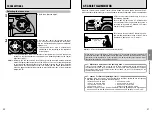
MOUNTING THE CAMERA LENS
Getting
R
eady
1
1
2
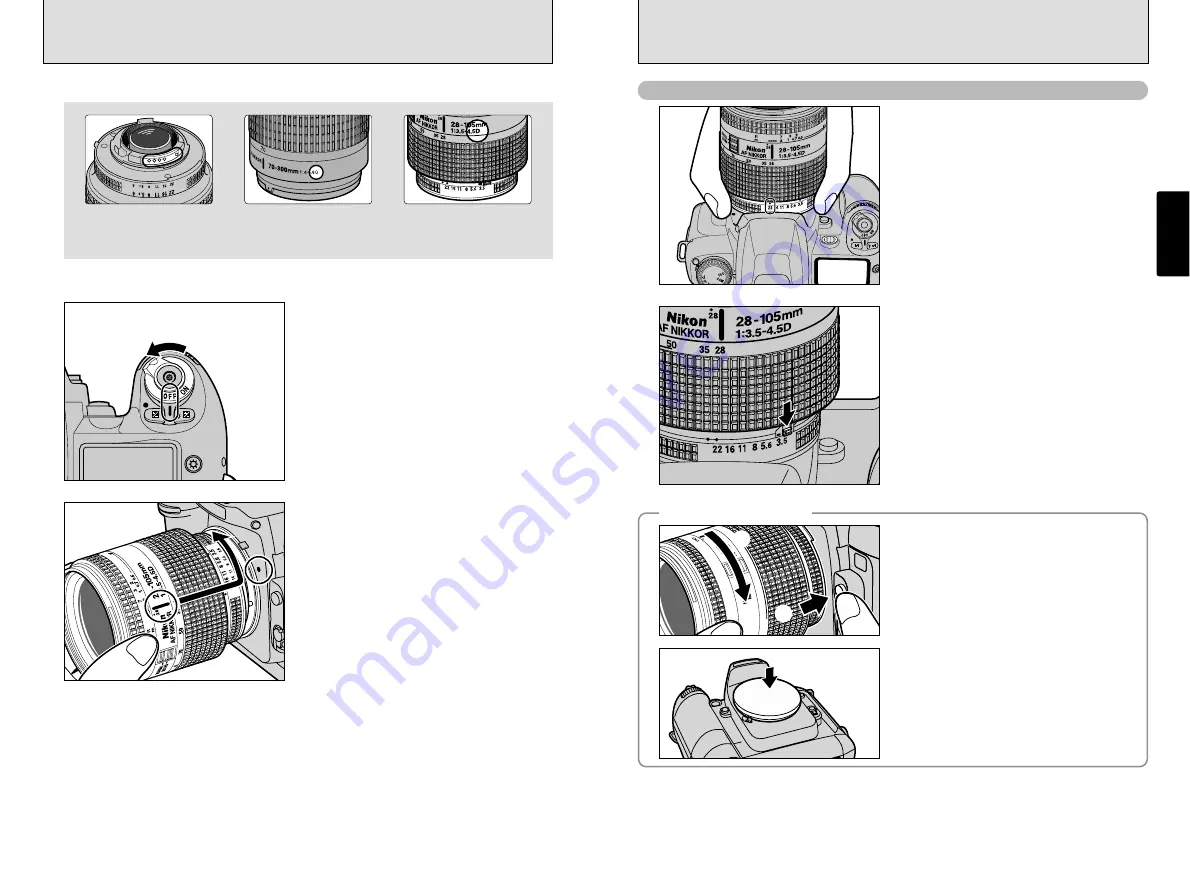
Check the lens type.
Set the power switch to OFF to switch the
camera off.
CPU contacts of CPU lens
The lens is fitted with CPU
signal contacts.
CPU Nikkor lens other
than G-type
(with aperture ring)
G-type Nikkor lens
(without aperture ring)
3
Position lens in the camera’s bayonet mount so
that the mounting indexes on lens and camera
body are aligned, then twist lens counterclockwise
until it locks into place.
●
!
Always change the lens in an area free of dirt and dust.
●
!
When attaching the lens, take care not to press the lens
release button.
●
!
When the lens is not attached or when a non-CPU
Nikkor lens is attached and the power switch is turned
on, “
`
” blinks in the top display panel and viewfinder,
and the shutter cannot be released. See page 19 for a
non-CPU lens.
●
!
Take care not to mount the lens when it is at an angle to
the camera as this can damage the lens mount on the
camera.
●
!
See “Lenses that can be used with this camera” (
➡
P.18) for details.
Using Nikkor lenses with built-in CPUs other than G-type lenses
1
Set the aperture ring to the smallest aperture.
2
Lock the aperture ring. If you switch the camera
on without first selecting the smallest aperture
(the aperture setting with the highest number),
“
¡
” flashes on the top display panel and in the
viewfinder, and the shutter will not operate.
◆
Removing the lens
◆
Push and hold the lens release button, then turn
the lens clockwise.
22
ft ft
m
28 28
70
50 50
35 35
28 28
8
5
85
1
0
5
105
22
22
ft ft
m
28 28
70
50 50
35 35
28 28
8
5
85
1
0
5
105
22
22
ft ft
m
28 28
70
50 50
35 35
28 28
8
5
85
1
0
5
105
22
ft
m
28
70
50
35
28
8
5
1
0
5
1
2
While the lens is removed from the camera, fit the
camera body cap provided onto the camera to
protect the inside of the camera and prevent
soiling of the mirror and viewfinder screen.
(You can also use the Nikon BF-1A Body Cap.)
Summary of Contents for FinePix S2 Pro
Page 64: ......

