58
59
SELF-TIMER PHOTOGRAPHY
Advanced
Photography
3
F1
F2
F3
F4
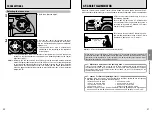
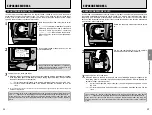
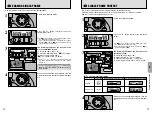
You can use the self-timer when you want to be in the photograph. Use a tripod or place the
camera on a stable surface before using the self-timer.
1
Hold down the release mode switch unlock
button and set the release mode switch to Self
Timer.
2
1
Position the focus area over the subject.
2
Press the shutter button down halfway to
focus the shot.
3
Without releasing the shutter button, press the
shutter button down fully to start the self timer.
3
The self timer flashes for 8 seconds and then
stays lit for 2 seconds, after which the shot is
taken.
h
To cancel Self Timer mode, set the power
switch to “OFF” or simply move the release
mode switch to another setting.
h
You can change the self timer running time
from 10 seconds to 2, 5 or 20 seconds
(
➡
P.98).
◆
Before shooting
◆
0
2
0
1
0
3
3
1
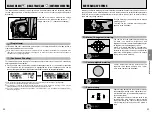
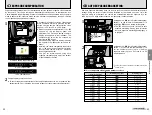
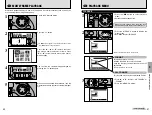
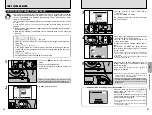
When you compose, focus and take the shot,
a preview image appears on the LCD monitor.
2
Press “F2” to move on to the next shot.
h
A preview image is always displayed,
regardless of the “PREVIEW” setting selected
in SET–UP.
h
If you change the release mode before multi-
exposure shooting is completed, no images
are recorded.
4
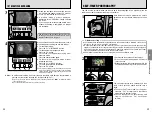
When you take the next (multi-exposure) shot, a
preview appears showing the overlaid images.
h
To record the image:
Press the “F1” or “MENU/OK” button.
h
To take another multi-exposure shot:
Press the “F2” button.
h
To take the shot again without using multi-
exposure mode:
Press the shutter button again.
h
To cancel multi-exposure mode without
recording the shots:
Press the “F3” or “BACK” button.
h
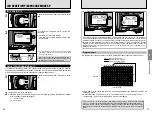
To check the brightness distribution:
Press the “F4” button.
●
!
Preview image display is cancelled when the Auto Power
Off function operates (after 15 seconds under the default
setting). Record preview images before the Auto Power
Off function is triggered.
CSM
11: In multi-exposure mode, one shot is taken in the frame each time the shutter button is
pressed, but continuous shooting can also be used (
➡
P.97).
●
!
If you only shoot one frame, multiple exposures cannot be shot because “
S
” is not displayed. Always
take continuous shots.
●
!
You cannot use the built-in flash for continuous shooting.
You cannot use the function menus or SET–UP
to change the camera settings while multi-
exposure shooting is in progress.
i
MULTIPLE EXPOSURE
h
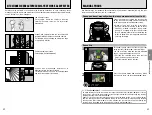
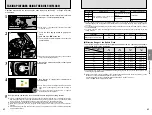
The self timer does not operate in situations where the camera shutter is disabled, such as when
the focus is not set in AF-S (Single-AF Servo) mode.
h
In exposure modes other than “
M
” (Manual), you must prevent any back-entry light from the
eyepiece to obtain the correct exposure. Before pressing the shutter button, cover the eyepiece
with your hand or the eyepiece cap provided. To attach the eyepiece cap, remove the rubber
eyecup and slide the cap down over the eyepiece from above.
h
Do not stand in front of the lens when setting the self-timer in autofocus mode.
0
1
0
2
Summary of Contents for FinePix S2 Pro
Page 64: ......


