Configuring/Starting Job Flow
149
S
e
nd fr
om M
a
ilbox
5
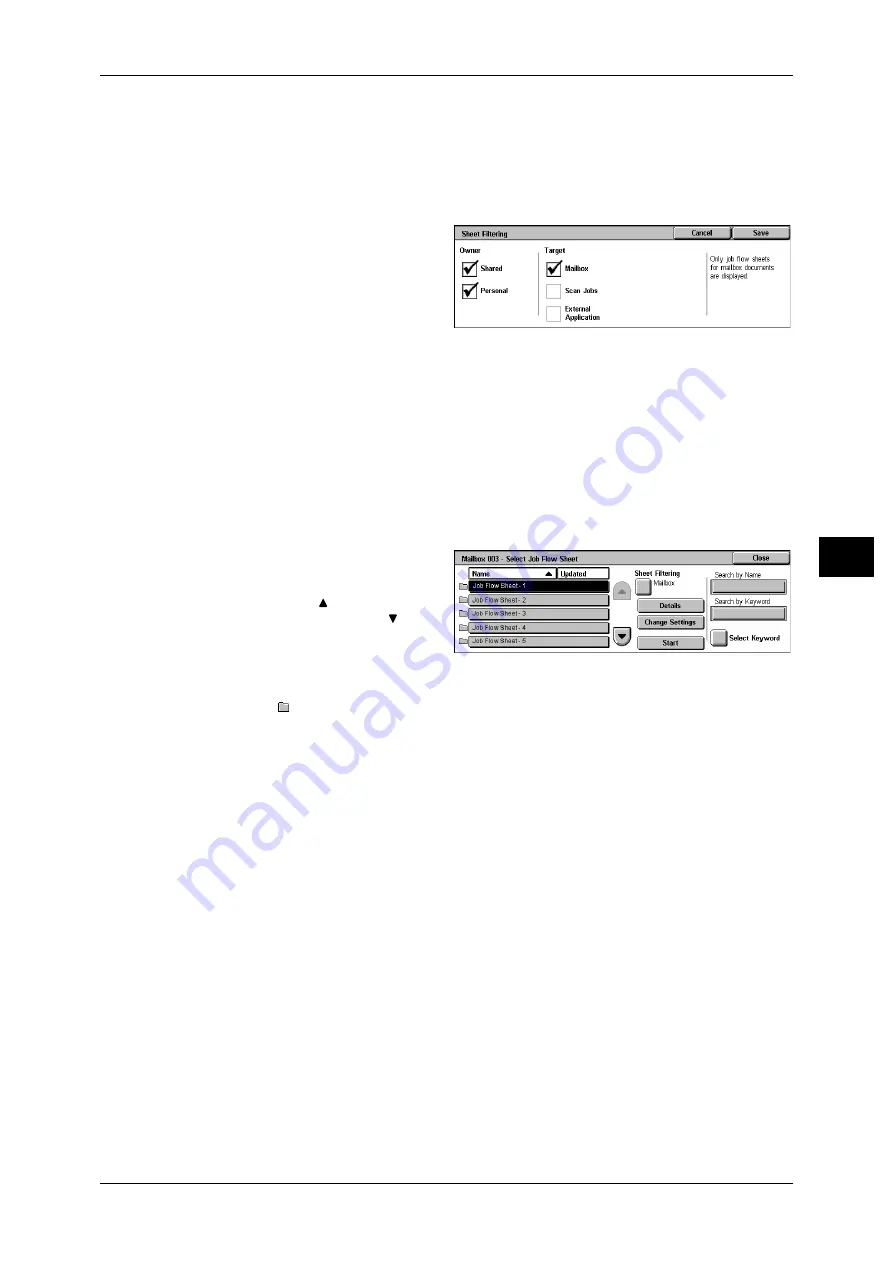
[Sheet Filtering] Screen
Filters the job flow sheets displayed.
Displayed job flow sheets may vary depending on the user authentication feature. Refer to "13
Authentication and Auditron Administration" > "Authentication for Job Sheets and Mailboxes" > "Job
Flow Sheet Types" in the Administrator Guide.
1
Select the filtering conditions, then
select [Save].
Note
• The job flows that can be
displayed on [Send from
Mailbox] are those whose
[Target] is [Mailbox], and
those stored on the machine.
Owner
Allows you to select an owner.
Target
Allows you to select the target of the job flow sheet.
[Select Job Flow Sheet] Screen
You can select and modify job flow sheets associated with the mailbox.
1
Select a job flow, and press the
<Start> button.
Note
• Select [
] to return to the
previous screen or [
] to
move to the next screen.
• You can sort the list in
ascending or descending order by pressing either [Name] or [Updated].
• At the left of the name, an icon showing the target of the job flow is displayed.
:Mailbox Document
2
Select any item.
Sheet Filtering
Displays the [Sheet Filtering] screen.
For more information, refer to "[Sheet Filtering] Screen" (P.149).
Details
Displays the [Details] screen.
Refer to "6 System Settings" > "Setup Menu" > "Job Flow Sheets" > "Edit/Delete" in the Administrator
Guide.
Change Settings
If the selected job flow sheet setting is editable, the [Change Settings] screen appears.
You can temporarily change the settings.
Start
Executes the selected job flow sheet.
Search by Name
Searches job flow sheet that partially corresponds with entered characters for
registered names when job flow sheet is created. Up to 128 characters are allowed.
For information on how to enter characters, refer to "Entering Text" (P.50).


