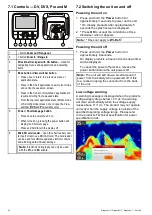
• The
Directional controls
can be used to scroll
through the available menu options.
• Pressing the
Ok
button selects the highlighted
option or conirms and dismisses pop up
messages.
• pressing the
Back
button returns to the previous
menu or closes the menu.
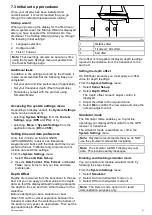
Placing a waypoint
Displays with a GPS / GNSS receiver can use
waypoints to mark points of interest.
1. Use the
Directional controls
to highlight the
desired location with the cursor.
2. Press the
OK
button.
The context menu is displayed.
3. Select
Place Waypoint
.
A conirmation pop up message is displayed.
4. Select
Ok
to place the waypoint, or
Edit
to edit
the waypoint details.
A waypoint is placed at the cursor’s location.
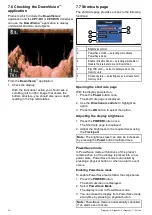
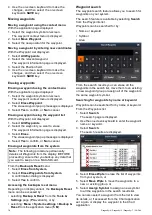
Context menu
A context menu is available on displays with a GPS /
GNSS receiver, which provides data and shortcuts
to menu items.
The context menu provides the position of the cursor:
• Depth
• Range
The context menu also provides the following menu
items:
•
Place Waypoint
Accessing the context menu
You can access the context menu by following the
steps below.
1. Use the
Directional controls
to highlight an
object or area.
2. Press the
OK
button.
The context menu is displayed.
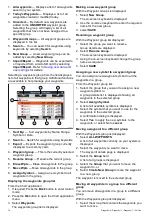
8.5 Zoom
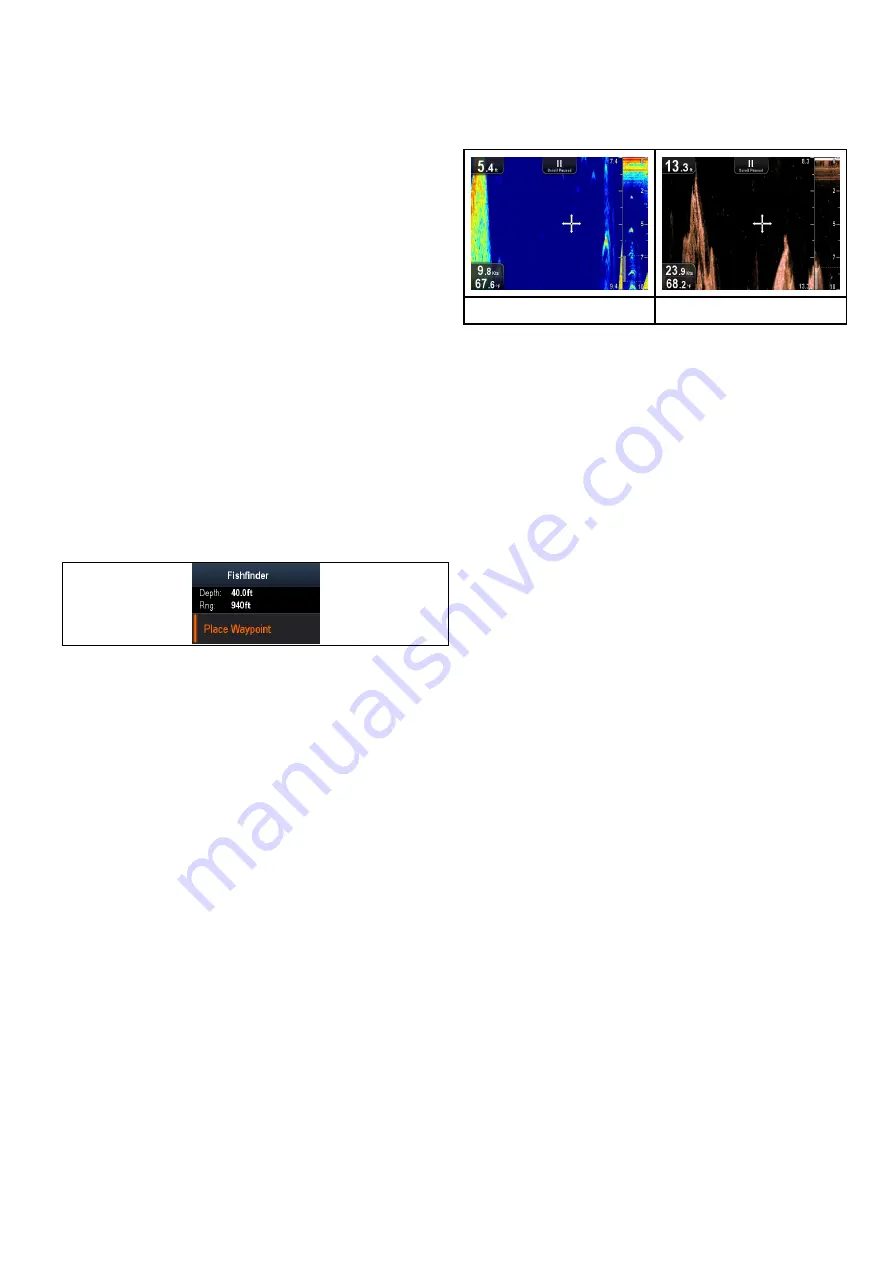
The Zoom function displays more detail onscreen by
magnifying a speciic area of the image.
When using Zoom the screen is split and displays
the zoomed image alongside the standard image.
Sonar application
DownVision application
This enables you to:
• select an area from the standard view that is
magniied and displayed alongside.
• increase and decrease the zoom level.
The zoomed section is indicated on the standard
screen by the zoom box.
Adjusting the Zoom level
To adjust the Zoom level and area follow the steps
below.
With the standard view displayed:
1. Pressing the
+
button to enable Zoom mode.
2. Subsequent presses of the
+
button will increase
the Zoom level
3. Pressing the
–
button will decrease the Zoom
level and inally revert to the standard view.
Selecting a Zoom area
When using Zoom the area displayed in the
magniied area of the screen can be changed.
With Zoom enabled:
1. Use the
Up
and
Down Directional controls
to
move the magniied area up and down through
the water column.
Fishinder applications
63
Summary of Contents for E70290
Page 2: ......
Page 4: ......
Page 12: ...12 Dragonly 4 Dragonly 5 Dragonly 7 Wi Fish ...
Page 18: ...18 Dragonly 4 Dragonly 5 Dragonly 7 Wi Fish ...
Page 34: ...34 Dragonly 4 Dragonly 5 Dragonly 7 Wi Fish ...
Page 42: ...42 Dragonly 4 Dragonly 5 Dragonly 7 Wi Fish ...
Page 108: ...108 Dragonly 4 Dragonly 5 Dragonly 7 Wi Fish ...
Page 112: ...112 Dragonly 4 Dragonly 5 Dragonly 7 Wi Fish ...
Page 122: ...122 Dragonly 4 Dragonly 5 Dragonly 7 Wi Fish ...
Page 126: ...126 Dragonly 4 Dragonly 5 Dragonly 7 Wi Fish ...
Page 132: ...132 Dragonly 4 Dragonly 5 Dragonly 7 Wi Fish ...
Page 135: ......


