Assembly - 1370, 1385, 1395, 13114 Backsaver Auger
45
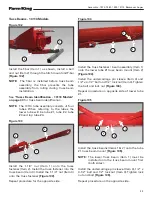
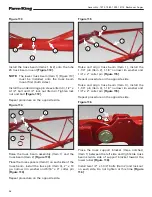
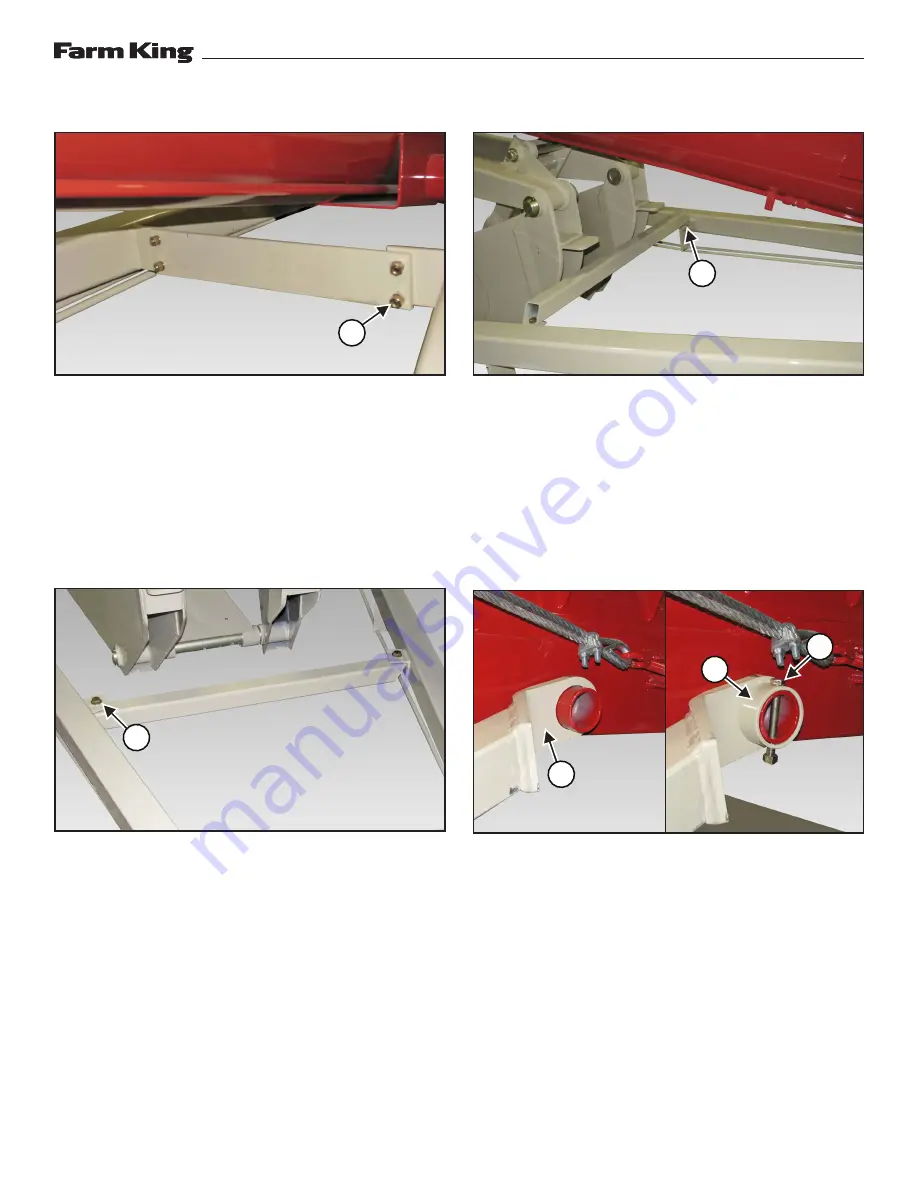
Figure 131
Remove the two 7/16” x 1-1/2” bolts (Item 1),
7/16” lock nut and 7/16” flat washers from the
undercarriage tie plate.
NOTE:
Loosening the undercarriage tie plate will
allow the RH & LH undercarriage arms to
be moved during installation to the tube
assembly.
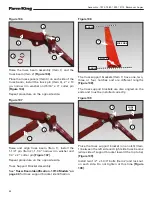
Figure 132
Remove the 5/8” x 1-3/4” bolt (Item 1), 5/8” lock nut
and 5/8” flat washer from the lift arm cradle. Rotate
the lift arm cradle away from the LH undercarriage
arm
[Figure 132]
.
NOTE:
Loosening the lift arm cradle will allow the
RH & LH undercarriage arms to be moved
during installation to the tube assembly.
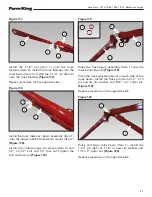
Figure 133
Remove the 5/8” x 1-3/4” bolt (Item 1), 5/8” lock nut
and 5/8” flat washer from the lift arm cradle. Rotate
the lift arm cradle away from the LH undercarriage
arm
[Figure 133]
.
NOTE:
Loosening the lift arm cradle will allow the
RH & LH undercarriage arms to be moved
during installation to the tube assembly.
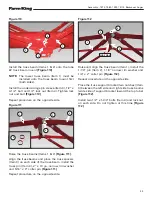
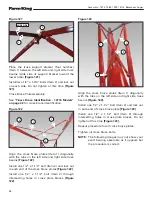
Figure 134
Fully install the RH & LH undercarriage arms (Item
1) onto the mounts of the bottom tube section
[Figure 134]
.
Install the undercarriage pin sleeve (Item 2), align
holes and install one 1/2” X 4-1/2” bolt (Item 3)
through the sleeve and mount of the bottom tube
section. Install one 1/2” lock nut on the bolt and
tighten (both sides)
[Figure 134].
Reinstall the two 7/16” x 1-1/2” bolts (Item 1), 7/16”
lock nuts and 7/16” flat washers. Do not tighten
bolts and lock nuts at this time
[Figure 134]
.
1
1
1
1
2
1
Summary of Contents for 1370
Page 1: ...062019 FK429 ASSEMBLY MANUAL BACKSAVER AUGER Models 1370 1385 1395 13114...
Page 2: ......
Page 92: ...Assembly 1370 1385 1395 13114 Backsaver Auger 90...
Page 93: ......


