9. MACHINE USE.
9.1. Description of the function —Action —> Consequence Cycle.
The functioning sequence of the Mod. 525 proceeds as follows:
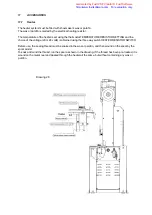
1) Turn on the MAIN SWITCH on the electrical control panel, turning it to position N° 1—> the main motor
will start running at minimum speed, but without turning the shuttle.
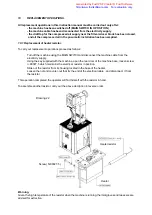
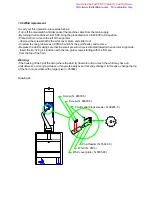
2) Turn the two switches N° 4. and N° 6 towards the right: the temperature is now set at the maximum
possible. After about 10 - 15 minutes, when the spool holder support id hot enough, to the point where
you cannot place your hand on it, turn the knob in an anti-clockwise direction, to reduce
the
temperature and bring it to the desired temperature.
Warning:
To obtain the best working temperature, test by pulling the thread downwards from the spool holder. The
thread should run smoothly , without resistance, or having to be pulled sharply. If this is not the case.
this means that the temperature is too low, or that the spool is not wound correctly and evenly.
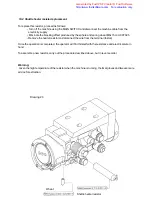
3) The presser foot is raised: place the shoe on the horn, and with your left hand, take a piece of thread from
the spool long enough to be able to hold the thread against the sole with your thumb, to the left of the
needle.
4) Press the control pedal lightly:
—> the presser foot will be lowered automatically, blocking the shoe in place for stitching.
5) Press the pedal further:
—> the gear will mesh electronically —> the motor will increase rotation speed until it reaches the
desired sewing speed.
Warning:
Let the machine guide the shoe during stitching: the shoe must not be pushed or pulled, so the operator
must only guide and follow the machine movement, taking care to follow the sewing line desired.
The horn will rotate on itself during stitching, and will assume the correct position for easy sewing as the
operation continues.
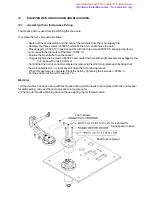
A headless setting screw (hexagon head bolts) located under the control pedal means that the sewing
speed can be set at the speed the operator finds most convenient, and even if the pedal is pressed further,
the
speed will not increase.
This method is very useful, above all when beginning to learn on the machine. Later the pedal block can
be adjusted at higher speed rate up to the maximum possible on the machine.
- Sewing speed depends on the control pedal: the further it is pressed down, the more the sewing speed
increases.
- The brake and gears which work during the start-up and stopping of sewing operations, are positioned
on an axis with the main motor and form a single block with the motor.
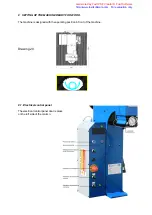
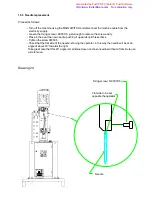
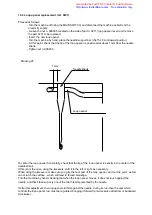
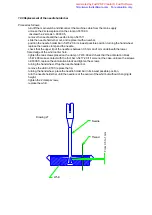
8.3 Position of article to be stitched.
The article to be stitched must be placed between the horn tip and the presser foot.
Generated by Foxit PDF Creator © Foxit Software
http://www.foxitsoftware.com For evaluation only.

