125
PETROL-OIL MIXTURE FOR THE ENGINE
• A petrol-oil mixture is required to power the engine. This logo is on the fuel tank
• Never exceed the maximum filling level for the petrol/oil mixture. Use fully synthetic oil for
two-stroke-engines and super petrol (95 RON). Do not store the mixture for longer than 6
months as it can no longer be used after this.
• Always observe the ratio 40:1 (petrol:oil).
• Always clean, if fuel has been spilt.
• If you want to store the machine for longer than 6 months, always empty the fuel tank prior to
• If you want to store the machine for longer than 6 months, always empty the
fuel tank prior to storage to avoid problems.
• Empty the tank by running the engine until no fuel is left. Use a new petrol-oil
mixture when you come to use the tool next season.
• Always use the correct fuel. Otherwise, there is the a risk of the engine
temperature becoming too high which could damage the tool.
HOW DO YOU CREATE THE OIL-PETROL MIXTURE?
• Take great care when shaking the mixture.
• Dose the quantities of oil and petrol to be mixed.
• Fill part of the dosed petrol into a designated fuel can.
• Now add the previously dosed oil and shake it all vigorously.
• Now add the rest of the petrol and shake the mixture for a minute. Insufficient
shaking can lead to a dangerous malfunction of the machine.
• Fill the fuel tank of the machine to around 80 % of the maximum filling level.
• Close the tank cap and make sure that no fuel has been spilt onto the ground.
FILLING THE OIL TANK
• This symbol is on the oil tank.
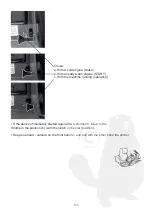
• Set the exact position of the oil feed for the chain lubrication using a screwdri-
ver. This symbol is at the bottom on the engine block.
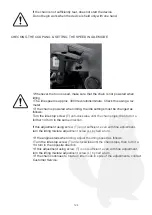
ADD OIL TO THE ENGINE BEFORE YOU START
• Do not use oil as this can damage the machine
cause.
• Check the oil before each use of the device.
• This unit is not supplied with oil for the lubrication of the chain.
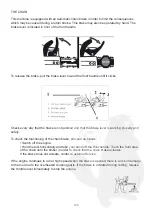
Before each use, the oil level should be checked and, if necessary, the chain oil tank are filled
with chain oil.
Summary of Contents for CN-38
Page 2: ...2...
Page 37: ...37...
Page 68: ...68 3 CARACT RISTIQUES TECHNIQUES Vue clat e du produit et num rotation des pi ces...
Page 71: ...71...
Page 103: ...103 3 TECHNISCHE DATEN Explosionszeichnung des Produktes mit Nummerierung der Einzelteile...
Page 106: ...106...
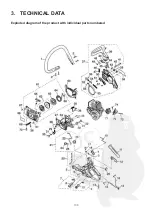
Page 138: ...138 3 TECHNICAL DATA Exploded diagram of the product with individual parts numbered...
Page 141: ......
Page 142: ...142...
Page 143: ...143...

