


Introduction
1 - 10 Top View
1
Keyboard
The computer has a “Win Key” keyboard including a numeric keypad. It has
the same features as a full-sized desktop keyboard and can easily be replaced
with a different language keyboard should you desire.
TouchPad & Buttons
The pointing device features a sensitive glide pad for precise movements. It
functions the same way as a two-button mouse. The right TouchPad button is
the same as the right mouse button; the left TouchPad button is the same as
the left mouse button. The central button may be used to scroll up and down,
or may be configured to perform a variety of functions (see
“TouchPad and
Buttons/Mouse” on page 2 - 15
).
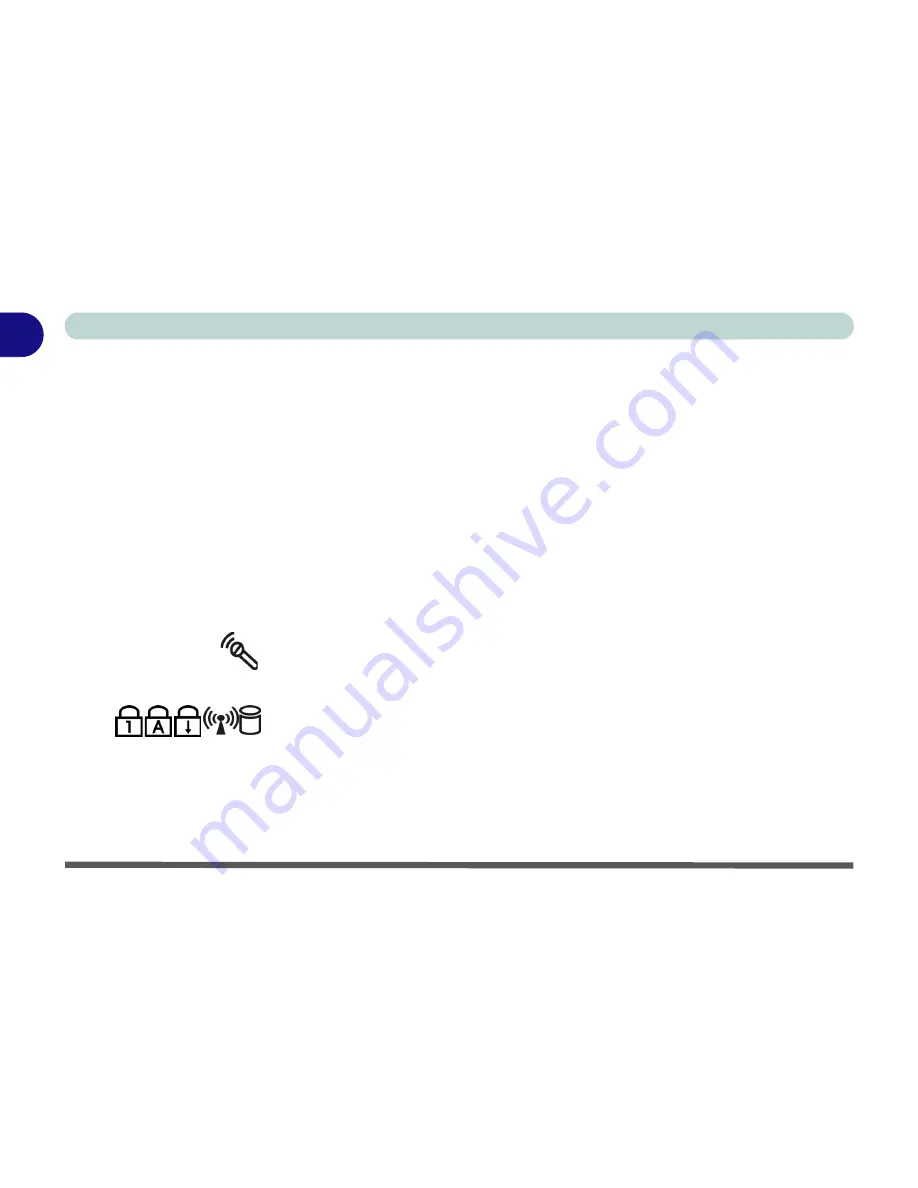
Built-In Microphone
Record on your notebook computer with the built-in microphone.
LED Status Indicators
These display the system’s operational status. Refer to
“LED Status Indica-
tors” on page 2 - 5
for more information on what the lights mean.
Summary of Contents for M120 VOYAGE
Page 1: ......
Page 2: ......
Page 20: ...XVIII Preface...
Page 84: ...Advanced Controls 3 28 PC Camera 3 Figure 3 16 Audio Setup Windows XP...
Page 94: ...Advanced Controls 3 38 3...
Page 116: ...Drivers Utilities 4 22 4...
Page 132: ...BIOS Utilities 5 16 5...
Page 158: ...Troubleshooting 7 14 7...
Page 170: ...B 6 B...


