QX5
QXFXO4/QXISDN4/QXE1T1/QXFXS24; (SW Version 6.0.x)
21
QXFXO4/QXISDN4/QXE1T1/QXFXS24 Manual II: Administrator’s Guide
The following columns are present in the table:
•
Extension
- lists user or attendant extensions on the QX. This number is used for internal PBX calls.
•
Display Name
- indicates an optional display name to identify the caller.
•
SIP Address
- displays the SIP address of the corresponding extension. The column displays the full SIP address, (i.e., username@sipserver:port)
when the
Registration on SIP Server
checkbox is selected. If registration is disabled, the SIP address will be displayed in the following format:
“username, Proxy: sipserver:port”. If no SIP registration server or SIP server port is defined, corresponding information will not be included in
this column. If no username is defined, the extension number will be displayed instead
.
•
Percentage of System Memory
- indicates the user space (in percentages) configured for each extension. The actual available duration (in
minutes) for the extension voice mails, uploaded/recorded greetings and blocking messages is also displayed here.
•
External Access
- indicates whether the GUI Login or Call Relay options are enabled on the extension
.
•
Codecs
– column lists the short information (full information is seen in the tool tip) about extension specific voice Codecs. Extension codec’s can
be accessed and modified by clicking on the link of the corresponding extension’s Codecs. The link leads to the
page
.
Clicking on each user extension in the Extensions table will open the extension specific
Your Extension
menu.
To add an extension click on the
Add
button or use the
tab (see below).
Edit
opens the
Edit Entry
page where a newly created user or attendant extension settings might be adjusted. To operate with
Edit
, one or more record(s)
have to be selected, otherwise the “No records selected” error message will appear.
The
Edit Entry
page consists of two frames. In the left frame settings groups are listed. Clicking on the corresponding settings group displays their
configuration options in the right frame.
Please Note:
Save changes before moving among settings groups.
The
Edit
functional button also provides a possibility of editing
multiple extensions at the same time. In this case, fields that
cannot be edited for multiple records have
Multiple
values in the
Edit Entry
page. When editing user and attendant extensions
together, the
Edit Entry
page displays only those fields that are
for both user extension and attendant settings. Additionally, for
the fields that need to be modified, a
Select to modify fields
checkbox alongside the corresponding field needs to be selected
to submit changes, otherwise the fields will not be updated.
Delete
removes the selected extensions. If no records are selected
an error message occurs.
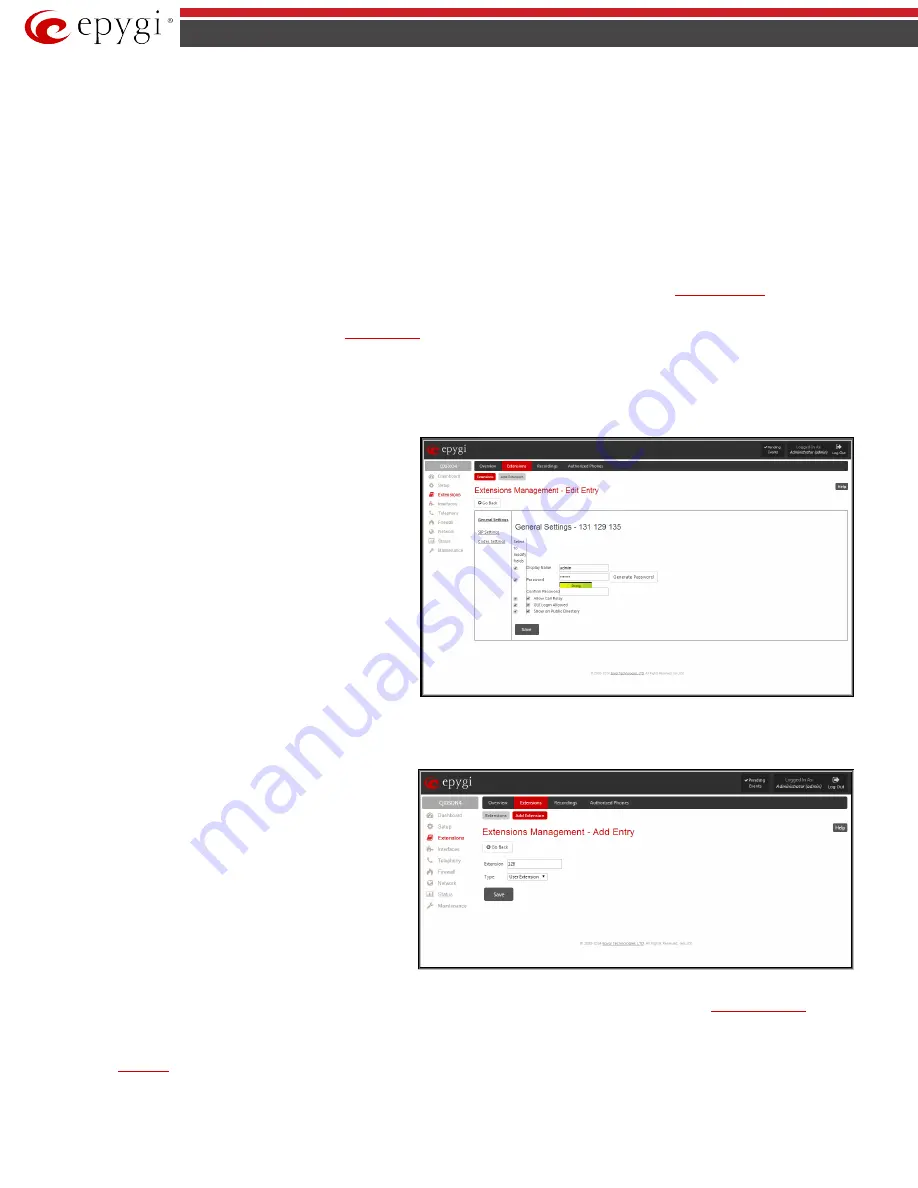
Fig.II- 19: Extensions Management - Edit Entry page for multiple edit operation
Add Extension
Add Extension
menu opens the
Extensions Management - Add
Entry
page where the type and number of the new extension
should be defined. This page consists of the following
components:
The
Extension
text field is used to enter a new extension number.
If non-digit symbols have been entered, the error “Incorrect
Extension: no symbol characters allowed” will appear. If an
extension with the same number already exists in the Extensions
Management table, the error “Extension already exists” will
appear.
Fig.II- 20: Extensions Management - Add Entry page
Please Note:
Extension number cannot start with the digits 0. You can add extensions of up to 20 digits long. However, the
adjusted automatically; you may need to manually adjust the routing rules for extensions in custom length.
The
Type
drop down list is used to select the type of the extension to be created (for details see below). The following values are available in this list:
•
•
User Extension


