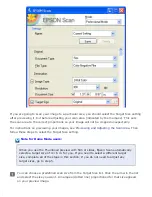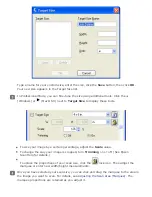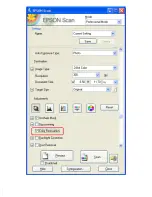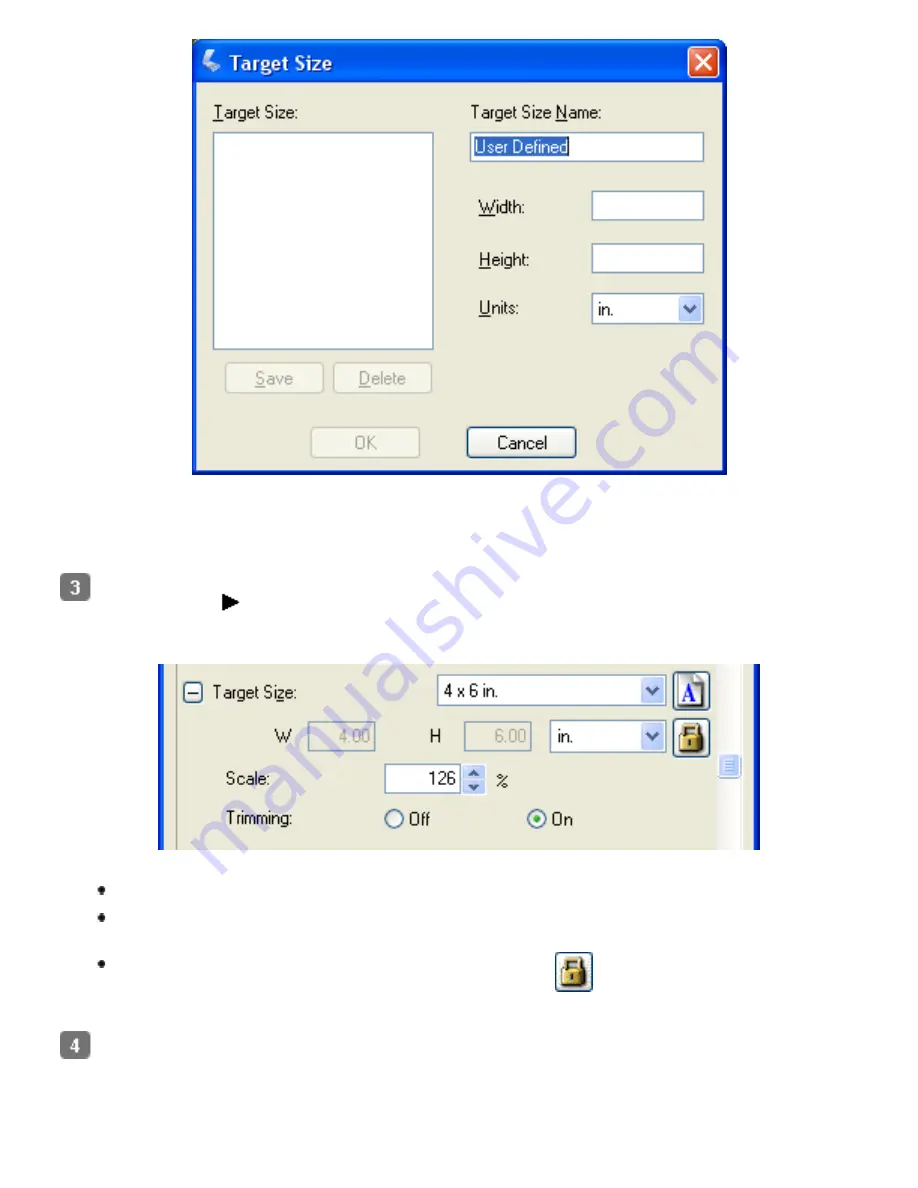
Type a name for your custom size, enter the size, click the
Save
button, then click
OK
.
Your new size appears in the Target Size list.
In Professional Mode, you can fine-tune the size using additional tools. Click the
+
(Windows) or
(Mac OS X) next to
Target Size
to display these tools.
To size your image by a certain percentage, adjust the
Scale
value.
To change the way your image is cropped, turn
Trimming
on or off. (See Epson
Scan Help for details.)
To unlock the proportions of your scan size, click the
lock icon. Then adjust the
marquee or enter new width/height measurements.
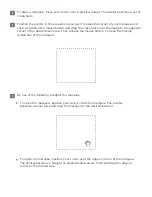
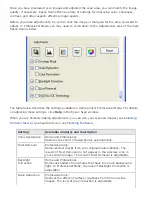
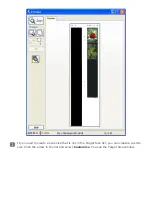
Once you have selected your scan size, you can click and drag the marquee to the area in
the image you want to scan. For details, see
Adjusting the Scan Area (Marquee)
marquee proportions are retained as you adjust it.
Summary of Contents for V500
Page 27: ...c scanner transportation lock d USB interface connector e cover cable ...
Page 34: ...Open the scanner cover Pull the scanner cover straight up and off the scanner ...
Page 47: ...Top ...
Page 64: ......
Page 69: ...Thumbnail preview ...
Page 78: ...Professional Mode ...
Page 98: ...Professional Mode ...
Page 99: ...Before you scan your film or slides you need to select these basic settings ...
Page 121: ......
Page 131: ...Professional Mode ...
Page 135: ...Professional Mode ...
Page 136: ...Note ...
Page 142: ......
Page 149: ...Click the Settings button You see the Scan to PDF Settings window ...
Page 157: ...Click the File Save Settings button The File Save Settings window appears ...
Page 183: ...Pull the scanner cover straight up and off the scanner ...

