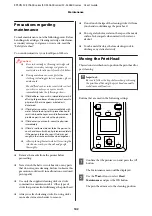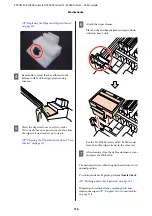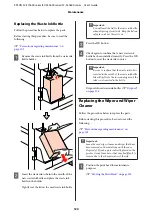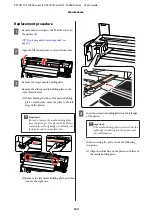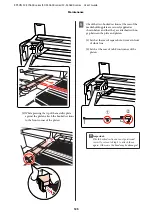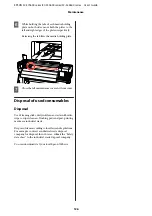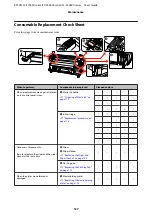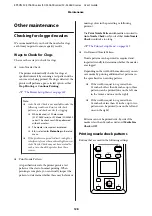
A
Position the print head for maintenance
purposes.
U
“Moving the Print Head” on page 102
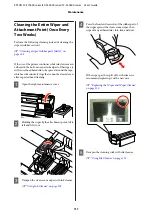
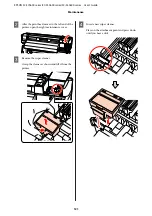
B
After the print head moves to the left end of the
printer, open the right maintenance cover.
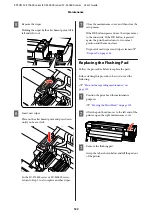
C
Dampen the cleaning stick with ink cleaner.
Use new cleaning stick and ink cleaner.
U
“Using Ink Cleaner” on page 103
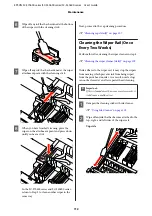
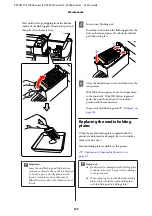
D
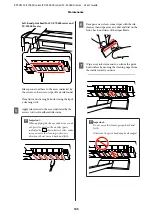
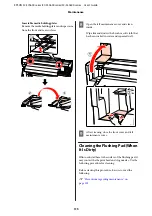
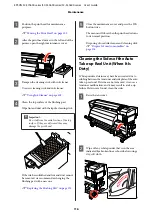
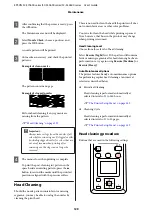
Clean the top surface of the flushing pad.
Wipe lint and dust with the tip of a cleaning stick.
c
Important:
Do not deform the metal section of the top
surface. If they are deformed, they may
damage the print head.
If the ink has solidified and lint and dust cannot
be removed, we recommend exchanging the
flushing pad with a new one.
U
“Replacing the Flushing Pad” on page 122
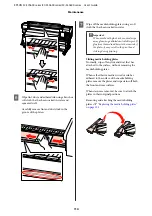
E
Close the maintenance cover and press the
Z
button twice.
The menus will close when the print head returns
to its normal position.
Disposing of used ink cleaner and cleaning stick
U
“Disposal of used consumables” on
Cleaning the Sides of the Auto
Take-up Reel Unit (When It Is
Dirty)
White powdered stains may have been created due to
rubbing between the tensioner and side plate of the auto
take-up reel unit. If stains are not removed, it causes a
tensioner malfunction, and it may result in a take-up
failure. If stains are found, clean the sides.
A
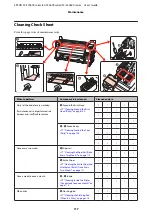
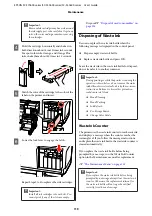
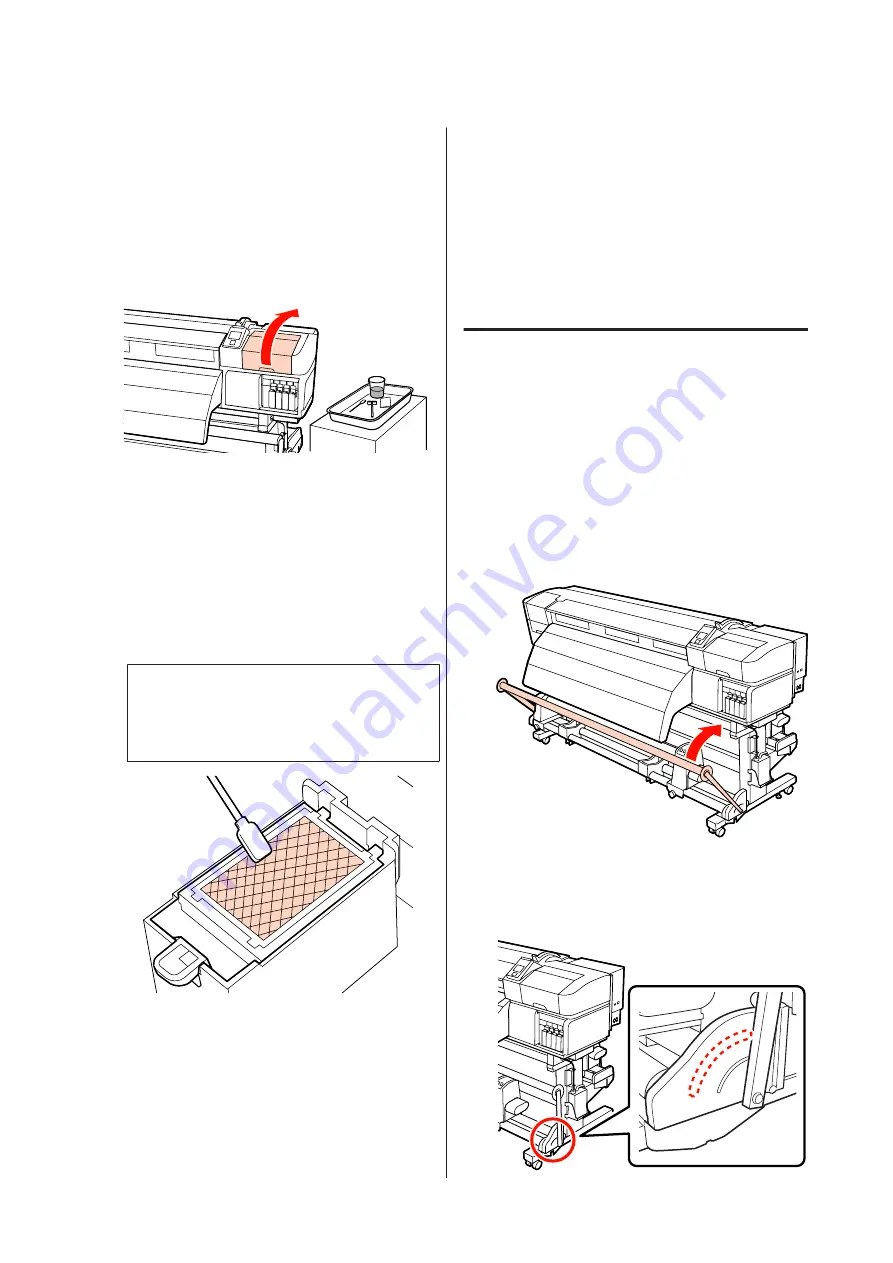
Raise the tensioner.
B
Wipe off any white powder that is in the area
indicated by a broken line as shown below using a
dry, soft cloth.
EPSON SC-S70600 series/SC-S50600 series/SC-S30600 series User's Guide
Maintenance
116

