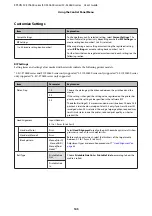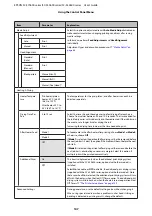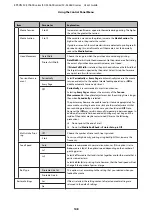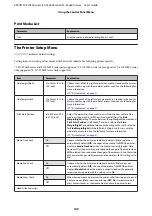
A
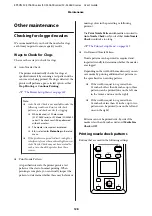
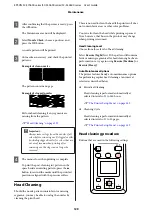
After confirming that the printer is ready, press
the
#
button.
The Maintenance menu will be displayed.
B
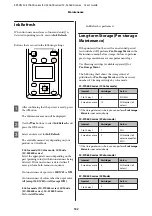
Use the
d
/
u
buttons to select
Change Color
Mode
, and press the
Z
button.
C
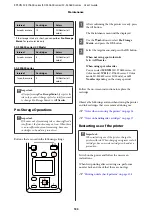
Use the
d
/
u
buttons to select any mode, and
press the
Z
button.
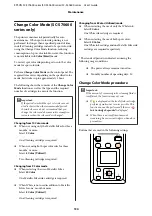
Then, follow the on-screen instructions to replace the
cartridge.
Observe the following cautions when storing the ink
cartridges that were removed during use.
U
“Notes on handling ink cartridges” on page 27
Applying Secondary Carriage
Rod Grease
If
Apply secondary carriage rod grease. See manual.
is
displayed on the screen of the control panel, grease
using the grease kit supplied with the printer.
Notes on applying grease
The secondary carriage rod is rod A.
Make sure you do not touch the B rod (main carriage
rod) with the grease tools during this operation. The
printer may malfunction if grease is removed from rod
B.
The secondary carriage rod grease is only for rod A.
This cannot be used for rod B.
The photo shows SC-S70600 series.
Greasing procedure
Before starting this procedure, be sure to read the
following:
U
“Precautions regarding maintenance” on
A
Attach a fresh pad to the grease tool.
Insert the tab of the pad firmly into the
rectangular slot on the grease tool and fit the pad
to the tool as shown.
B
Turn off the printer, and open the front cover.
C
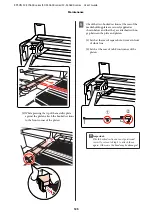
Hold the grease tool against the secondary
carriage rod (rod A) so that the pad on the tool is
placed firmly against the back of the rod, and
then slide it smoothly twice from one end to the
other and back again to wipe off stains on the rod.
D
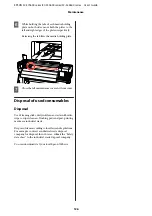
Using a new cleaning stick, stir the grease in the
container about ten times.
E
Wipe the tip of the cleaning stick on the edge of
the container to remove excess grease.
c
Important:
Failure to remove the excess could result in
falling grease dirtying the platen and media.
EPSON SC-S70600 series/SC-S50600 series/SC-S30600 series User's Guide
Maintenance
135

