Replacing Ink Cartridges
7-9
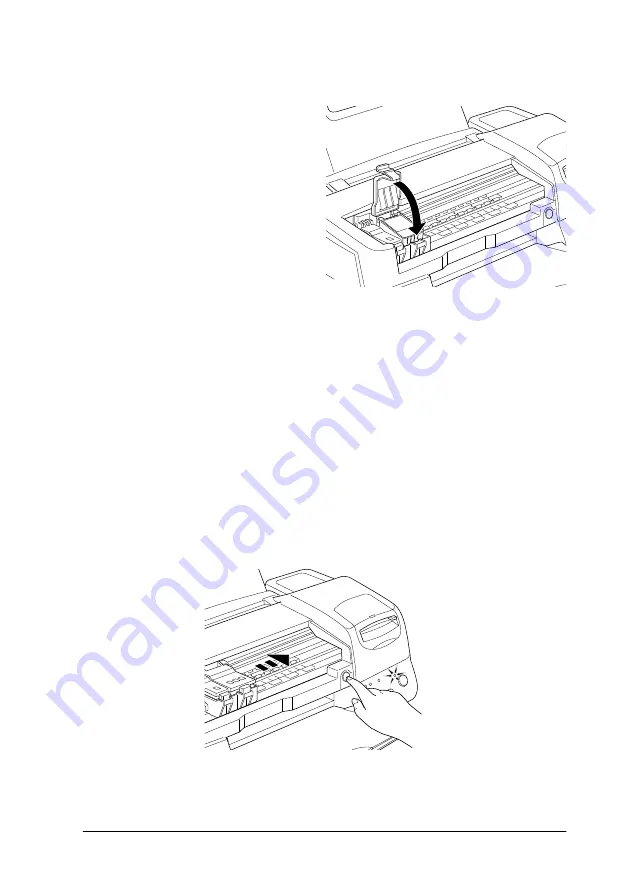
8. Press the ink cartridge clamp down until it locks into place.
c
Caution:
After you remove an ink cartridge from the printer, please
insert a new one immediately. If no cartridge is present, the
print head may dry out and become unable to print.
9. Press the orange ink cartridge replacement button. The
printer moves the print head and begins charging the ink
delivery system. This process takes about one minute to
complete. When the ink charging process is finished, the
printer returns the print head to its home position, the
P
power light stops flashing, and the
B
black and
A
color
lights turn on.
The illustration shows color ink
cartridge replacement. To
replace the black ink cartridge,
replace only the cartridge held
by the smaller clamp on the left.
Summary of Contents for Stylus Photo 875 DC
Page 2: ... 2 ...
Page 12: ... 4 Printer Parts and Functions ...
Page 18: ... 10 Safety Instructions ...
Page 50: ...1 32 Paper Handling ...
Page 88: ...2 38 Using the Printer Software for Windows ...
Page 94: ...3 6 Checking Printer Status and Managing Print Jobs for Windows ...
Page 136: ...6 8 Setting Up Your Printer on a Network ...
Page 160: ...9 2 Troubleshooting Paper isn t ejected fully or is wrinkled 9 21 Where to Get Help 9 21 ...
Page 180: ...9 22 Troubleshooting ...
Page 184: ...10 4 Options and Consumable Products ...
Page 212: ... 6 Glossary ...


