7-4
Replacing Ink Cartridges
For more information about ink cartridges, see “When handling
the ink cartridges” on page -7.
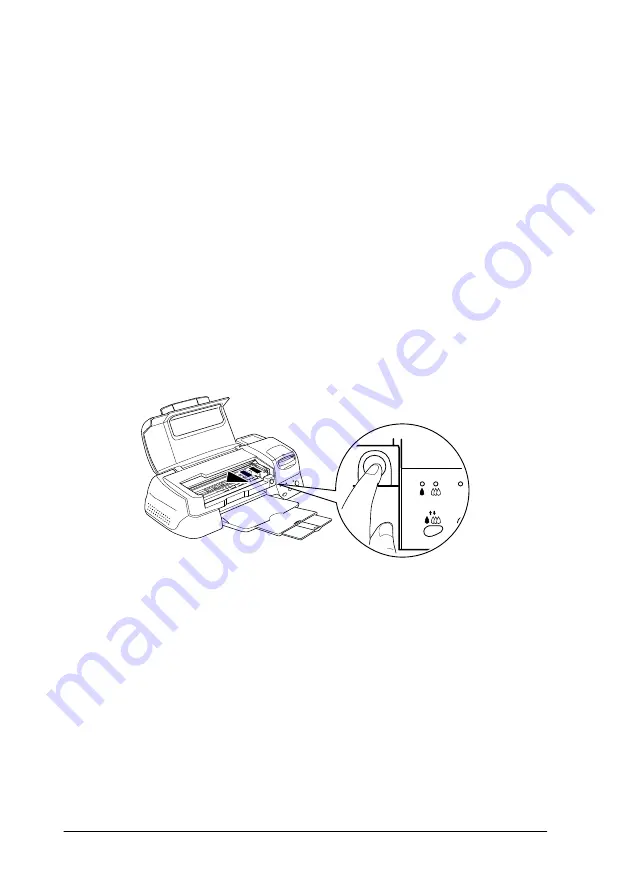
To replace an ink cartridge using the orange ink cartridge
replacement button, follow the steps below.
1. Make sure the printer is on. The
P
power light should be on,
but not flashing. (Determine which cartridge needs to be
replaced as indicated by the
B
black and
A
color ink out
lights.)
2. Lower the output tray at the front of the printer, then open
the printer cover.
3. Press the orange ink cartridge replacement button. The print
head moves left to the ink cartridge replacement position, and
the
P
power light begins flashing.
c
Caution:
Do not move the print head by hand as this may damage the
printer. Always press the orange ink replacement button to
move it.
Summary of Contents for Stylus Photo 875 DC
Page 2: ... 2 ...
Page 12: ... 4 Printer Parts and Functions ...
Page 18: ... 10 Safety Instructions ...
Page 50: ...1 32 Paper Handling ...
Page 88: ...2 38 Using the Printer Software for Windows ...
Page 94: ...3 6 Checking Printer Status and Managing Print Jobs for Windows ...
Page 136: ...6 8 Setting Up Your Printer on a Network ...
Page 160: ...9 2 Troubleshooting Paper isn t ejected fully or is wrinkled 9 21 Where to Get Help 9 21 ...
Page 180: ...9 22 Troubleshooting ...
Page 184: ...10 4 Options and Consumable Products ...
Page 212: ... 6 Glossary ...


