EPSON Stylus COLOR 760
Revision C
Adjustment
Adjustment
129
5.2.3.8 USB ID input
When you replace the main board with a new one, you have to input a
USB ID newly into the specific address of the EEPROM. When the
printer and the PC is connected with a USB cable, the USB port driver
loads the unique code from the specific address of the printer’s
EEPROM and provides the USB port number to the unique code. The
USB port driver controls the several USB ports under the Windows 98
environment.
A unique code called USB ID is input to the specific address of the
EEPROM in factory, and the following total 18-digit code is used as a
USB ID for EPSON ink jet printer.
n
Factory line number (3-digit)
n
PC number (2-digit)
n
Input year/month/date/time (hour,minutes,sencond) (12-digit)
The timer data of the PC is used for this input data.
n
Number 0
A “0” is automatically added as the last digit in the input
program.
In repair activity, we use a 10-digit serial number as a USB ID. The rest
(8 digits) is generated by the adjustment program and added to the
serial number automatically.
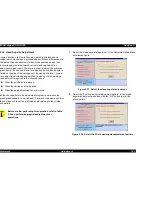
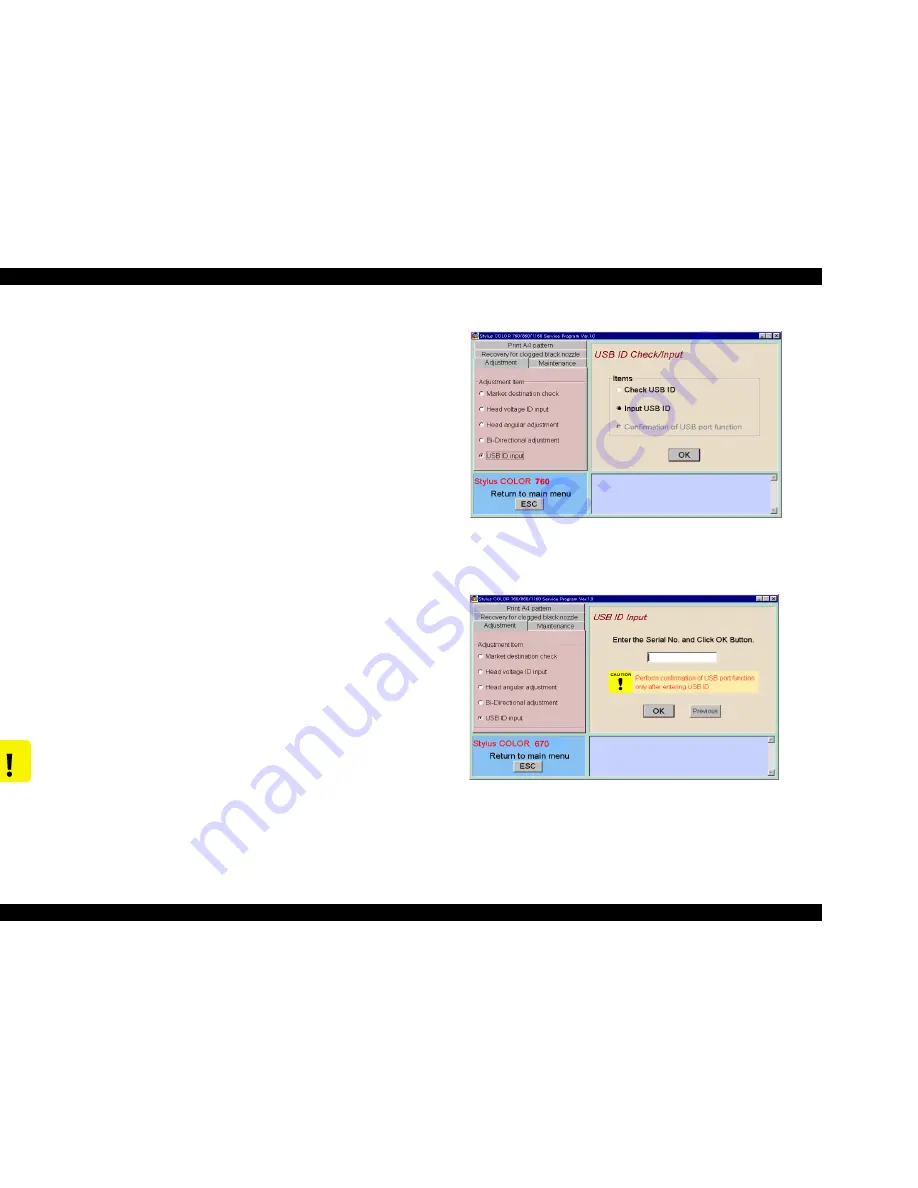
1.
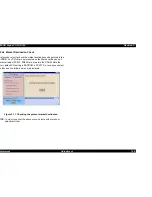
Select “USB ID input” in the Adjustment main menu.
Figure 5-30. Select the USB ID input menu
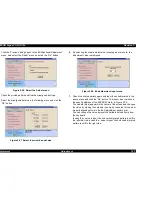
2.
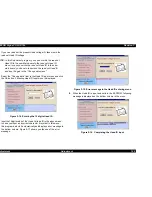
In “USB ID check/Input” menu, select “Input USB ID” and click “OK”
button, and the following menu appears.
Figure 5-31. Select the USB ID input menu
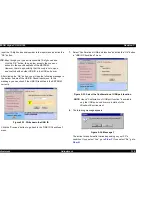
3.
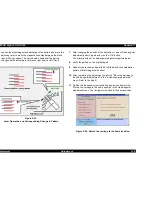
Check the 10-digit code serial number on the serial number label
stuck in the rear side of the Upper Housing.
C A U T I O N
If a USB ID can not be input in the adjustment program
after the main board is replaced with a new one, the
USB ID may not possibly be a unique one. In this case,
the USB ID conflicts with another peripheral USB ID in
the USB port driver and the another USB peripheral
may not possibly be used with the USB.
Summary of Contents for Stylus Color 760
Page 1: ...EPSONStylusCOLOR760 Color ink jet printer SEIJ99004 SERVICE MANUAL ...
Page 8: ...C H A P T E R PRODUCTDESCRIPTION ...
Page 27: ...C H A P T E R OPERATINGPRINCIPLES ...
Page 53: ...C H A P T E R TROUBLESHOOTING ...
Page 72: ...C H A P T E R DISASSEMBLYANDASSEMBLY ...
Page 109: ...C H A P T E R ADJUSTMENT ...
Page 142: ...C H A P T E R MAINTENANCE ...
Page 152: ...APPENDIX C H A P T E R ...

