EPSON Stylus COLOR 760
Revision C
Adjustment
Adjustment
124
3.
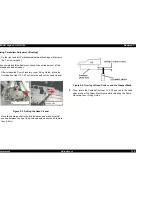
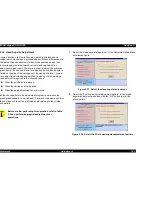
The following check pattern is printed.
Figure 5-19. Head Angular adjustment pattern.
4.
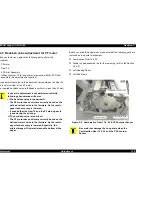
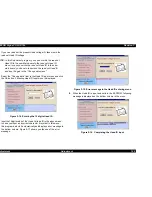
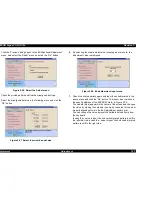
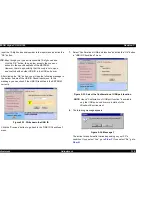
Select the “Move the carriage to the head angular adjustment” in the
“Head angular adjustment “menu and click the “OK” button as
following figure. The printer moves to the I/C replacement position
and stops at the position.
Figure 5-20.
Select the Move the carriage to the head angular adjustment
5.
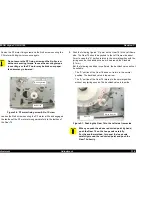
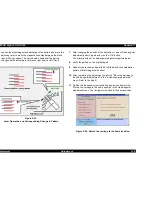
Loosen the printhead securing screw securing the printhead on the
carriage. (You don
'
t need to remove it completely.)
Figure 5-21. Head fixing screw position
NOTE:
Loosen the printhead securing screw securing the printhead
on the carriage. (You don
'
t need to remove it completely.)
Summary of Contents for Stylus Color 760
Page 1: ...EPSONStylusCOLOR760 Color ink jet printer SEIJ99004 SERVICE MANUAL ...
Page 8: ...C H A P T E R PRODUCTDESCRIPTION ...
Page 27: ...C H A P T E R OPERATINGPRINCIPLES ...
Page 53: ...C H A P T E R TROUBLESHOOTING ...
Page 72: ...C H A P T E R DISASSEMBLYANDASSEMBLY ...
Page 109: ...C H A P T E R ADJUSTMENT ...
Page 142: ...C H A P T E R MAINTENANCE ...
Page 152: ...APPENDIX C H A P T E R ...


