Using the Printer Software for Windows
2-25
3. If you want to change the watermark name, type a new name
in the Name box, then click
Save
. Click
OK
to return to the
Layout menu.
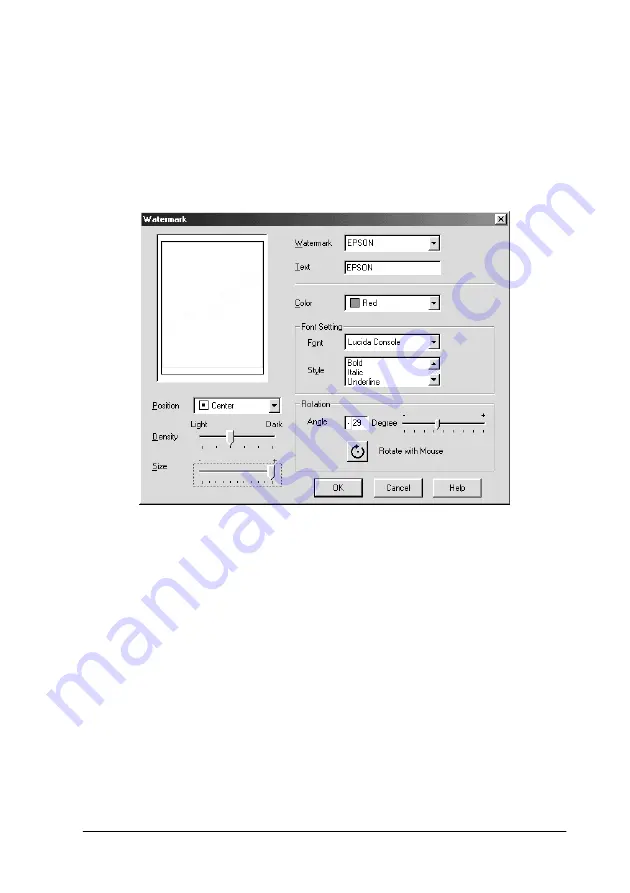
Making settings for your watermark:
1. Click the
Settings
button. The following dialog box appears.
2. From the Watermark list box, select the watermark you want
to make settings for, then make Color, Position, Density, Size,
Font, Font Style and Angle settings. For details, please see the
online help. Your settings are reflected in the display on the
left side of the dialog box.
3. When you are finished making the settings, click
OK
.
Summary of Contents for Stylus Color 670
Page 2: ... 2 ...
Page 12: ... 4 Printer Parts and Functions ...
Page 28: ...1 12 Paper Handling ...
Page 29: ...Using the Printer Software for Windows 2 1 Chapter 2 Using the Printer Software for Windows ...
Page 72: ...3 6 Checking Printer Status and Managing Print Jobs for Windows ...
Page 142: ...8 14 Maintenance ...
Page 143: ...Troubleshooting 9 1 Chapter 9 Troubleshooting ...
Page 164: ...9 22 Troubleshooting ...
Page 165: ...Consumable Products 10 1 Chapter 10 Consumable Products Consumable products 10 2 ...
Page 168: ...10 4 Consumable Products ...
Page 178: ...A 10 Tips for Color Printing ...
Page 190: ...B 12 Printer Specifications ...
Page 196: ... 6 Glossary ...


