


129
Removing a Memory Card
After you finish working with a memory card, check to make sure it is safe to remove it from your product.
Caution:
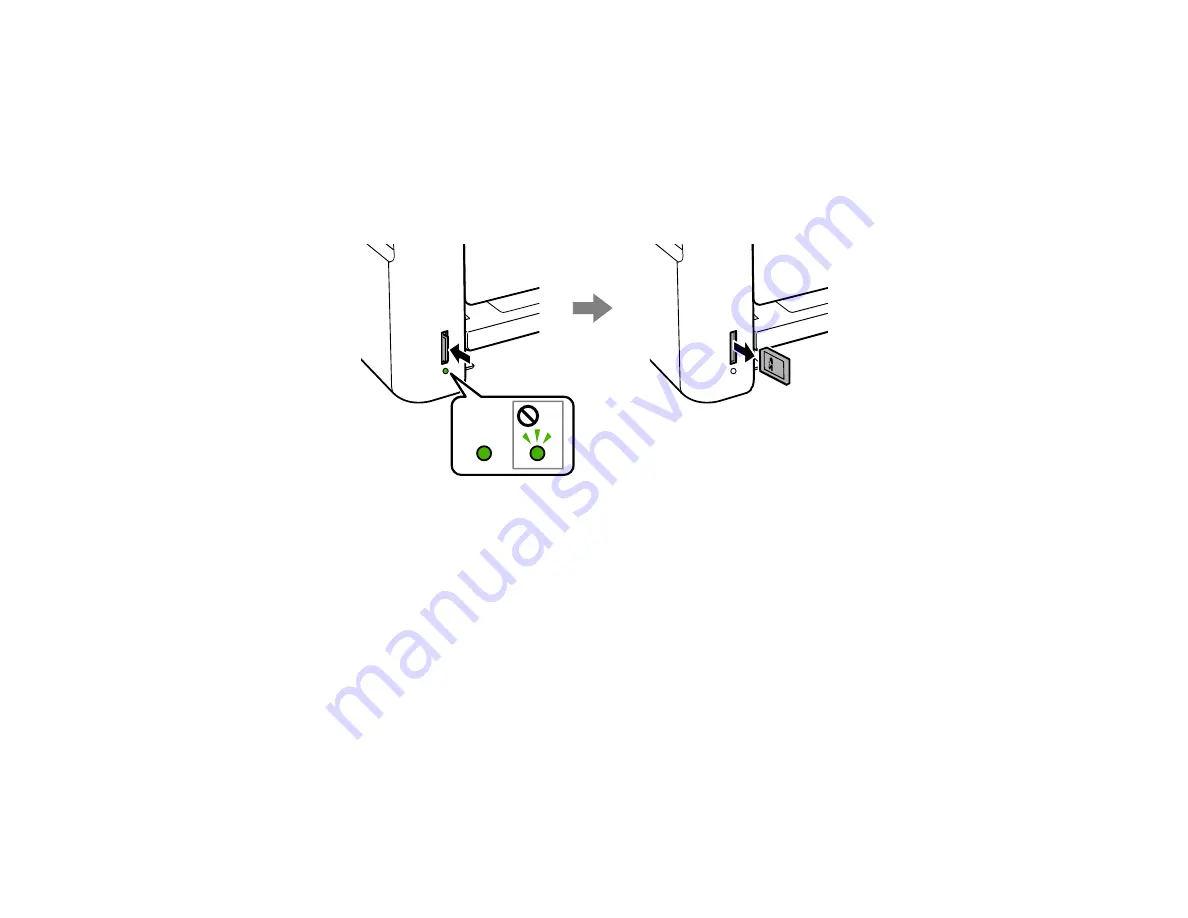
Do not remove a memory card or turn off your product while the memory card access light is
flashing or you may lose data from the memory card.
1.
Make sure the memory card access light is not flashing.
2.
If your product is connected to your computer using a USB cable, do one of the following:
•
Windows
: Open the
My Computer
,
Computer
,
Windows Explorer
, or
File Explorer
utility.
Then right-click the name of your memory card (listed as a removable disk) and select
Eject
.
•
Mac
: Drag the removable disk icon for your memory card from the desktop or computer window
into the trash.
3.
Push in the memory card, then pull it straight out of its slot as shown above.
Parent topic:
Printing from a Memory Card
See these sections to print photos from a memory card inserted into your product:
Viewing and Printing Photos From the LCD Screen
Print Setting Options - Memory Card
Parent topic:
Summary of Contents for L4160 series
Page 1: ...L4160 User s Guide ...
Page 2: ......
Page 17: ...17 Product Parts Inside 1 Document cover 2 Scanner glass 3 Scanner unit 4 Control panel ...
Page 63: ...63 Related topics Copying Scanning ...
Page 146: ...146 1 Turn on your product 2 Lift up the scanner unit ...
Page 147: ...147 3 Open the ink tank cover then open the cap for the ink tank you are going to fill ...
Page 190: ...190 2 Remove any jammed paper from the rear paper feed ...
Page 191: ...191 3 Lift the scanner unit and remove any jammed paper inside ...


