185
5.
Select
Store Fax Data
and select
On
.
6.
If you need to change any fax settings, select
Menu
, select
Fax Send Settings
, and select your
settings.
7.
Press the
Negro
button.
Your document is scanned and briefly previewed.
8.
To send the document, press the
Estado
button.
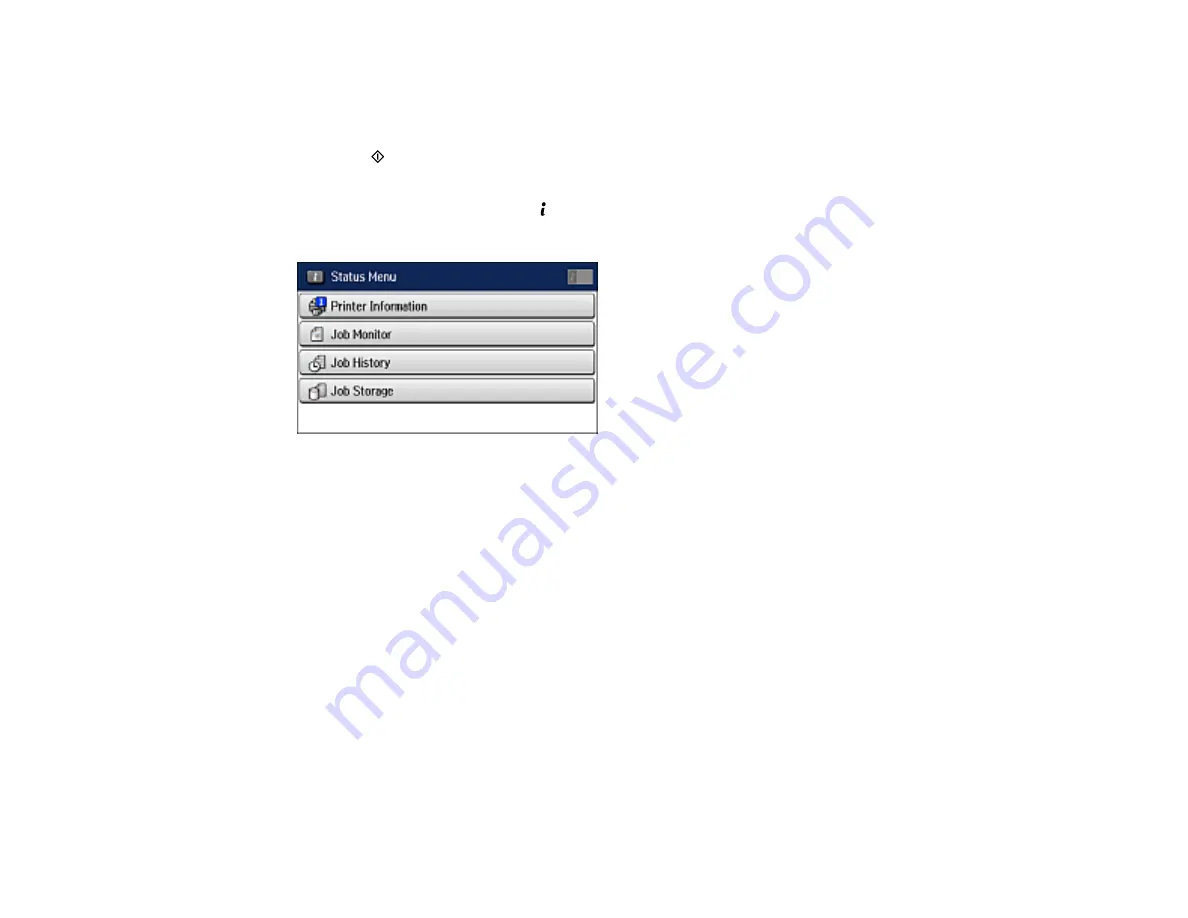
You see a screen like this:
9.
Select
Job Monitor
.
10. Select
Communication Job
.
11. Select the job you want to send.
12. Select
Send/View
and select
Send
.
13. Do one of the following:
• Enter the fax number using the buttons on the control panel.
• Select the
Enter a Fax Number
area on the LCD screen, and use the numeric keypad on the
screen to enter the fax number. You can enter up to 64 characters.
• Select
Contacts
, select one or more recipients from the list, and select
Proceed
.
• Select
History
, select a recipient from the list, press
Menu
on the Details screen, and select
Send
to this number
.
Note:
If necessary, enter an outside line access code (such as
9
) at the beginning of the fax number.
If the access code has been set up in the
Line Type
setting, enter the
#
pound sign instead of the
code.
Summary of Contents for L1455
Page 1: ...L1455 User s Guide ...
Page 2: ......
Page 41: ...41 Related topics Wi Fi or Wired Networking ...
Page 70: ...70 3 Open the rear paper feed slot and push it back 4 Slide out the edge guides ...
Page 88: ...88 Related topics Copying Scanning ...
Page 132: ...132 You see an Epson Scan 2 window like this ...
Page 134: ...134 You see an Epson Scan 2 window like this ...
Page 136: ...136 You see this window ...
Page 143: ...143 DSL connection 1 Telephone wall jack 2 DSL filter 3 DSL modem ...
Page 144: ...144 ISDN connection 1 ISDN wall jack 2 Terminal adapter or ISDN router ...
Page 155: ...155 You see this screen 6 Select Fax Output You see this screen 7 Select Settings ...
Page 264: ...264 2 Press the tabs and open the rear cover 3 Remove the duplexer ...


