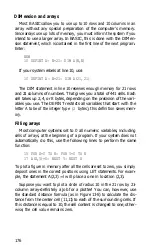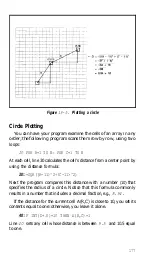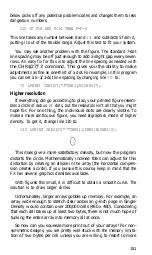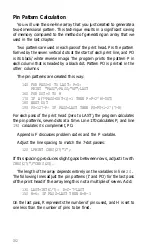
This adjustment makes it easier to compare the distance value with the
value of the RND function (line 40, below).
Once the computer knows the distance of each cell from the upper-
left corner, it can use the following test to determine which cells
receive
1s
and which cells continue to contain 0s.
40
IF D>RND(9) THEN A(R,C)=l
Line 40 compares the modified distance (D) of each cell to a random
number between 0 and
1.
If D is greater than the random number, a
1
goes in that cell.
Note: Use your computer system’s version of RND(9) in line 40 [some
systems use RND(X) or just RND].
By using a random number (line 40), you add a measure of uncer-
tainty to the placement of the dots. Cells close to the upper-left comer
of the square array have a high probability of containing a zero, while
those far away have a high probability of containing a one. Since the
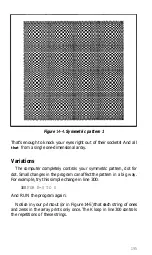
program reads the array four times (normal, reversed, upside down,
and upside down reversed), the upper-left comer of the array corre-
sponds to the center of the large figure that the program will produce
and the cells farther away from that point correspond to the comers of
that figure. You will see the results when you run the program. Also,
the use of randomness can yield a different pattern with each run of
the program, but you may have to use a different number in the RND
statement for each run, depending upon your version of BASIC.
Big bang
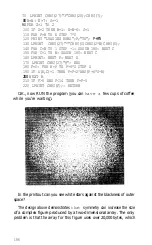
Are you ready to see what the program does? Change two lines:
60
PRINT "COUNTDOWN TO BIG BANG: T MINUS";
N-R: NEXT R
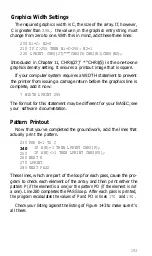
130 LPRINT CHR$(27)"*"CHR$(0)CHR$(2*N)CHR$(0);
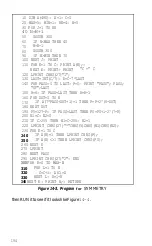
You may want to check your program against the full listing:
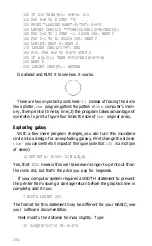
7 WIDTH LPRINT 255
10 DEFINT A: N=105: DIM A(N,N)
20
FOR R=l TO N: FOR C=l TO N
30
D=SQR(R^2+C^2)/N:
D=D*D
40
IF D>RND(9) THEN A(R,C)=l
50
NEXT C
60
PRINT "COUNTDOWN TO BIG BANG: T MINUS"; N-R:
NEXT R
185
Summary of Contents for FX-80
Page 1: ......
Page 22: ......
Page 23: ......
Page 26: ......
Page 31: ...Figure 1 1 The FX 80 and FX 100 printers 14 ...
Page 32: ...Figure 1 2 Printer parts 1 5 ...
Page 38: ...Figure 1 8 DIP switch vent 21 ...
Page 42: ...Figure 1 11 Ribbon insertion 25 ...
Page 51: ...Figure 1 20 Paper thickness adjustment 34 ...
Page 85: ......
Page 92: ......
Page 95: ......
Page 97: ...80 ...
Page 109: ......
Page 117: ...Figure 7 3 Staggering STAIR STEPS 100 ...
Page 119: ...Table 7 1 Line spacing commands 102 ...
Page 129: ...112 ...
Page 147: ...130 ...
Page 181: ...Figure 12 4 Corner of the FX 80 design ...
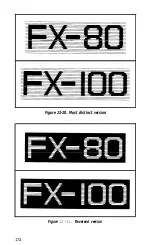
Page 189: ...Figure 12 10 Most distinct version Figure 12 11 Reversed version 172 ...
Page 215: ...198 ...
Page 231: ...214 ...
Page 249: ......
Page 269: ......
Page 272: ...iv ...
Page 283: ......
Page 290: ......
Page 305: ...282 ...
Page 311: ...288 ...
Page 323: ...300 ...
Page 339: ......
Page 343: ...320 ...
Page 349: ...326 ...
Page 353: ...330 ...
Page 354: ...Schematic 331 ...

