Chapter 2 - Unpacking and Setup
19
Repeat steps 10 through 13 for each of the
14.
remaining seven cartridges.
With all of the Ink Lines connected, ensure
15.
that Bulk Ink Bottles’ tops and the Ink Lines
are secure, including the Waste Ink Tube
running into the Waste Ink Bottle. Press the
Ink
button on the Control Panel to allow
the Print Carriage to dock back onto the
capping station.
Ensure all the Ink Lines are secured within the Print Carriage guides and
16.
perform 3-4 Head Cleanings.
To initiate a Head Cleaning cycle, hold down the
Ink
button on the Control
Panel for three seconds.
Only the initial setup procedures consume a large volume of ink.
Check the levels of your Bulk System Bottles- you will probably
need to add more ink after this process is complete. Don’t be
alarmed, normal printing does not use as much.
Resetting the Bulk Ink Cartridges
Each Chip Block contains smart chips that are designed to count the number of
ink drops dispensed. After a certain amount of ink has been used, a typical inkjet
cartridge chip tells the printer it is out of ink. However, this system is impractical
for a continuous-
fl
ow Bulk Ink System.
We have equipped each chip block with a new set of smart chips that are
designed to always read
Full
, but if you print all day long, the chip may still
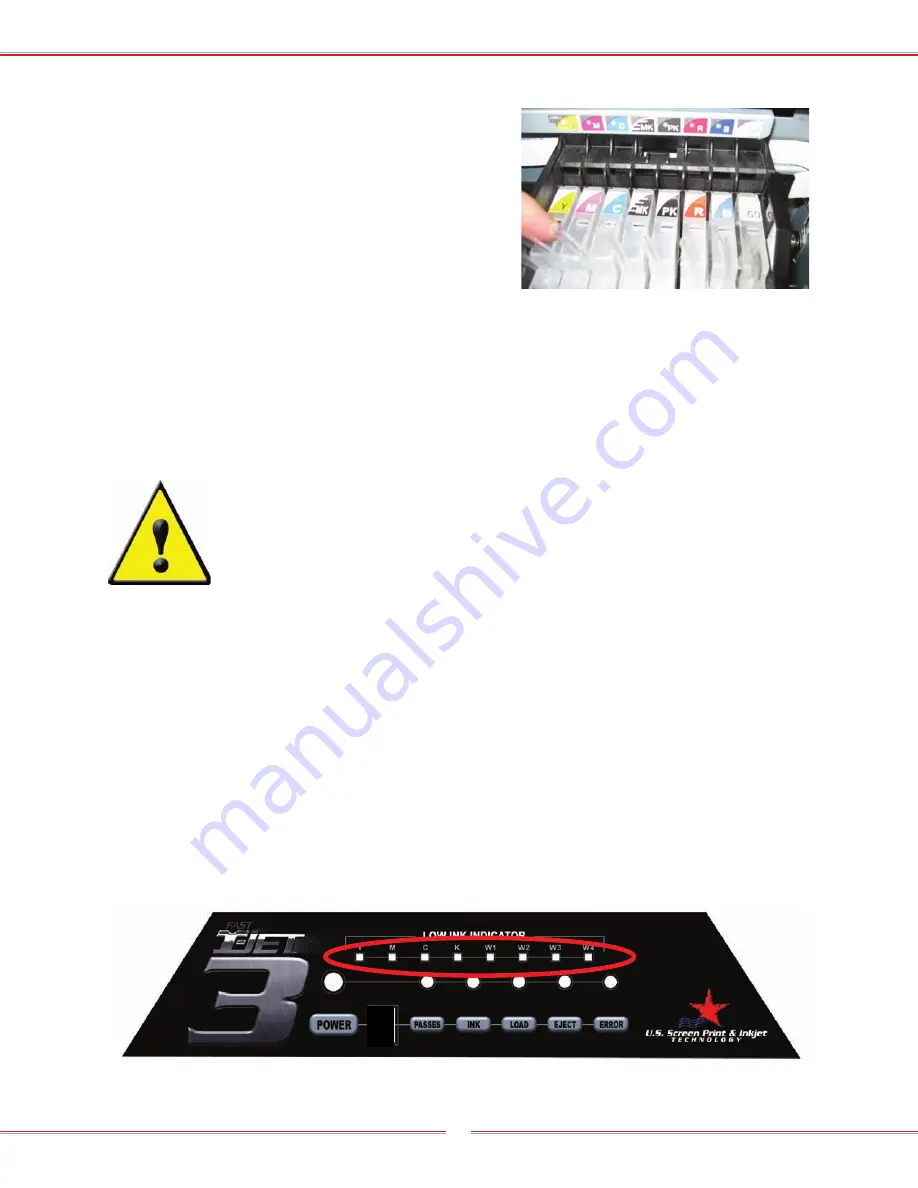
believe the cartridge is low on ink when in reality it is not. Should this occur, the
T-Jet3 PLUS
Low Ink Indicator
lights will warn you that you are low on ink by either
fl
ashing or remaining solid.
1
Summary of Contents for Fast T-Jet 3 PLUS
Page 1: ...User s Manual JULY 2008 VERSION 1 1 Tempe Arizona USA ...
Page 2: ......
Page 10: ...T Jet3 PLUS User s Manual Version 1 1 Revised July 2008 xiv ...
Page 16: ...T Jet3 PLUS User s Manual Version 1 1 Revised July 2008 6 ...
Page 64: ...T Jet3 PLUS User s Manual Version 1 1 Revised July 2008 54 ...
Page 66: ...T Jet3 PLUS User s Manual Version 1 1 Revised July 2008 56 ...
Page 90: ...T Jet3 PLUS User s Manual Version 1 1 Revised July 2008 80 ...


