40
7.
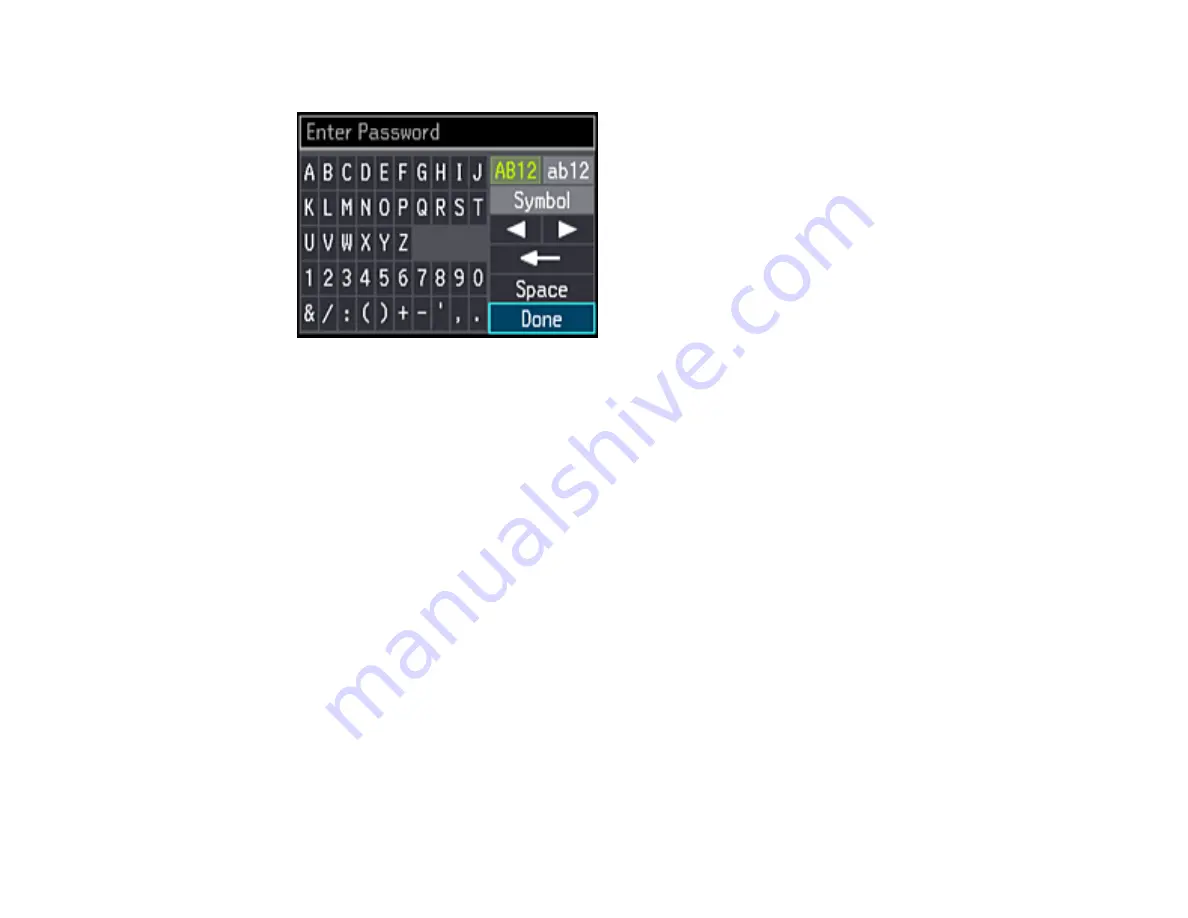
Enter your wireless password (or network name and then password).
• Press the arrow buttons to highlight a character or a function button displayed on the keypad.
Then press the
OK
button to select it.
• To change the case of letters or select symbols, select
AB12
(uppercase),
ab12
(lowercase), or
Symbol
and press the
OK
button. Then highlight a number or symbol and press the
OK
button to
select it.
• To enter a space, select
Space
and press the
OK
button.
• To delete characters, select the back arrow and press the
OK
button.
• When you finish entering characters, select
Done
and press the
OK
button.
8.
Press the
OK
button to confirm Wi-Fi settings.
9.
If you want to print a network status report, select
Yes
and press the
OK
button. (Otherwise, select
No
.)
Your product should now be connected to the network.
Note:
If the Wi-Fi connection symbol does not appear on the LCD screen, you may have selected
the wrong network name or entered the password incorrectly. Repeat these steps to try again.
Parent topic:
Wi-Fi Infrastructure Mode Setup
Related topics
Summary of Contents for ET-7700
Page 1: ...ET 7700 User s Guide ...
Page 2: ......
Page 20: ...20 Product Parts Front 1 Control panel 2 Front cover ...
Page 21: ...21 3 CD DVD tray 1 Output tray 2 Cassette 1 upper cassette 3 Cassette 2 lower cassette ...
Page 131: ...131 You see an Epson Scan 2 window like this ...
Page 133: ...133 You see an Epson Scan 2 window like this ...
Page 135: ...135 You see this window ...
Page 156: ...156 Related tasks Inserting a Memory Card ...
Page 207: ...207 You see a window like this 5 Click Print ...


