145
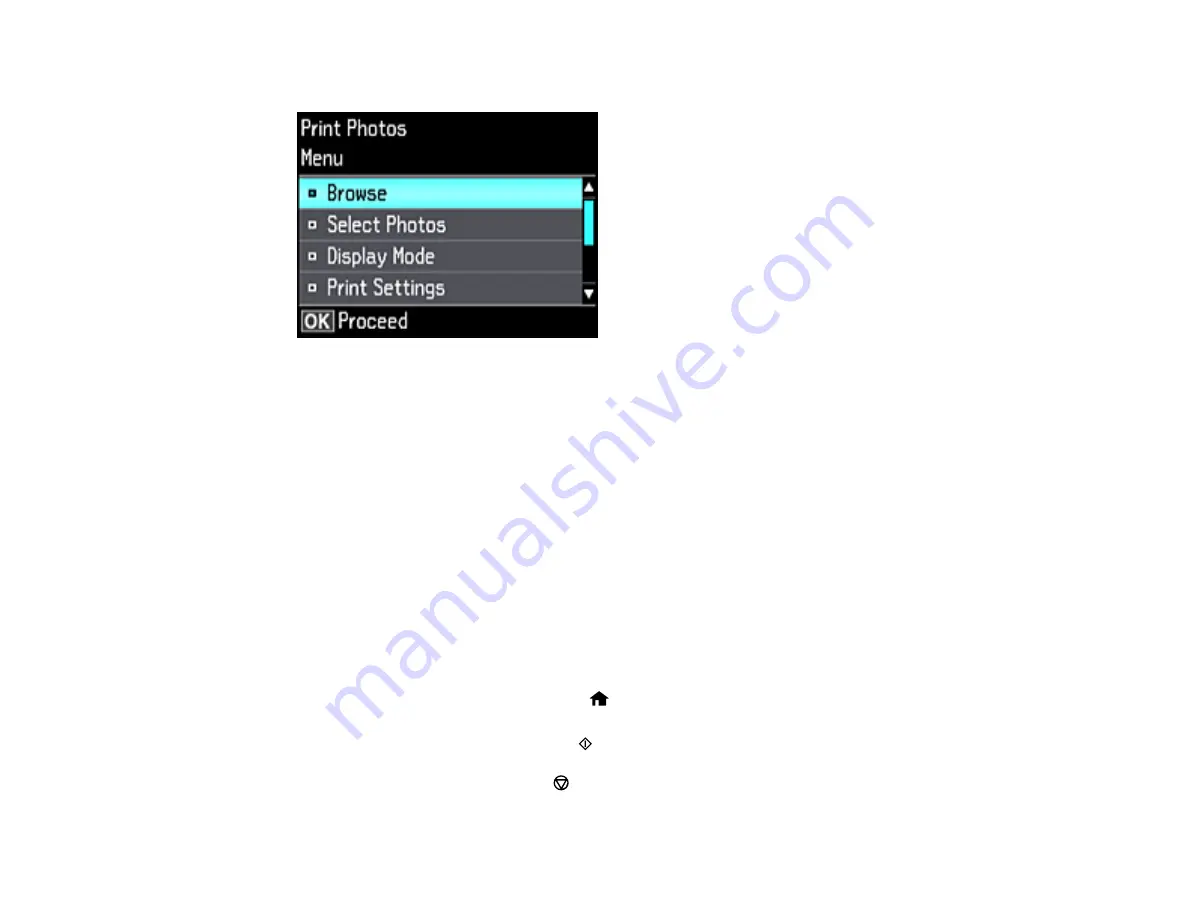
You see this screen:
7.
Do one of the following:
• To locate photos by date, select
Browse
, press the
OK
button twice, and select the photos you
want.
• To change the selected photos and number of copies to print, select
Select Photos
, press the
OK
button, and select the necessary settings.
• To change the display setting for the LCD screen, select
Display Mode
, press the
OK
button, and
select the setting you want.
• To change the print settings, select
Print Settings
, press the
OK
button, and select the necessary
settings.
• To change the appearance (e.g., brightness and contrast) of your printed photos, select
Photo
Adjustments
, press the
OK
button, and select the necessary settings.
• To apply a sepia tone or black-and-white filter to the viewed or printed photo, select
Filter
, press
the
OK
button, and select the necessary settings.
• To crop or zoom into your photo, select
Crop/Zoom
, press the
OK
button, and press the
+
or
–
button to adjust the image area or the
home button to rotate the crop area. When you are
finished, press the
OK
button twice.
8.
When you are ready to print, press the
start button.
Note:
To cancel printing, press the
cancel button.
Summary of Contents for ET-7700
Page 1: ...ET 7700 User s Guide ...
Page 2: ......
Page 20: ...20 Product Parts Front 1 Control panel 2 Front cover ...
Page 21: ...21 3 CD DVD tray 1 Output tray 2 Cassette 1 upper cassette 3 Cassette 2 lower cassette ...
Page 131: ...131 You see an Epson Scan 2 window like this ...
Page 133: ...133 You see an Epson Scan 2 window like this ...
Page 135: ...135 You see this window ...
Page 156: ...156 Related tasks Inserting a Memory Card ...
Page 207: ...207 You see a window like this 5 Click Print ...


