


256
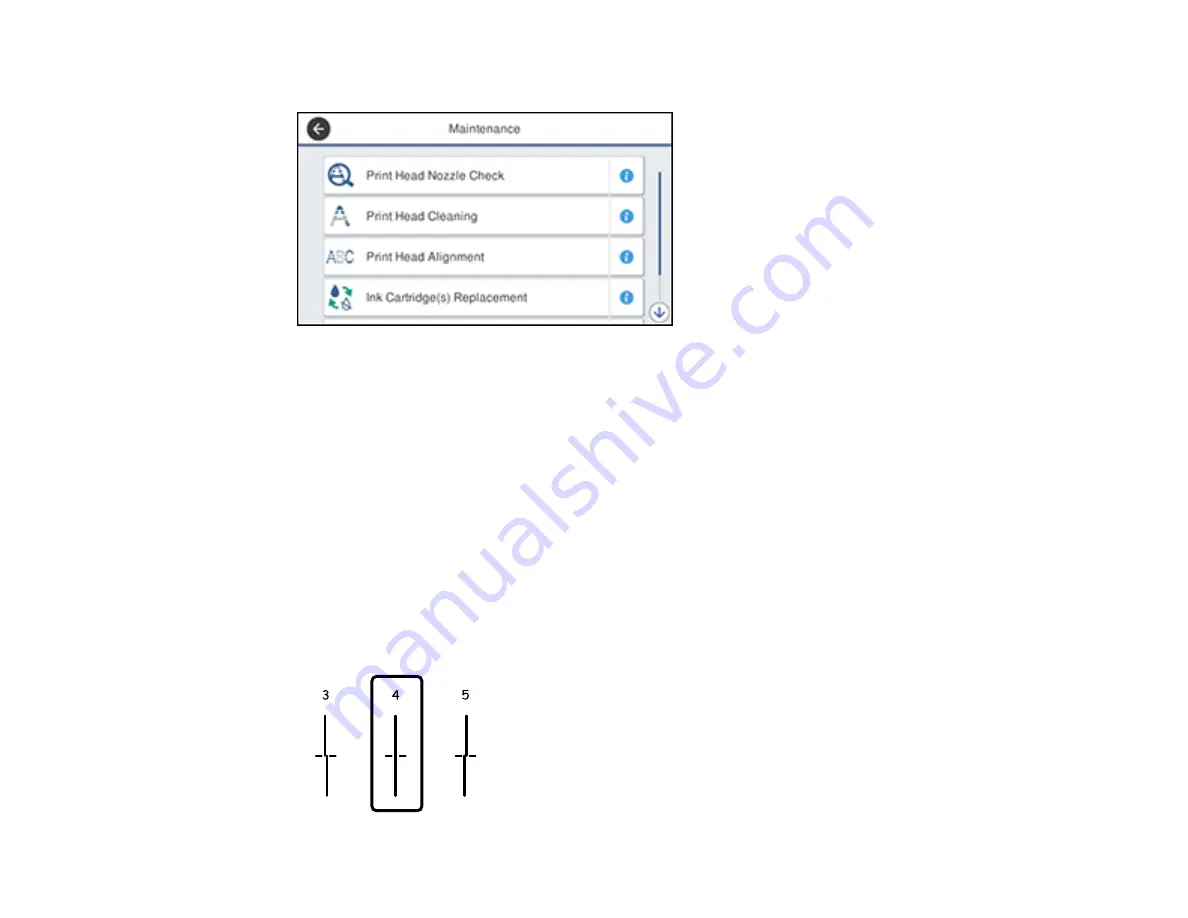
You see a screen like this:
5.
Select
Print Head Alignment
.
6.
Select one of the following options:
•
Ruled Line Alignment
if vertical lines in your printout are misaligned.
•
Vertical Alignment
if your printout is blurry.
•
Horizontal Alignment
if your printout contains horizontal banding.
7.
Follow the on-screen instructions to print an alignment sheet.
Note:
Do not cancel printing while you are printing head alignment patterns.
8.
Check the printed patterns on the alignment sheet and select the following on the LCD screen,
depending on the alignment pattern you printed:
•
Ruled Line Alignment
: For patterns 1 and 2, select the number representing the pattern with the
least misaligned vertical line.
Summary of Contents for C11CF75203
Page 1: ...EC 4040 User s Guide ...
Page 2: ......
Page 17: ...17 3 Select General Settings 4 Select Basic Settings 5 Select Date Time Settings ...
Page 29: ...29 Product Parts Inside 1 Document cover 2 Scanner glass 3 Control panel ...
Page 83: ...83 1 Open the document cover ...
Page 153: ...153 You see an Epson Scan 2 window like this ...
Page 155: ...155 You see an Epson Scan 2 window like this ...
Page 157: ...157 You see a window like this 2 Click the Scan icon ...
Page 160: ...160 You see this window ...
Page 260: ...260 5 Open the document cover ...
Page 262: ...262 8 Open the ADF cover ...
Page 287: ...287 3 Open the ADF cover 4 Carefully remove any jammed pages ...


