


141
4.
If you want to assign scan jobs to the selection list on the product control panel, do one of the
following:
•
Windows
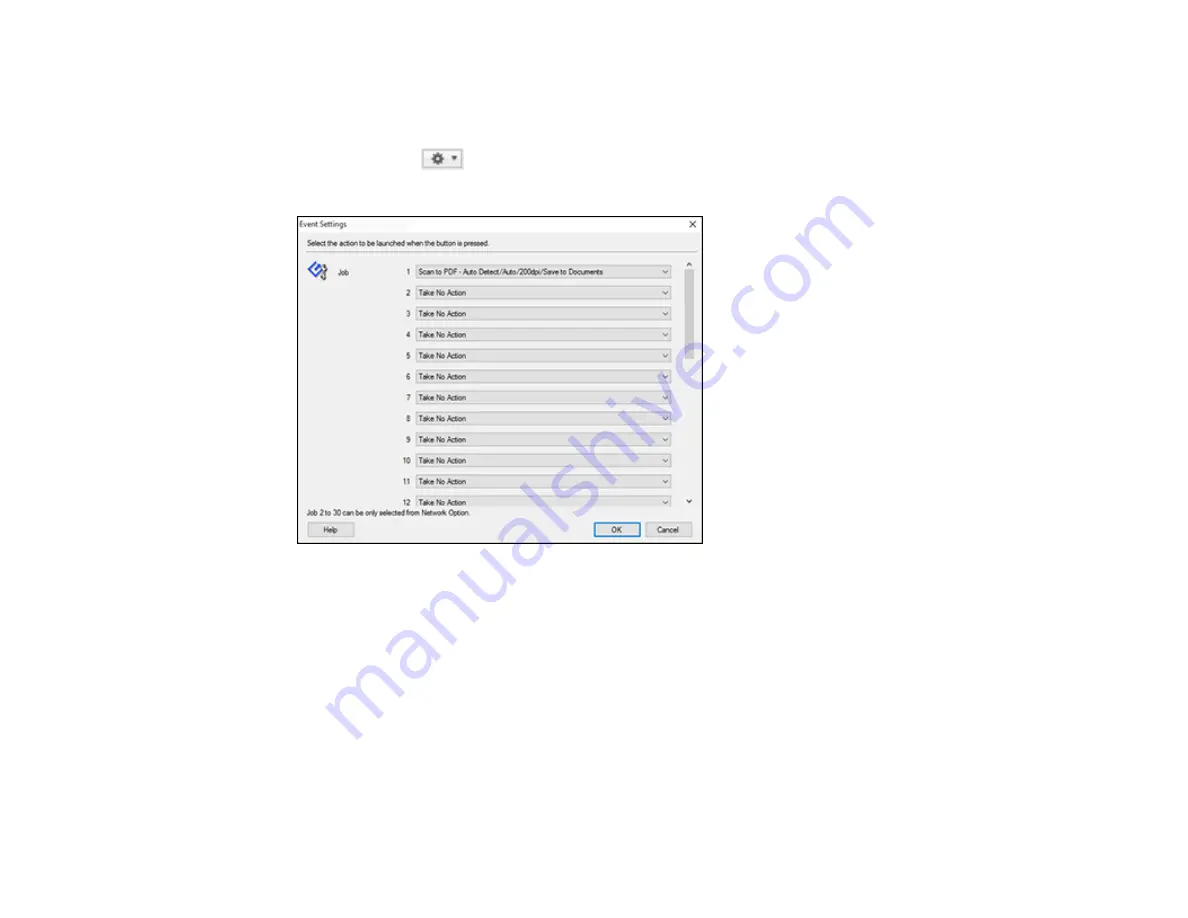
: Click
Event Settings
.
•
Mac
: Click the
icon at the bottom of the window, then click
Event Settings
.
5.
Select the jobs that you want to assign to any of the pull-down menus.
You can now use the added scan jobs when you scan from the product control panel.
6.
Click
OK
, then click
OK
again.
Parent topic:
Starting a Scan Using the Product Control Panel
Related tasks
Scanning with Document Capture Pro or Document Capture
Setting Up a WSD Port (Windows 7/Windows Vista)
You can scan to a networked Windows computer using WSD (Web Services for Devices). You must first
set up a WSD port on your Windows 7 or Windows Vista system (the port is set up automatically on
Windows 10 and Windows 8.x).
Summary of Contents for C11CF75203
Page 1: ...EC 4040 User s Guide ...
Page 2: ......
Page 17: ...17 3 Select General Settings 4 Select Basic Settings 5 Select Date Time Settings ...
Page 29: ...29 Product Parts Inside 1 Document cover 2 Scanner glass 3 Control panel ...
Page 83: ...83 1 Open the document cover ...
Page 153: ...153 You see an Epson Scan 2 window like this ...
Page 155: ...155 You see an Epson Scan 2 window like this ...
Page 157: ...157 You see a window like this 2 Click the Scan icon ...
Page 160: ...160 You see this window ...
Page 260: ...260 5 Open the document cover ...
Page 262: ...262 8 Open the ADF cover ...
Page 287: ...287 3 Open the ADF cover 4 Carefully remove any jammed pages ...


