


242
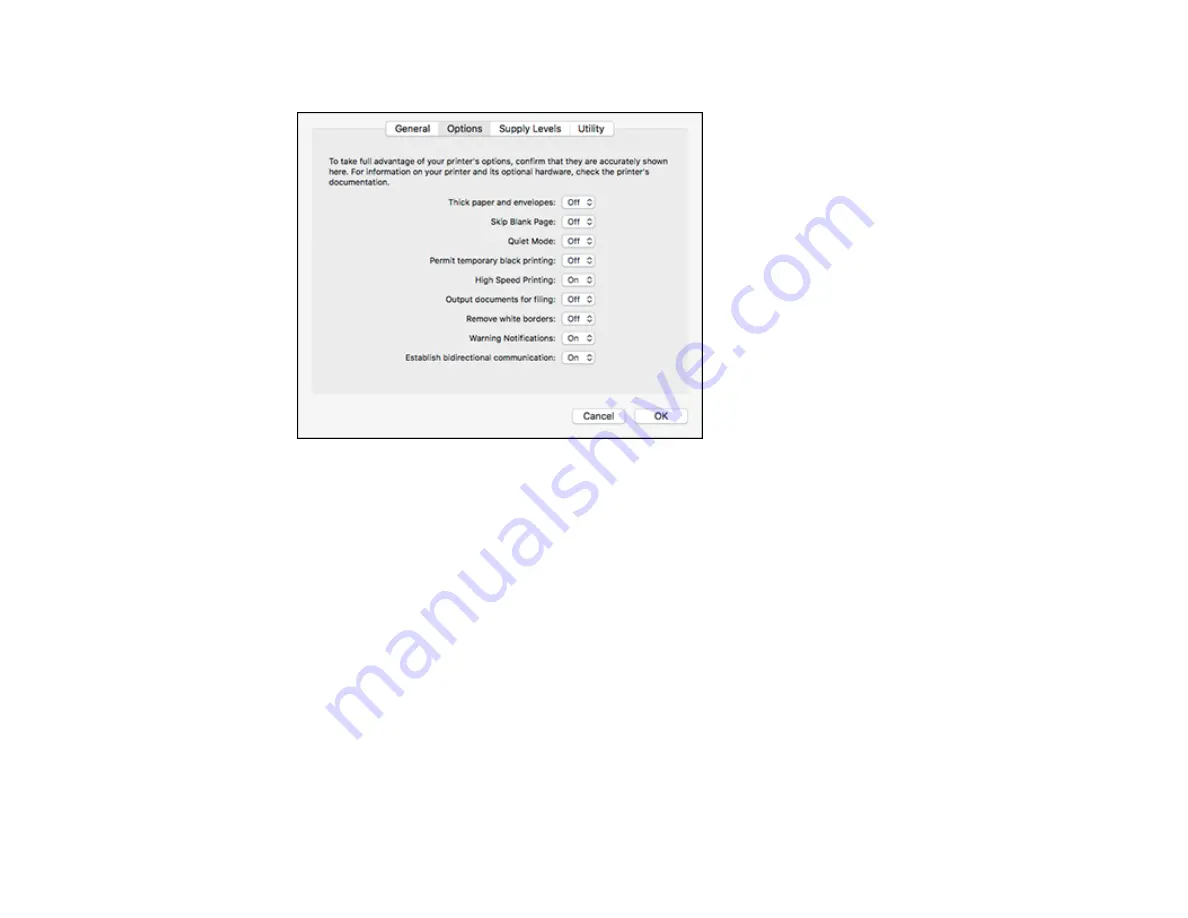
You see a screen like this:
6.
Select
On
as the
Permit temporary black printing
setting.
7.
Click
OK
.
8.
Close the utility window.
9.
Load plain paper or an envelope in your product.
10. Access the print settings in your print application.
11. Select
Print Settings
from the pop-up menu.
12. Select
Plain Paper/Bright White Paper
or
Envelope
as the paper type setting.
13. Select the
Grayscale
option.
14. Click
to print your document.
Parent topic:
Summary of Contents for C11CF75203
Page 1: ...EC 4040 User s Guide ...
Page 2: ......
Page 17: ...17 3 Select General Settings 4 Select Basic Settings 5 Select Date Time Settings ...
Page 29: ...29 Product Parts Inside 1 Document cover 2 Scanner glass 3 Control panel ...
Page 83: ...83 1 Open the document cover ...
Page 153: ...153 You see an Epson Scan 2 window like this ...
Page 155: ...155 You see an Epson Scan 2 window like this ...
Page 157: ...157 You see a window like this 2 Click the Scan icon ...
Page 160: ...160 You see this window ...
Page 260: ...260 5 Open the document cover ...
Page 262: ...262 8 Open the ADF cover ...
Page 287: ...287 3 Open the ADF cover 4 Carefully remove any jammed pages ...


