


255
5.
When the cleaning cycle is finished, you can check to see if the nozzles are clean; click
Print Nozzle
Check Pattern
and click
.
6.
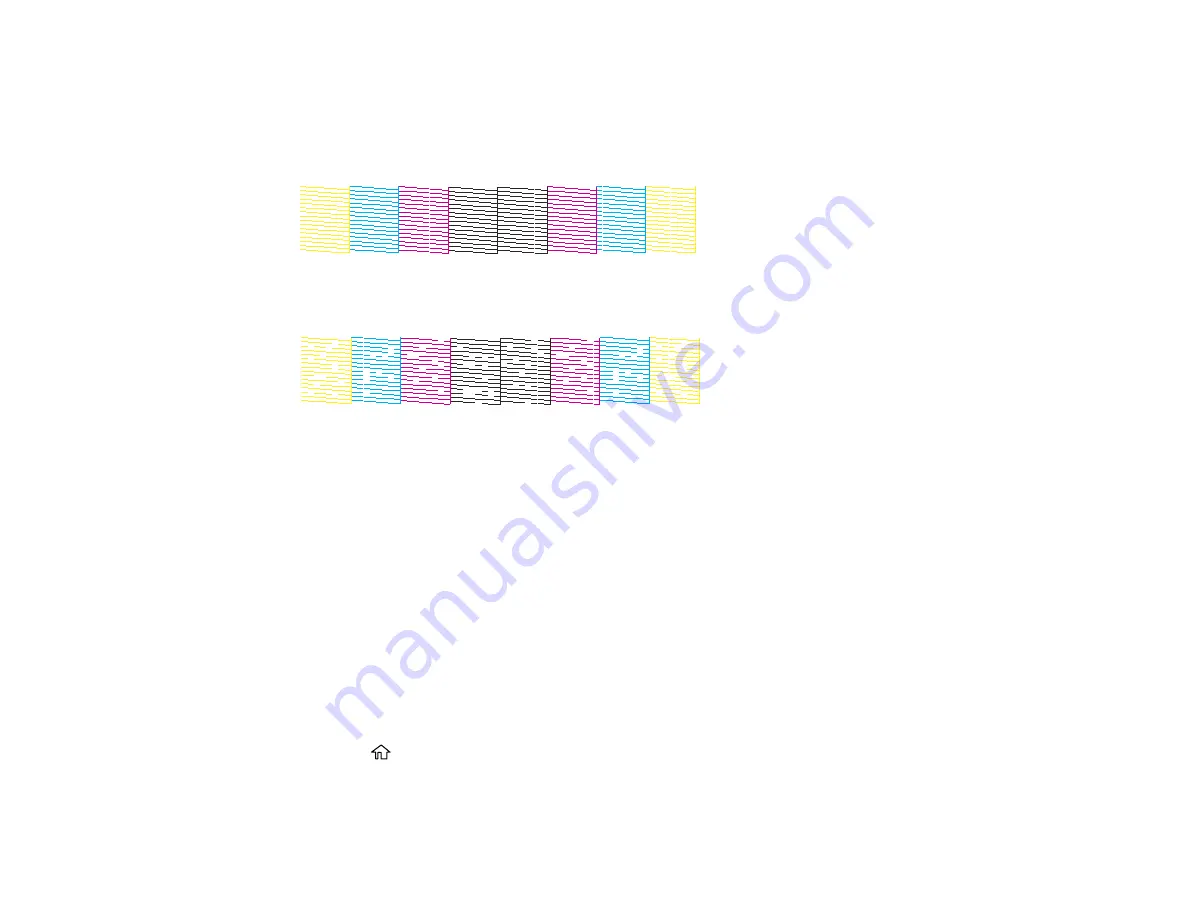
Check the printed pattern to see if there are gaps in the lines.
Print head is clean
Print head needs cleaning
• If there are no gaps, click
Finish
.
• If there are gaps or the pattern is faint, click
Clean
to clean the print head again.
If you don’t see any improvement after cleaning the print head up to 4 times, wait at least 6 hours without
printing. Then try cleaning the print head again. If quality still does not improve, contact Epson.
Parent topic:
Related tasks
Aligning the Print Head Using the Product Control Panel
You can align the print head using the control panel on your product.
1.
Make sure there are no errors on the LCD screen.
2.
Load a few sheets of plain paper in the product.
3.
Press the
home button, if necessary.
4.
Select
Maintenance
.
Summary of Contents for C11CF75203
Page 1: ...EC 4040 User s Guide ...
Page 2: ......
Page 17: ...17 3 Select General Settings 4 Select Basic Settings 5 Select Date Time Settings ...
Page 29: ...29 Product Parts Inside 1 Document cover 2 Scanner glass 3 Control panel ...
Page 83: ...83 1 Open the document cover ...
Page 153: ...153 You see an Epson Scan 2 window like this ...
Page 155: ...155 You see an Epson Scan 2 window like this ...
Page 157: ...157 You see a window like this 2 Click the Scan icon ...
Page 160: ...160 You see this window ...
Page 260: ...260 5 Open the document cover ...
Page 262: ...262 8 Open the ADF cover ...
Page 287: ...287 3 Open the ADF cover 4 Carefully remove any jammed pages ...


