Getting Started
1-12
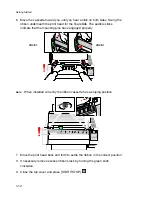
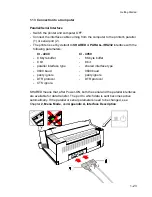
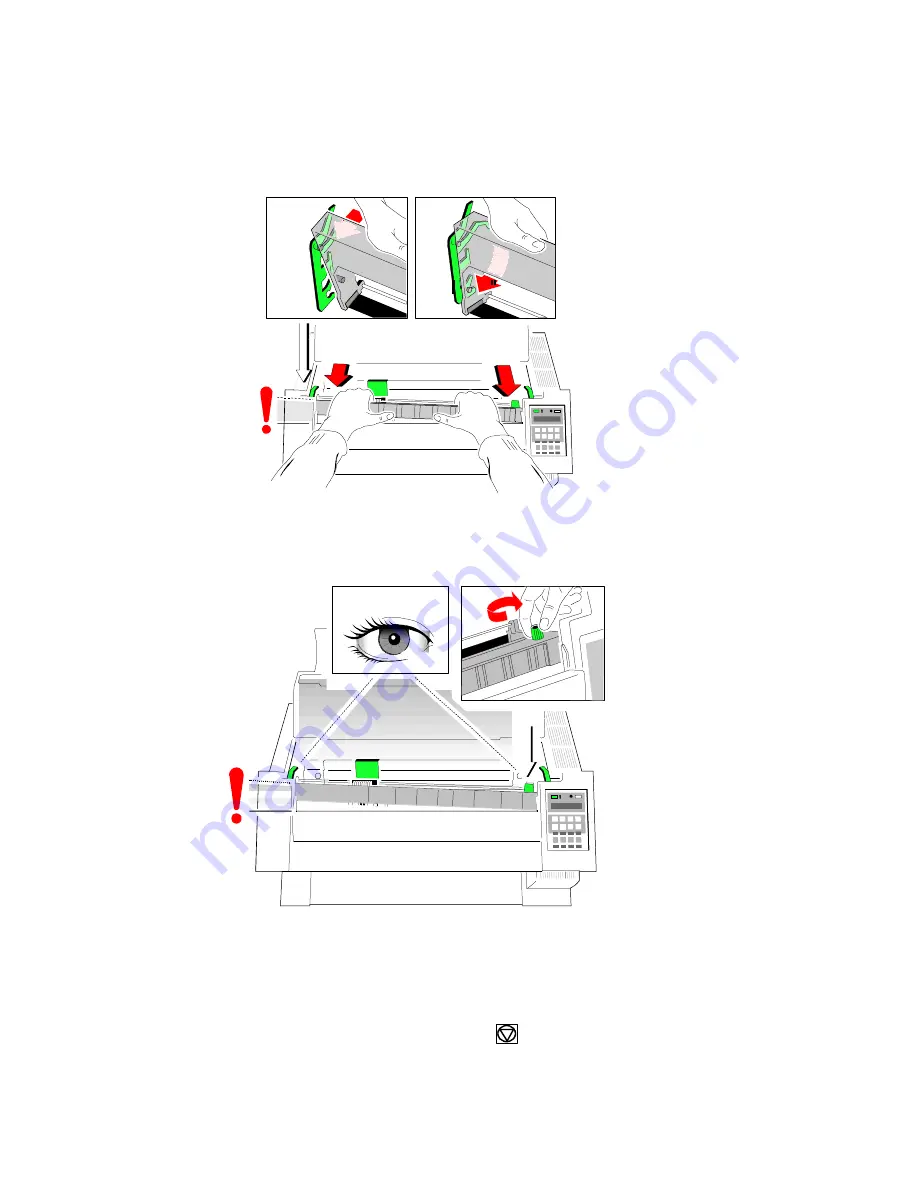
6. Move the cassette toward you until you hear a click on both sides. Swing the
ribbon underneath the print head for the final
click
. The audible clicks
indicate that the mounting pins have engaged properly.
click !
click !
Note
When installed correctly the ribbon cassette has a sloping position.
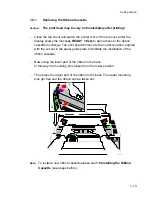
7. Move the print head back and forth to settle the ribbon in the correct position.
8. If necessary remove excess ribbon slack by turning the green knob
clockwise.
9. Close the top cover and press [START/STOP]
.
Summary of Contents for C I - 4 0 4
Page 1: ...User s Manual C I 4 0 4 0 C I 4 0 5 0 ...
Page 132: ...Appendix B Print Samples of Resident Fonts B 2 ...
Page 133: ...Appendix B Print Samples of Resident Fonts B 3 ...
Page 134: ...Appendix B Print Samples of Resident Fonts B 4 ...
Page 135: ...Appendix B Print Samples of Resident Fonts B 5 ...
Page 136: ...Appendix B Print Samples of Resident Fonts B 6 Character Pitches ...
Page 137: ...Appendix B Print Samples of Resident Fonts B 7 ...
Page 138: ...Appendix B Print Samples of Resident Fonts B 8 ...
Page 139: ...Appendix B Print Samples of Resident Fonts B 9 ...
Page 140: ...Appendix B Print Samples of Resident Fonts B 10 ...
Page 141: ...Appendix B Print Samples of Resident Fonts B 11 ...

