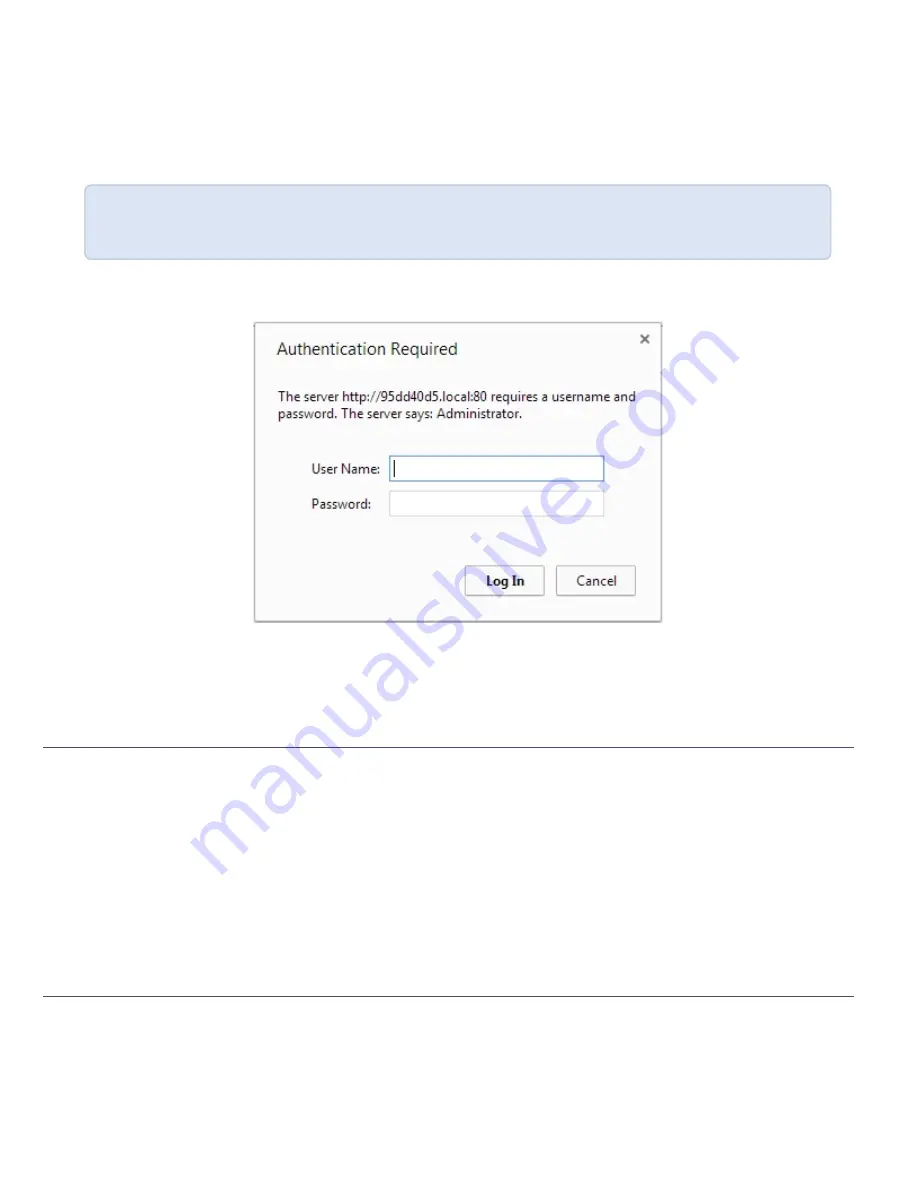
You are able to access the system's web interface on the local network by specifying its serial number in a web browser
on your admin computer.
1. Find the system’s serial number. It is printed on a sticker on the back of the device.
2. Type the following string into the address bar of your web browser on your admin computer and press Enter.
(<serial> is the serial number of your VGADVI Broadcaster):
http://<serial>.local/admin
For example:
http://3D24A1.local/admin
3. Enter the user name and password then click
OK
. The administrative user is ‘admin’. Initially no password is set.
To set a password follow the procedure outlined in
Setting and Changing User Passwords
.
4. Optionally, navigate to the
Network
link under the Configuration heading and note the
IP address
of the
system.
Step 4: Setup the video source
When a source device, such as a camera or tablet is connected to an input port, the VGADVI Broadcaster automatically
recognizes the source and adds the source to the
Stream Setup
menu in the Web Interface.
1. From the web interface, click on the
Info
page; the info page opens displaying the live stream and the stream
URL. This is the link you can share with your viewer to view the live broadcast.
Source setup is complete. The system automatically detected and adjusted the image capture settings at start up and
will continue to adjust every 60 seconds during operation (interval is configurable). The system’s goal is to produce the
best quality captured image given the source equipment used. Generally no further configuration tweaks are needed.
Step 5: Configure the channel
Now that you confirmed the system detected your source and you are satisfied with the captured image, it’s time to
configure a channel to share the captured image with your streaming users and prepare the source for recording.
Review and configure the channel:


