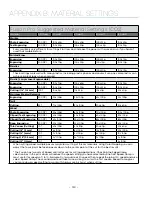
• These are only suggestions: Every type of material will react differently with the laser, even from one
plastic to the next. Use these settings as your starting point then adjust one variable at a time until
you achieve the result you desire. Settings for any material are a matter of personal preference. Not
every material that can be run at high speed should be run at high speed. A better mark can often
be achieved by slowing your laser and giving the laser longer to react to your material.
• Test your material: If you have a small area of the material you won’t be using, or an extra item,
take advantage of this area to test out your settings by engraving a small square or cutting a small
circle. You can fine tune your settings in these areas.
• Similar materials use similar settings: When you are working with a material you aren’t familiar with,
think about a similar material and what settings you would use with that product. Most anodized
aluminums will react well with similar settings, as will most plastics.
• When in doubt, start low: Remember, you can always re-run your job as long as you don’t move it
in the machine. Let’s say you’re running a photograph in a one-of-a-kind wood plaque. Start with
a lower power setting, look at the engraving, then run the project a second time at high speed and
lower power a second time to add a little more depth if needed.
• Run only one part of the file: If running a job on a new material, you can always just select one
piece of the engraving, like a piece of text, and run that part first to make sure your settings are
perfect before running the whole file.
To print a copy of these settings to keep next to your laser, go to
.
- 131 -
APPENDIX B: MATERIAL SETTINGS


