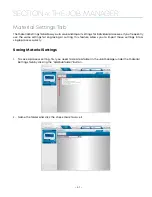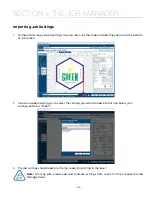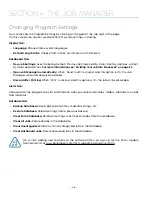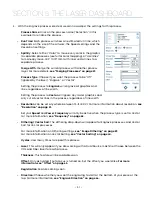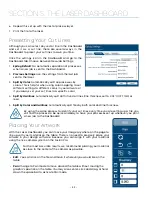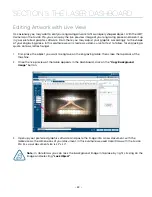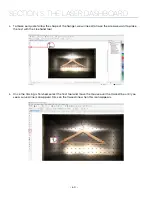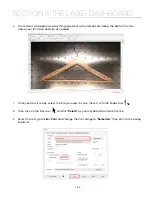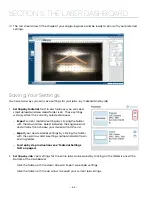
6. Repeat this set up with the Vector process layer.
7. Print the file to the laser.
Presetting Your Cut Lines
Although you can select any vector line in the Dashboard
and set it as a cut line, there are several ways in the
Dashboard to preset your cut lines to save you time.
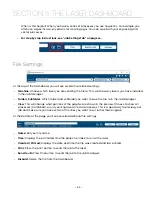
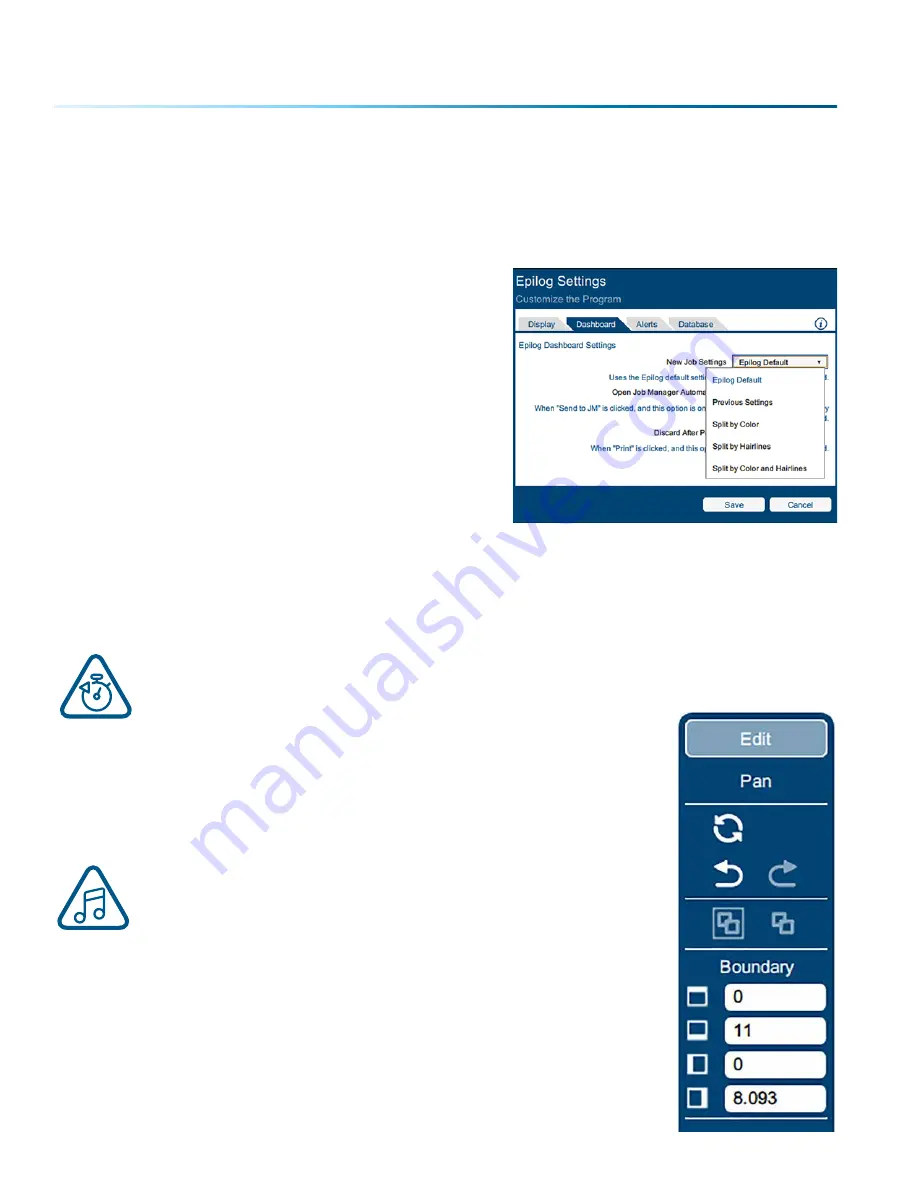
Click the settings icon in the Dashboard and go to the
Dashboard tab. Choose between New Job Settings:
1.
Epilog Default
: No automatic separation of processes
when a new job is sent to the Dashboard.
2.
Previous Settings
: Use the settings from the last job
sent to the laser.
3.
Split by Color
: Automatically split all processes by
colors. This is helpful when using color mapping to set
different settings to different colors in your artwork, or
if you always set your cut lines to a specific color.
4.
Split by Hairlines
: Automatically split all thin vector lines (line thickness set to .003” (0.077 mm) or
less).
5.
Split by Color and Hairlines
: Automatically split files by both color and line thickness.
By using the same process to identify your cut lines every time you are setting up a file, you
will find the process to be quick and easy to have your processes set up whenever you print
a new job to the Dashboard!
Placing Your Artwork
With the Laser Dashboard, you can move your image anywhere on the page to
line up with your material on the table. There is no need to precisely place your
artwork in your design software, because you can align it with your material
using the live camera system on the Fusion Pro.
For the most accurate results, we recommend placing your material
as close to the center of the camera as possible.
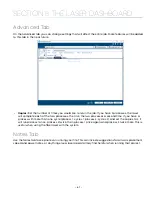
• Edit
: You can click on the file and move it wherever you would like on the
table.
• Pan
: Change to Pan mode to move around the table without moving the
graphic’s position on the table. You may also center-click and drag, or hold
down the space bar to activate Pan mode.
- 52 -
SECTION 5: THE LASER DASHBOARD


