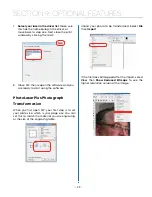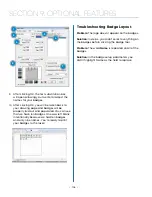
4. Click and drag a box within the badge. Size it
to approximately accommodate your
longest text string.
Make sure it fits in the badge area.
Be sure to click and drag after
selecting the tool. Just clicking in
the badge will invoke a different use
for the tool and you will not be able
to auto-condense your names.
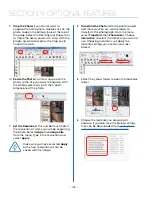
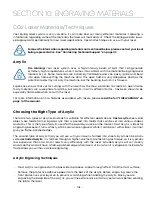
5. Type your variable in the text box. Here we
used the word
Name
. Move it to its proper
location on the badge.
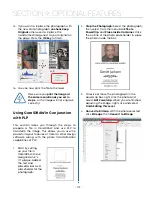
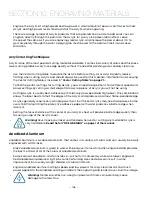
6. We’re now ready to create the badges. First,
select everything on the badge
. If you don’t
select everything, the unselected objects will
not be repeated on the badges.
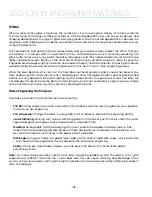
7. Select the Badges icon in the tool bar.
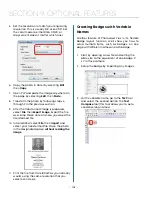
8. Set the Badge Setup parameters as shown
below:
Number of Copies:
the number of
badges you want to create.
Score Lines:
Optional setting that you
can use to vector cut badges if you’re
using material like plastic.
Use Plate:
It’s important that this be
checked so that the graphic
corresponds with the actual plate size
you’re using.
Custom Size:
The custom plate size
corresponds to the size of your material
you’re using to engrave the badges. We’re
going to laser a 12” x 12” piece of plastic, so
we’ve set this parameter to 12” x 12”.
Compress text equally over copies:
You do
not need to check this box. Long
names will automatically be
compressed.
Replaceable Items/text:
Select the
variable text you typed in earlier, in
this case.
Replacement Data File:
If this box is
checked you can browse for a data file
that has the names already entered, such as
a tab delimited text file. If you do not check
this box, a box will open allowing you to type
in the data.
7
3
1
2
4
5
6
- 103 -
SECTION 9: OPTIONAL FEATURES


