64
Elcom, spoločnosť s ručením obmedzeným, Prešov
Elcom, spoločnosť s ručením obmedzeným, Prešov
65
Uniq 150
Service manual
Service
manual
Uniq 150
c. Choose particular image. Standard is Linux, otherwise according to operator choice. Restoration system will
check the image integrity and when it is all right, begins with restoration.
Note: After this step data will phisicaly erased and it is very hard to restore them! Data recovery requires
knowledge about the function and file systems work.
d. If the disk has largest capacity, system offer partitioning of the disk. For disks with less capacity as 100 GB do
not partition the disk, thus choose option 1 – One partition. For disks with more capacity as 100 GB choose
option 4 – 50GB + rest of capacity.
e. After data recovery of choosen image, system check data storage for some applications propper for the
image. If system find propper applications for the image, user can choose from those applications or skip
this step. If user chose some application, follows application recovery.
Note: Whatever error appears during recovery, the recovery stop immediately and system turn back to the
recovery main menu!
f. After recovery finish successfuly, the computer restart call appears. Do not restart! Choose option 4 –
Shutdown PC in „Elcom rescue“ main menu. This option turn off the PC panel. Confirm turning off with
ENTER.
4.1.2. Process of testing of various product part
1. Turn on the Uniq PC and boot from USB key with test application.
2. Call menu to choosing a boot device by pressing the key according to the following table, when logo is displayed or
during POST reports list of BIOS system. The boot device key is shown on display during starting. It is necessary to
press the key before operating system starts boot from primary boot device.
Mainboard type
Key for choosing the boot device
WAFER N270 (WAFER-945GSE-N270)
F11
WAFER D525 (WAFER-PV-D5252/D4252/N4552)
F7
Quanmax KEEX-2230
F11
Jetway NF-36
Fx
Unitest application.
3. Choose USB device with test application from displayed list and confirm with ENTER.
4. Run Unitest application by icon on desktop. Execute tests of all installed devices according to description below.
Note: Use touch panel to controll the UniqPC. Touch panel can be controlled with finger (capacitive panels
only with finger) or with touch stick.
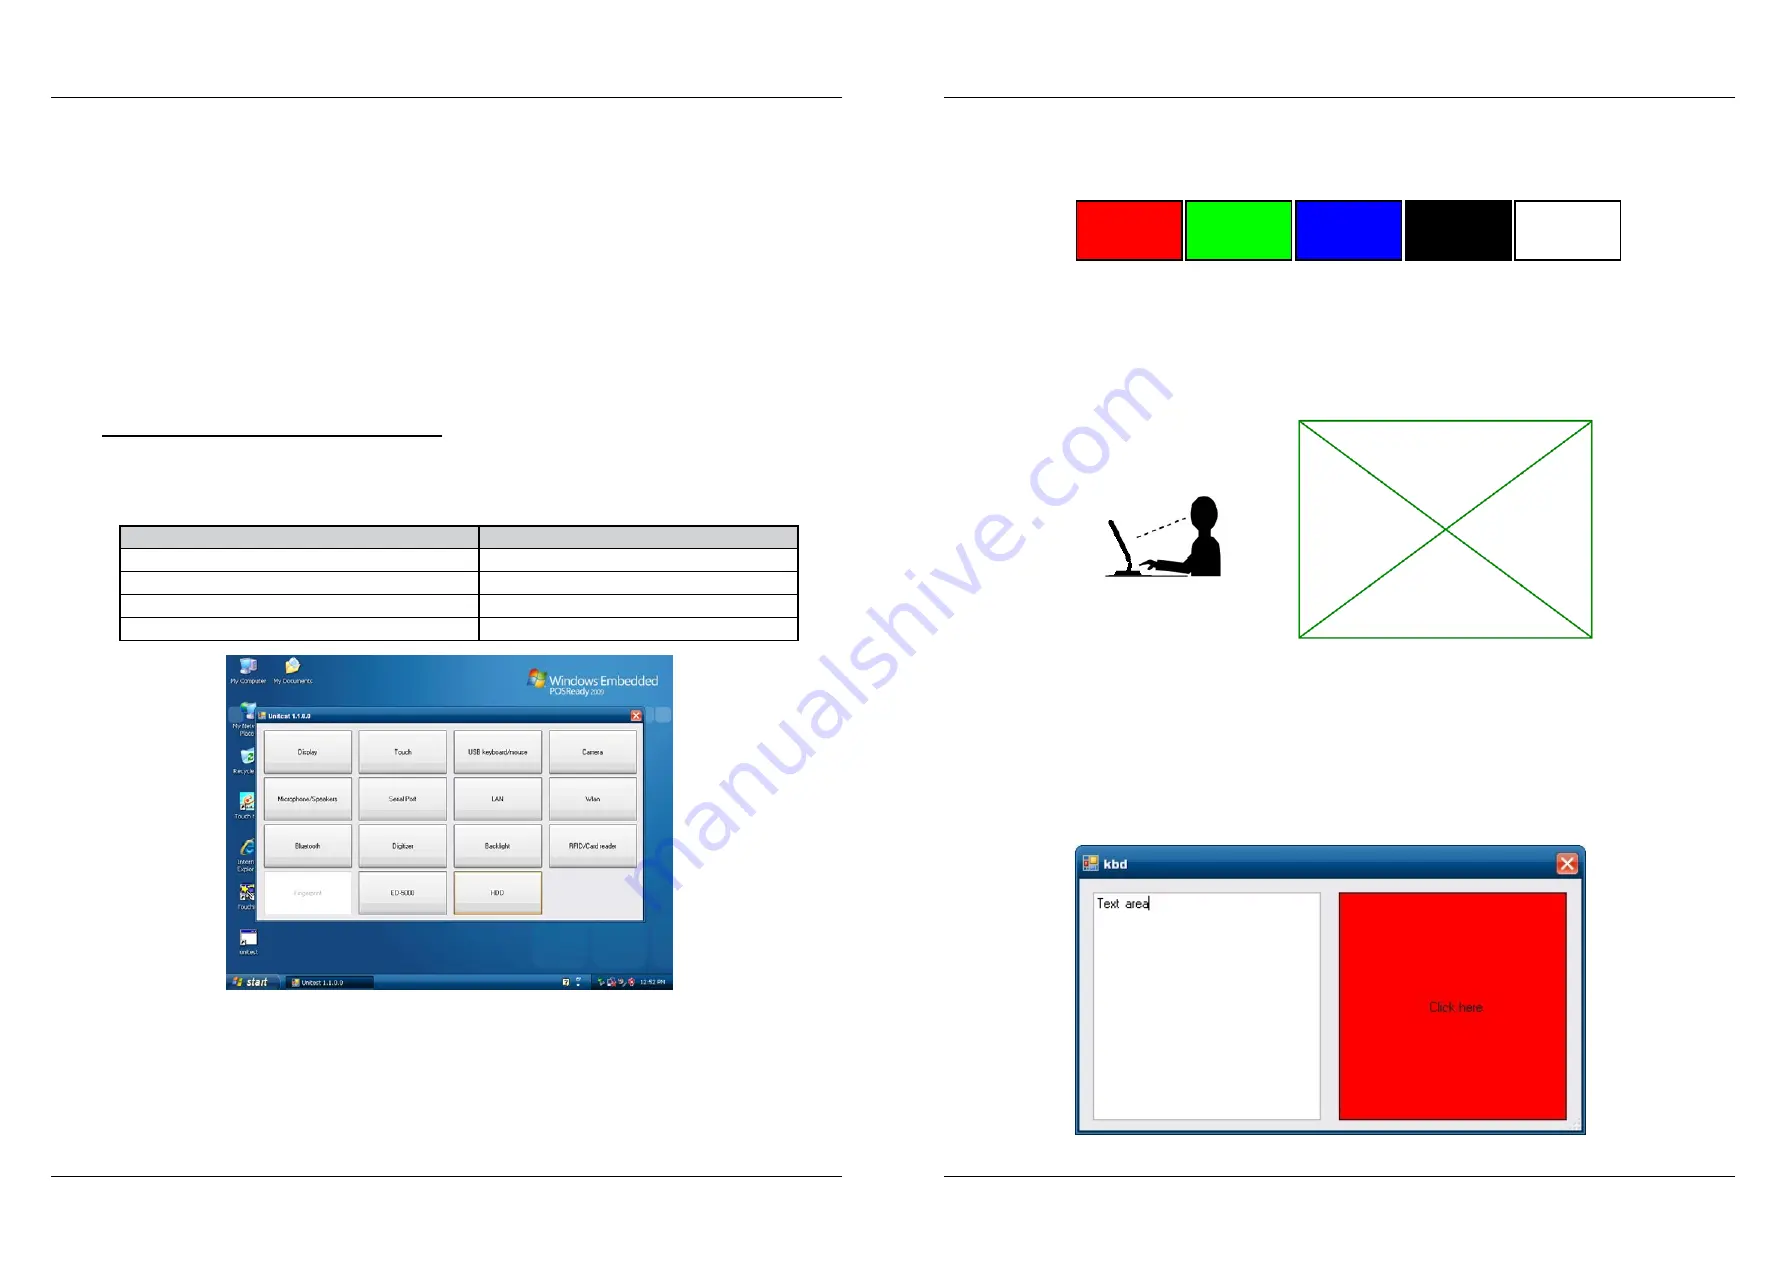
a. Display test (Display)
Display functionality, propper color profile, any defective artifacts on screen check up by visual test of
Windows desktop before run the display test.
i. Run display test by tapping on „Display“ button in Unitest application.
ii. Whole screen highlight in one color. Change the color with tapping on panel or click left mouse button.
Visually check if there are any defective points or points with different color for each color – red, blue,
green, black and white. If find any defects, consider by document Criteria for assessing defects limit.
iii. Finish the display test with right mouse button click, or hold finger pressed on one position of single-touch
panel a while, or hold one finger pressed on one position of multi-touch panel and tap with another finger
on the other place of touch panel.
b. Touch panel test (Touch)
I. Run touch panle test by tapping on „Touch“ button in Unitest application.
II. Then tap on „Paint“ button in opened window.
iii. Draw following pattern on the touch panel. Note if drawn line appears under pen nib during drawing.
Watch display upright, not at an angle!
Touch panel control is not satisfied if deflection between the point and pen nib is more then 0,5 cm. It is
necessary to calibrate the touch panel in case of not satisfied test result. Calibration process depends on
touch panel type and it is described in following chapter.
c. Test of input devices (USB keaboard/mouse)
i. Connect a USB keyboard or a mouse to the tested USB port and wait while operating system recognize the
device.
ii. Tap on „USB keyboard/mouse“ button in Unitest application.
iii. If mouse is connected to the tested USB port, click few times on area „Click here“. When mouse button is
pressed, the area must turn red. If keyboard is connected to the tested USB port, typed text must be shown
at the text area.
Summary of Contents for Uniq 150
Page 1: ...Uniq 150 Uniq 150 Service manual version 1 4 Elcom spolo nos s ru en m obmedzen m Pre ov...
Page 5: ...Elcom spolo nos s ru en m obmedzen m Pre ov 5 Service manual Uniq 150 1 General specification...
Page 7: ...Elcom spolo nos s ru en m obmedzen m Pre ov 7 Service manual Uniq 150 2 Structural part...


