POS–4000
© Elcom, s. r. o.
19
POS description
Warning: If a coloured strip indicating the end of the tape appears, quickly replace the paper
tape. Delays in replacing the tape can lead to printer damage and potential shortening of its
lifespan.
Use only paper tapes that have no glued ends. Glued ends shorten the printer life and invali-
date the warranty.
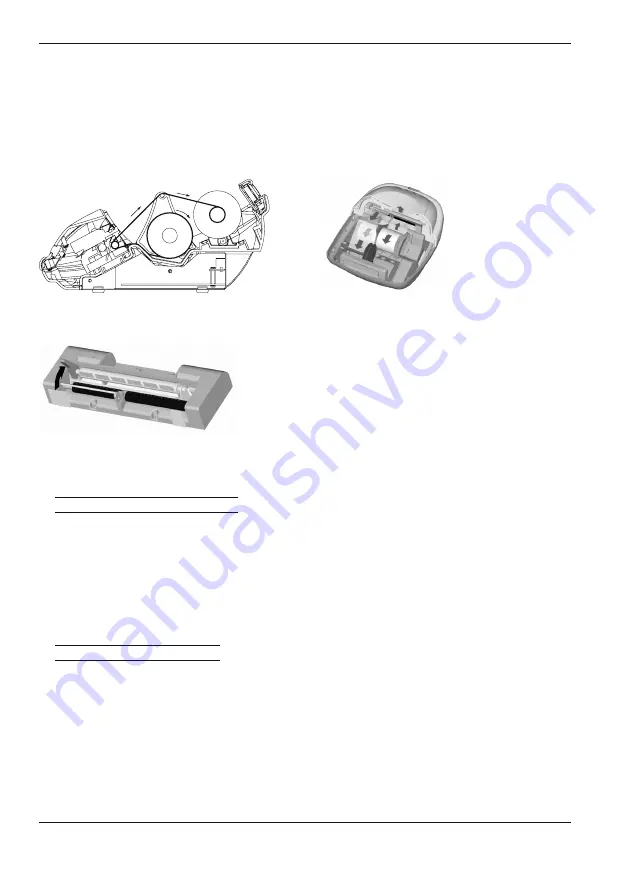
Insert the paper tape reels into the reel beds so that they unroll from the bottom (see fig. 2.17).
Trim the tape ends using scissors. Tape ends must not contain any dirt or glue residue.
First, lift the printing head by lifting its position lever upwards. Feed both of the tapes, receipt
and journal, as shown in the figure. Lower the printing head and press the receipt tape feed
button on the front cover until the tape’s end
does not emerge. Then, press the journal tape
feed button until the journal tape has unwo-
und sufficiently to fasten it into the winding
reel and wind the reel several times over to fit
the journal tape properly. Place the winding
reel into designated holders and turn it lightly
to stretch the tape.
Put the receipt tape into the receipt tape slit in the printer cover and close the printer cover.
Tear off surplus tape and you can begin operation.
Usage and storage of paper tapes
Use 2.1" (54 mm) paper tapes in the POS-4000 cash register.
Following storage recommendations hold for commonly used paper tapes:
• do not expose to sunlight,
• do not expose to temperatures above 104 F (40 ° C),
• avoid contact with softened PVC, mollificatiors, organic solvents, glue, and water.
Logging into the ECR system
If compulsory cashier log in is set, the Login dialogue will appear after the unit is turned on
and you will be required to log in using your login name and password. Pick the login name
from the pull-down menu and enter your password (sequence of numbers). The password is
not displayed as typed for security reasons. The cashier data (login, password etc.) have to be
programmed in advance in the programming mode.
If the POS 4000 is turned on for the first time, there is at least one cashier programmed. Pick
one and press OK (default cashiers do not have passwords). The compulsory logging in can
be turned off in the programming mode.
< Figure
2.17
Cut-through and isometric
views of paper tape feeding
into the printers.
<< Figure
2.18
Printer head.
Summary of Contents for POS-4000
Page 1: ...POS 4000 User manual application version 1 85 manual version 1 0 8...
Page 6: ...POS 4000 Elcom s r o...
Page 10: ...POS 4000 Elcom s r o...
Page 22: ...POS 4000 Elcom s r o...
Page 44: ...POS 4000 Elcom s r o...
Page 62: ...POS 3000 Elcom s r o 62 Training mode Figure 6 4 The testing window of the training mode...
Page 64: ...POS 4000 Elcom s r o...
Page 68: ...POS 3000 Elcom s r o 68...


