Using the LabelWriter with Other Applications
24
To start using the Word Add-in
1
Open Microsoft Word and type an address.
2
Click
on the Word toolbar or select the
DYMO LabelWriter
command from the
Tools
menu.
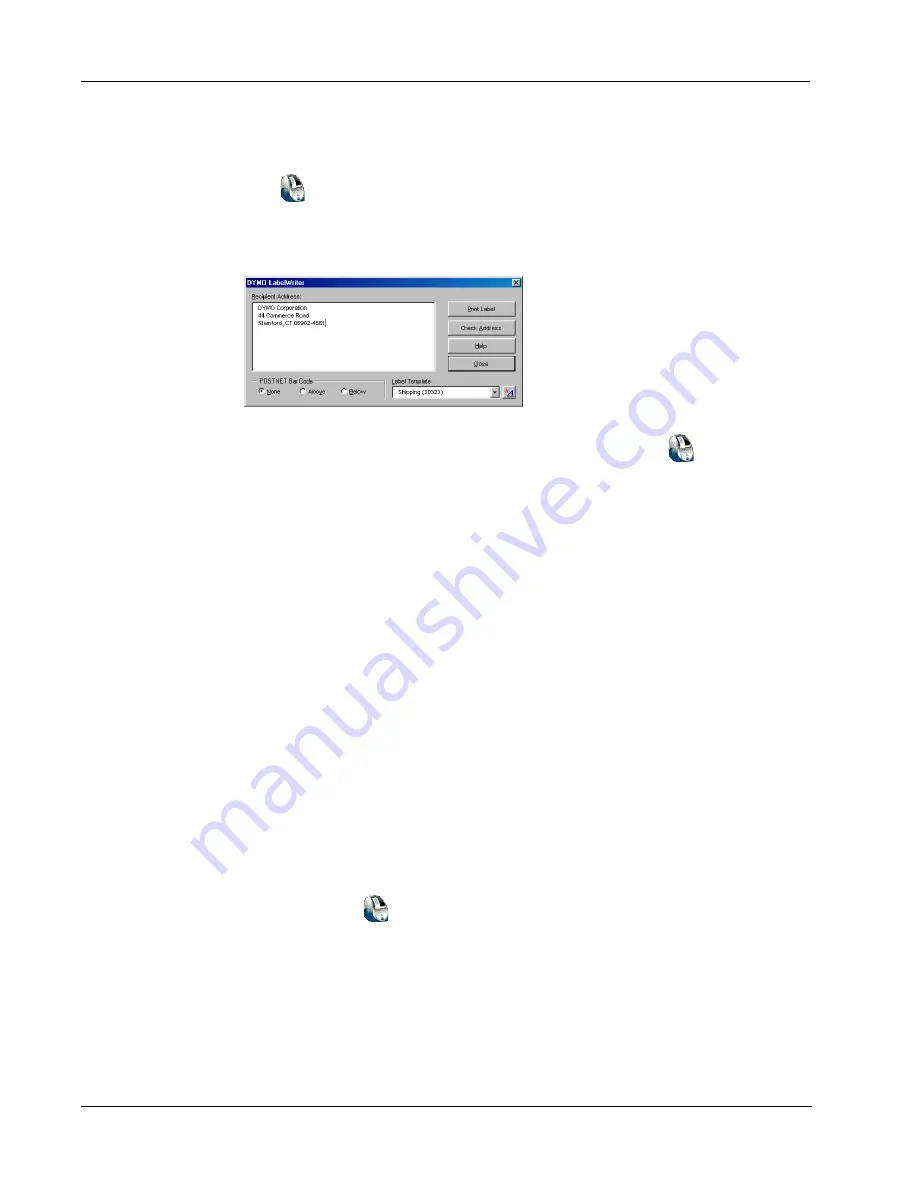
The
DYMO LabelWriter
dialog box appears with the address from your document
automatically placed in the
Recipient Address
field.
If your document contains more than one address and you want to make sure the Word Add-In uses
the correct one, select the address in your Word document before you click
.
Printing the Address
Once the
DYMO LabelWriter
dialog box appears, you can select from a number of different
address and shipping label files, depending on how you want the label to look.
To print the label
1
Select the desired label file from the
Label Files
drop-down list.
2
To change the address, edit the address in the Recipient Address dialog box.
3
Click
Print Label
to print the label.
If you are printing a shipping label file, it will include the return address that’s already been defined
for the file.
Additional Windows Application Add-Ins
In addition to the Microsoft Word Add-In, you can install add-ins for several Windows-based
contact management applications. Each application is described in this section and full details for
installing and using the add-ins is included in the online Help.
About Microsoft Outlook and Palm Desktop Add-Ins
Similar to the Microsoft Word Add-In, the Microsoft Outlook and Palm Desktop Add-ins are
automatically installed at the same time as DYMO Label Software. When an add-in is installed
correctly, you will see a
tool button in the main toolbar of the application. Microsoft Outlook
requires one additional step to enable the add-in from within Outlook. See “Enabling the Outlook
Add-In” later in this section.
If you don’t see this tool button, you will need to reinstall your DYMO Label Software.


