User Manual | 66
WEB PORT
Input the port number to use when connecting from the Web Browser.
The default is 80. If your ISP blocks port # 80, you need to input another
valid web port number (ex, 8080).
AUTO IP
Displays the system IP which is assigned through Auto-IP, automatically.
BANDWIDTH LIMIT
Depending on the setting made by the user, the system can control the data volume transmitted
over a network ranging from 25 kbps up to 1Gbps. This function is effective, especially under narrow
bandwidth network conditions or when the user wants to limit “network bandwidth occupied by
video transmission” to a certain level. Default is 100 Mbps
USE UPnP (Universal Plug and Play)
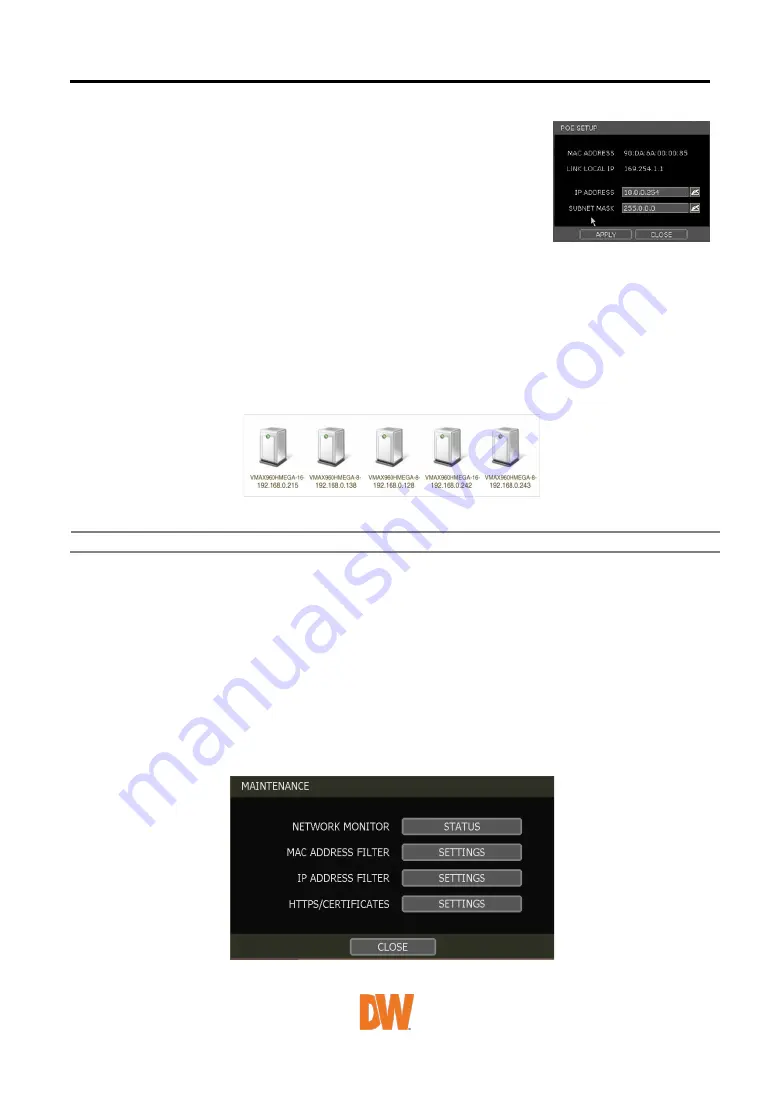
UPnP is a plug-and-play feature that allows the NVR to be automatically discovered by a PC on the
same network. To locate the NVR, go to “My Network” on your PC. The computer will scan your
network for all supported devices. The first five characters of the file name of a detected NVR
represent the model number, followed by the NVR’s IP address
Once the PC discovered the NVR, double-click on the icon to open the NVR’s web client. Enter your
User ID and Password to log in and click ‘Connect’ to connect.
Note
The maximum number of simultaneous connections is 15 users.
POE SETTING
1.
SETUP: Manually configure the IP address and subnet mask for the cameras connected
directly to the NVR’s PoE switch.
2.
STATUS: his option decides the speed mode of the network (10Mbps or 100Mbps) at each
POE port. Users can check the status of the cameras connected directly to the NVR’s PoE
switch and reset all PoE cameras as needed. Select from the options Auto (default), Normal,
or Type-H. When cameras experience a long ping delay or connectivity issues, try settings
the PoE’s setting to Type-H. It is not recommended to have all ports set to Type-H.
NOTE: this option is not available on 16CH Models. All ports work at 100Mbps mode only.
MAINTENANCE
Check the network status and setup the Mac address filter, IP address filter and HTTPS certificate.


