Danish Interpretation Systems
User Manual
3.
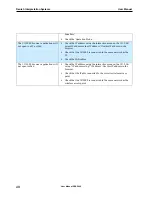
Speak
button
– Touching the ‘Speak‘ button
turns the microphone ‘On’ or sets the user into
‘Request to Speak’ depending on the ‘System
Operation Mode’. Please refer to section ‘5.7
Operation Modes’.
4.
Language
selection
– Used to switch between
‘Floor’ language and ‘Ch.1’ and ‘Ch.2’ if
interpreter units are conn te
ec d.
5.
Language
indication
– ‘Ch.1’ selection is
indicated with light in Led 1 and ‘Ch.2’ selection
is indicated with light in Led 2. With no light the
‘Floor’ channel is selected.
6.4
Chairman Unit
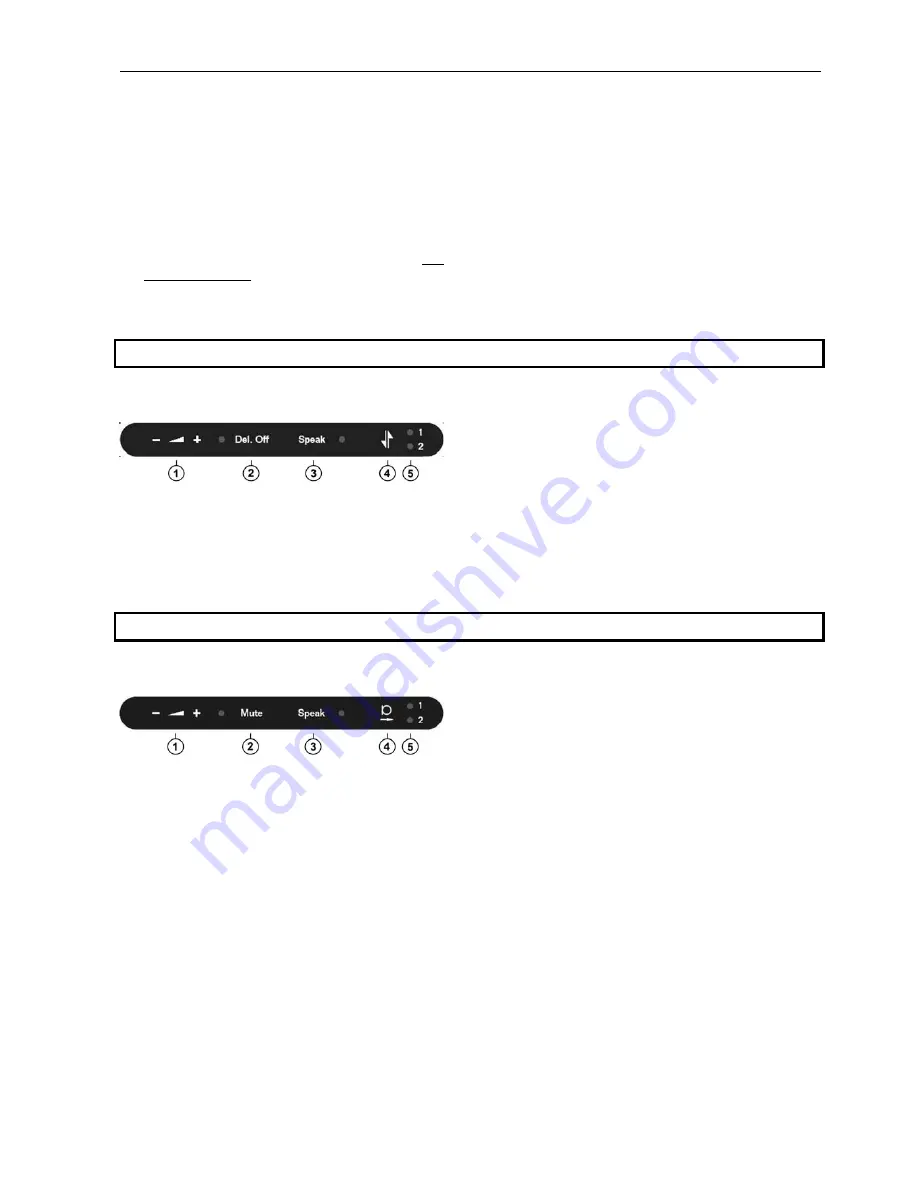
When a unit is configured as a Chairman unit the
buttons have the following functionality:
1.
Headphone
volume
control
– The ‘‐‘ button
decreases the sound level in the connected
headphone and the ‘+’ button increases the sound
level.
2.
Del.
Off
button
– Touching the ‘Del. Off‘ button
switched of all delegate microphones.
3.
Speak
button
– Touching the ‘Speak‘ button
turns the microphone ‘On’.
4.
Language
selection
–Switch between ‘Floor’
language and ‘Ch.1’ and ‘Ch.2’ if interpreter units
are connected.
5.
Language indication – ‘Ch.1’ selection is indicated
with light in Led 1 and ‘Ch.2’ selection is
indicated with light in Led 2. With no light the
‘Floor’ channel is selected.
6.5
Interpreter Unit
When the unit is configured as Interpreter unit the
buttons has the following functionality:
1.
Headphone
volume
control
– The ‘‐‘ button
decreases the sound level in the connected
headphone and the ‘+’ button increases the sound
level. The sound in the headphone will always be
the ‘Floor’ sound when the unit is configured as
Interpreter unit.
2.
Mute
button
– Touching the ‘Mute‘ button mute
the sound from the microphone without
switching off the unit as long as the button is
activated. When muted, the red light ring on the
microphone is turned off.
3.
Speak
button
– Touching the ‘Speak‘ button turn
the microphone ‘On’ and deliver audio to the
selected interpreter channel. Any other
interpreter unit interpreting on the same channel
will be turned off.
4.
Interpreter
channel
– Used for switching the
‘Out‐going‘ interpreter channel between ‘Ch.1’
and ‘Ch.2’. Audio from the microphone is send to
the selected interpreter channel.
5.
Outgoing
language
indication
– ‘Ch.1’ selection
is indicated with light in Led 1 and ‘Ch.2’
selection is indicated with light in Led 2.
User Manual DDS 5900
37


