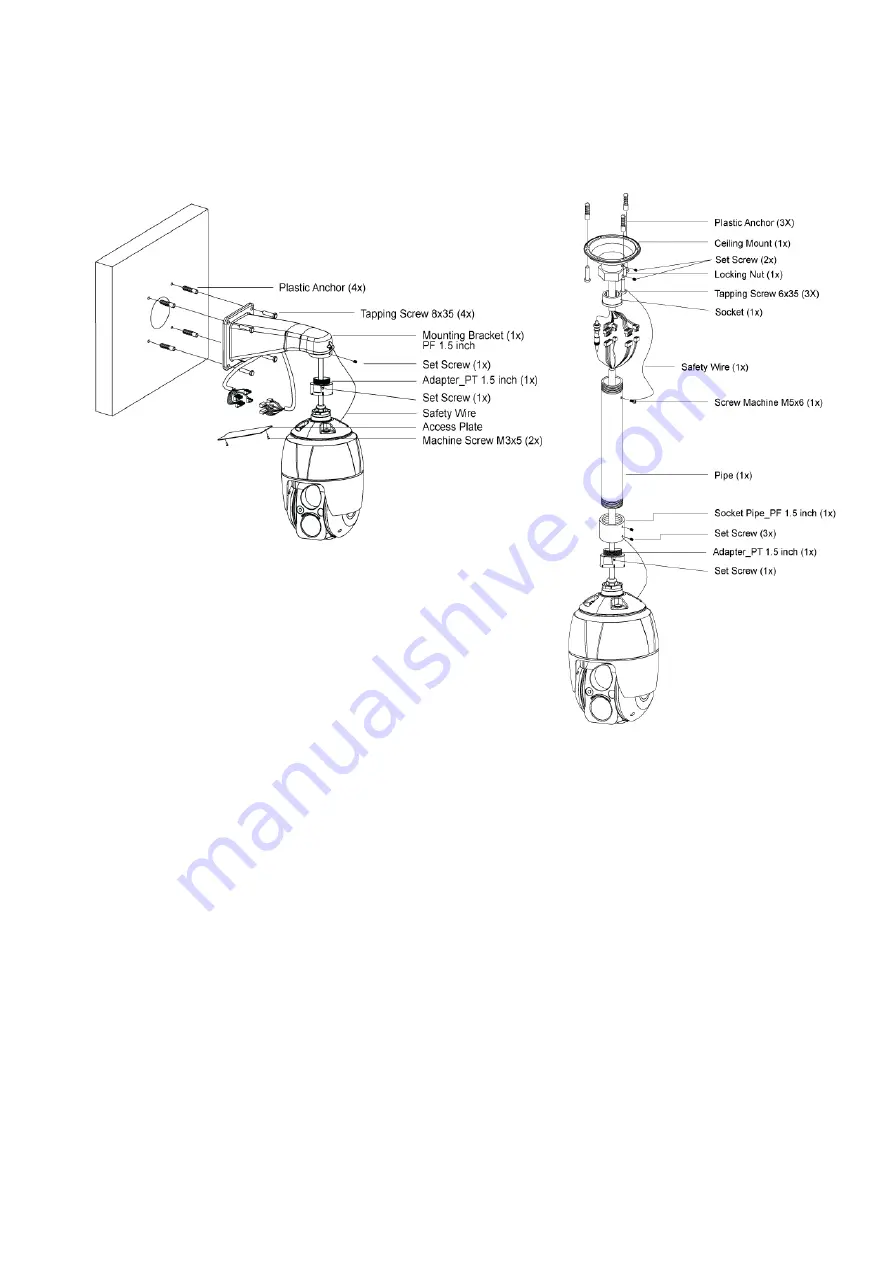
2.1.1 Mounting the camera
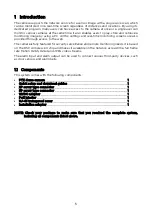
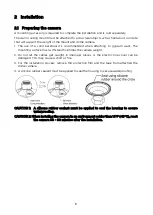
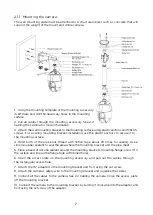
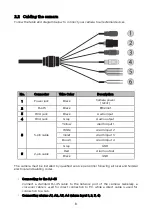
The wall mounting plate must be attached to a structural object such as concrete that will
support the weight of the mount and dome camera.
1.
Using the mounting template or the mounting accessory
itself, mark and drill the necessary holes in the mounting
surface.
2.
Pull all cables through the mounting accessory. See 2.2
Cabling the camera for more information.
3.
Attach the wall mounting bracket to the mounting surface using plastic anchors and M8x35
screws. For a ceiling mounting bracket installation, use the plastic anchors to secure it to
the mounting surface.
4.
Wind both of the pipe ends thread with Teflon tape about 20 times for sealing. Use a
silicone rubber sealant to seal the area where the mounting bracket and the pipe meet.
5.
Place a bead of silicone sealant around the mounting bracket’s mounting flange, press it to
the surface and line up the flange hole with drilled holes.
6.
Open the access plate on the mounting accessory and pull out the cables through
the
rectangular access hole.
7.
Attach the 1.5” adapter to the mounting bracket and fix it using the set screw.
8.
Attach the camera’s safety wire to the mounting bracket and organize the cables.
9.
Connect all the cables to the camera. See 2.2 Cabling the camera. Close the access plate
off the mounting bracket.
10. C
onnect the camera to the mounting bracket by turning it clockwise into the adapter,
and
fix it using the set screw of the adapter.
7

