Chapter 4: Media Station|V10 Software
31
6
Select the sequence by clicking it in the Bin (it
will highlight).
7
Select Clip > Batch Capture.
Media Station|V10 will prompt you to insert the
first tape for the batch capture.
Importing Non-OMFI Media
Files
Media Station|V10 can import many different
types of audio, video, and graphics files. On im-
port, new OMFI media files are created and
stored on the specified drives. You can select the
desired video resolution in the Import dialog.
Audio resolution is determined by the Audio
Settings for the current project (see “Configur-
ing Audio Settings” on page 27).
To import non-OMFI media files into
Media Station|V10:
1
Select the Bin for the files to be imported.
2
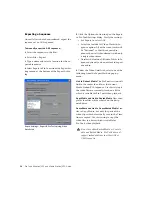
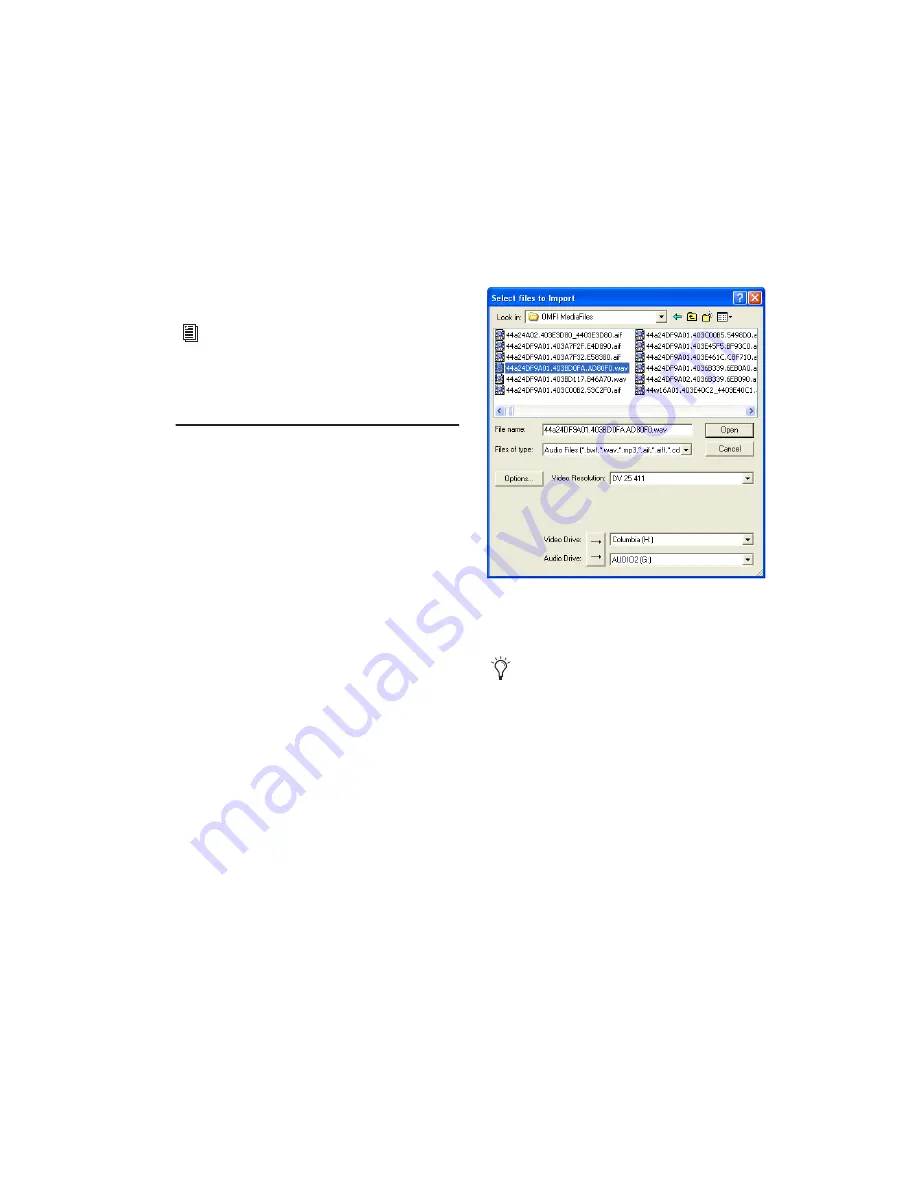
Select File > Import. The Select files to Import
dialog opens. Locate and select the files to im-
port (one or more files can be selected for im-
port).
3
Select the desired video resolution for selected
video files.
4
Select the desired Audio Import Options.
Media Station|V10 supports audio files with
mixed bit-depth and sample rates in the Time-
line, but Pro Tools does not. If you are importing
audio files which do not match the sample rate
and bit-depth of the other audio files in your se-
quence, you can either convert them on import,
For more information, select Help > EDL
Manager Help. Also, see the Avid® EDL
Manager User’s Guide available from the
Avid Web site (www.avid.com).
Select Files to Import dialog
When importing QuickTime DV25, you
can save time by importing it as DV25.
Since both Media Station|V10 and
Pro Tools with AVoption|V10 support
mixed video resolutions in the Timeline, it
doesn’t matter if the other video clips in
your project are different formats (as long as
they are the same frame rate).

